
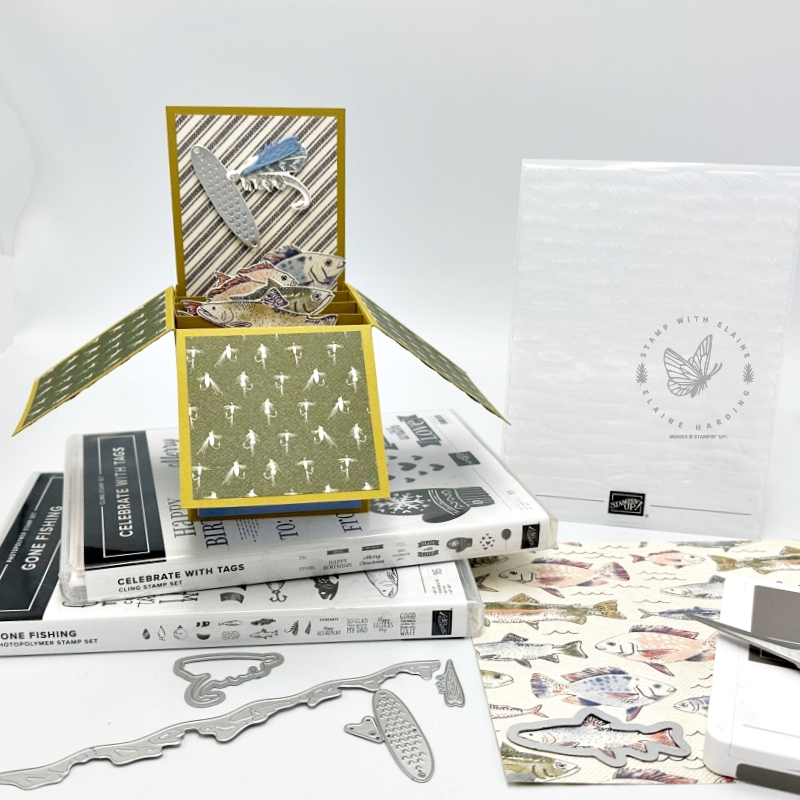
Don’t you just love this type of card in a box? The Gone Fishing stamp set is ideal for this type of card. It also has a set of coordinating dies. That tackle box die is soooo cute! The stamp set is from the Let’s Go Fishing Suite Collection Collection and you’ll find it on pages 78 to 79 of the May 2023-April 2024 Annual Catalogue. We’re always asking for more stamps suitable for our men folk and we’ve got it in spades with this fishing set especially if you’re making a card for someone who has a passion for fishing.
I made one as a birthday card for my grandson recently and you can see it HERE.
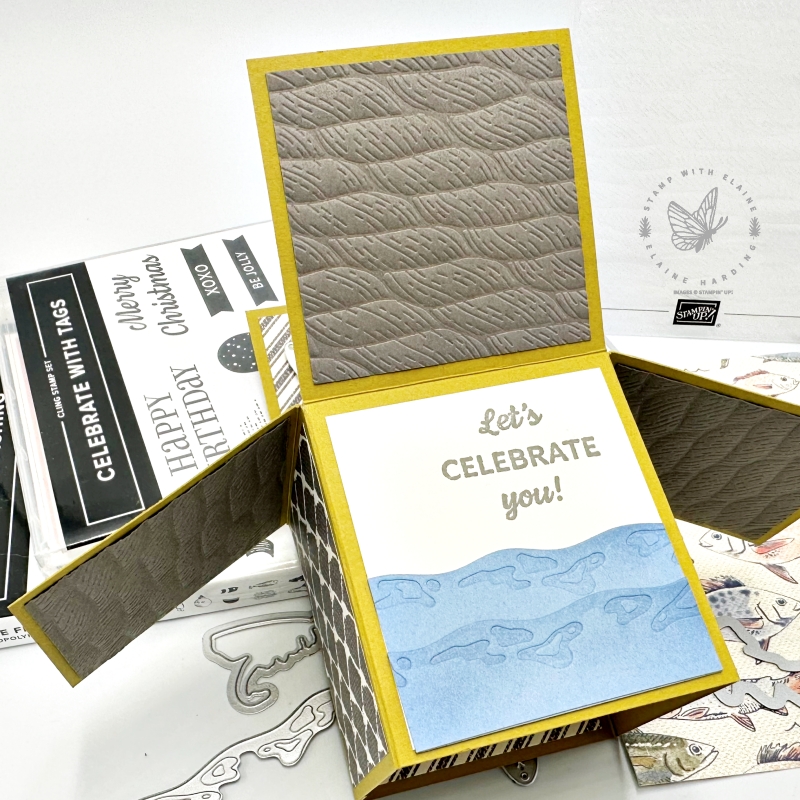
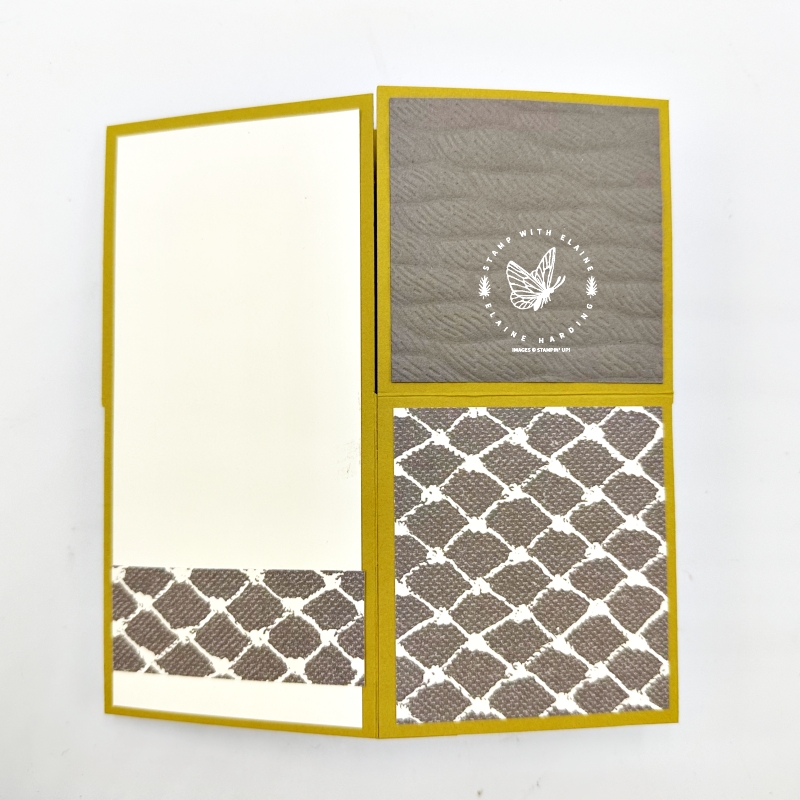
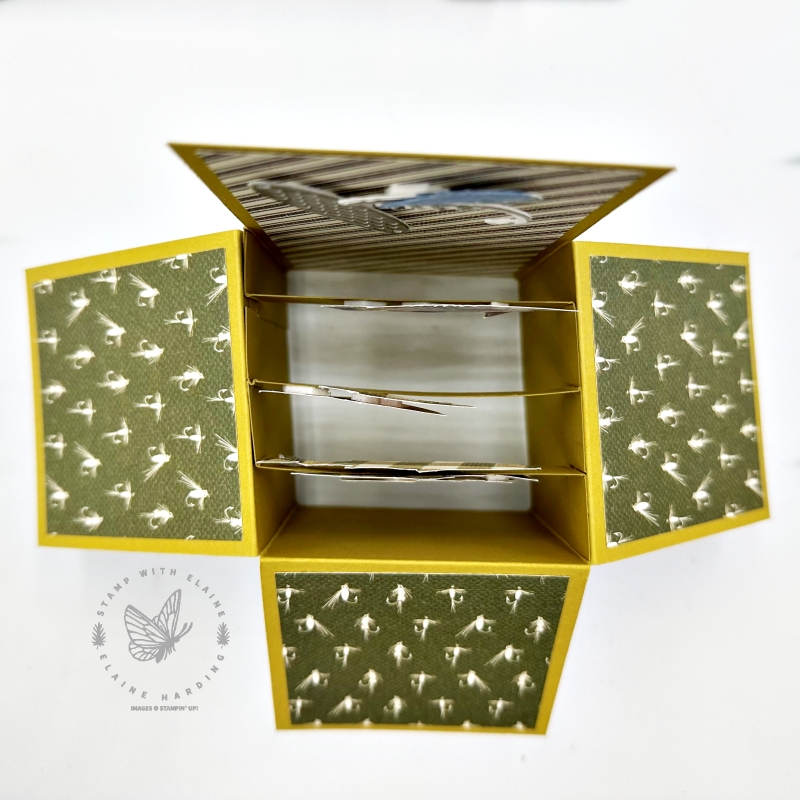
First picture shows the front of the card. The box can be folded flat to fit in the envelop a large square envelop. The second picture is a view of the back where you can address the recipient and sign off. The last picture is a view from the top so you can see the different segments where I attached the fishes at various heights so that they would be visible.
Cutting guide
We need some extra scraps of Boho Blue card stock and DSP Pattern “3” of your choice. I used Let’s Go Fishing 12″ x 12″ DSP.
Imperial measurements
- Card base – orient A4 sheet long side on top, cut at 2 ¾ “, 5 ½”, 8 ¼”, 11” from top edge down to 2 ¾ “.
- You can use scoring tool or carry on with the trimmer and score in the same orientation scoring from previous cut lines down to bottom of card stock i.e., at 2 ¾ “, 5 ½”, 8 ¼”, 11”.
- Rotate card stock so that the narrow score line on the short side is at the top. Begin scoring from the 2 ¾ “ panel down to the bottom (skip the narrow and first panel because this will be the double height back of your card in a box).
Metric measurements
- Card base – orient A4 sheet long side on top. Cut at 7, 14, 21, 28 cm from top edge down to 7 cm.
- You can use scoring tool or carry on with the trimmer and score in the same orientation scoring from previous cut lines down to bottom of card stock i.e., at 7, 14, 21, 28 cm.
- Rotate card stock so that the narrow score line on the short side is at the top. Begin scoring from the 2 ¾ “ panel down to the bottom (skip the narrow and first panel because this will be the double height back of your card in a box)
Mat Layers
Imperial
- Back of the Box Cut : 1 piece Very Vanilla @ 2 ½” x 5 ½”
- DSP for inside piece of back of box : Pattern No. 1 @ 2 ½” x 5 ½”
- Top of lid : Cut 3 pieces DSP No. 2 Pattern @ 2 ½”x 2 ½”
- Underside of top lids : Cut 3 pieces Pebbled Path card stock 2 ½”x 2 ½” for embossing
- Bottom Section : cut 2 pieces DSP No. 3 Pattern @ 2 ½”x 2 ¾”
- Front of Bottom Section : cut 1 piece Very Vanilla @ 2 ½”x 2 ¾”
Metric
- Cut 1 piece Very Vanilla @ 6.5 cm x 14 cm for the back of the box
- DSP for inside piece of back of box : Pattern No. 1 @ 6.5 cm x 14 cm
- Top of lide : Cut 3 pieces DSP No. 2 Pattern @ 6.5 cm x 6.5 cm
- Underside of top lids : Cut 3 pieces Pebbled Path card stock : 6.5 cm x 6.5 cm for embossing
- Bottom Section : cut 2 pieces DSP No. 3 Pattern @ 6.5 cm x 7 cm
- Front of Bottom Section : cut 1 piece Very Vanilla @ 6.5 cm x 7 cm
For assembly instructions, please refer to video tutorial.
Video Tutorial
Supply list
Listed below is the supply list. Just click on the picture to take you directly to the item in my online store.
Product List")
")

")

 Designer Series Paper")
 Specialty Pack")


I enjoyed making this, and I hope it’s inspired you to have a go. Thanks for stopping by and pop back for more inspiration next time!

- SHOP ONLINE – EARN 10% REWARDS ON ALL PURCHASES OVER £20
- PURCHASE A STARTER KIT : Get £155 worth of products for only £99. Choose from current catalogues and any specials available. Free Shipping. Read more
- Subscribe to my Video Tutorials – click here
Pingback: Card in a box Valentine - Stamp with Elaine