
The theme is embossing for June’s Tech 4 Stampers Blog Hop. It’s a miracle that I made this one. I managed to steer clear of getting Covid all through the pandemic being classified in the clinically extremely vulnerable category. Since the restrictions have lifted we have all become complacent and I caught it from hubby during the bank holiday weekend! Goodness knows where he picked his up but he’s on the mend. Unfortunately after 12 days, when I tested again, I’m still positive which is frustrating. Mine seems to be taking longer than usual! I digress, back to embossing.
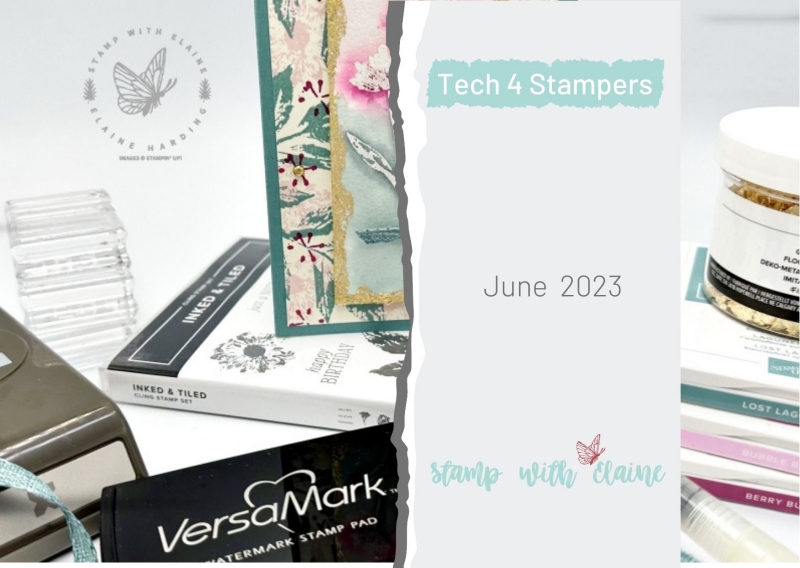
There are so many types of embossing – dry embossing with just an embossing folder, or inking the sentiment/image with Versamark then sprinkling it with embossing powder to heat set it, but the one I’ve chosen to feature is the emboss resist technique. The stamp set I chose is the Inked & Tiled Cling stamp set and if you purchase the duo of coordinating Inked & Tiled punches at the same time, you will save 10%. It is part of the Inked Botanicals Suite Collection on pages 94-95 of the May 2023-April 2024 Annual Catalogue.
The Build & Bloom Stampers Blog hop (formerly Tech 4 Stampers)is a monthly subscription group run by Louise Sims. She mentors and enables members to understand IT jargon and equips them with a fountain of Technical knowledge to build or manage their own websites. It takes the mystery out of “tech” and I’ve certainly grown in confidence thanks to her expertise, patience and guidance. Not only that, I’ve met and made new friends with my fellow “Techs” and love the camaraderie within the group.
Emboss Resist Technique
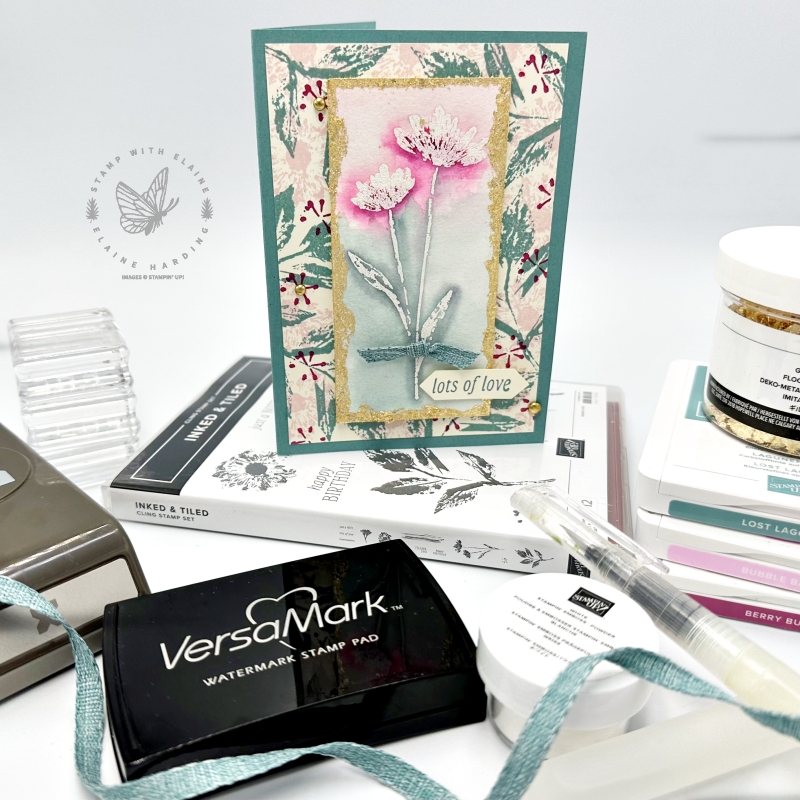
This is a combination of embossing on watercolour paper, wetting the paper with a water spritzer and then applying ink with a wet brush. Where the embossed image is, the paint will resist the ink and you get this lovely abstract effect. There are several ways to create a palette of ink. You can squeeze the lid of your ink pad to transfer ink onto the lid, or you can pick up ink with an acrylic block, or you can use re-inkers by squeezing a drop on to a palette or block/s. My preferred method is simply to pick up ink with an acrylic block – this way your ink pads stay clean and keeps wasting ink to a minimum.
Cutting guide
- Card Base : Lost Lagoon [½ A4 sheet] in Europe this measures 5 ⅞” x 8 ¼” (14.5 cm x 21 cm)
- Mat layer card front : Very Vanilla cut at 3 ¾” x 5 ½” (9.5 cm x 14 cm)
- Inside card Mat layer : Very Vanilla cut at 3 ¾” x 5 ½” (9.5 cm x 14 cm)
- Fluid 100 paper : 2 ¼” x 4 ¾”
How to make the card
- Stamp the leaf in Lost Lagoon around the perimeter of the Very Vanilla Mat layer for the card front.
- Next stamp randomly the single flower in Bubble Bath around the perimeter
- Finally stamp the single small accent piece in Berry Burst.
- On the Fluid 100 watercolour paper, stamp the long stem floral image in Versamark, sprinkle with white embossing powder and heat set it.
- Use a water spritzer to wet the watercolour paper.
- Pick up Berry Burst, Bubble Bath and Lost Lagoon on separate acrylic blocks to use as your palette and with a fine tip water painter, add ink to the image as shown in photo. Re-wet paper if necessary.
- Allow to dry. You can speed the drying process by using a heat tool.
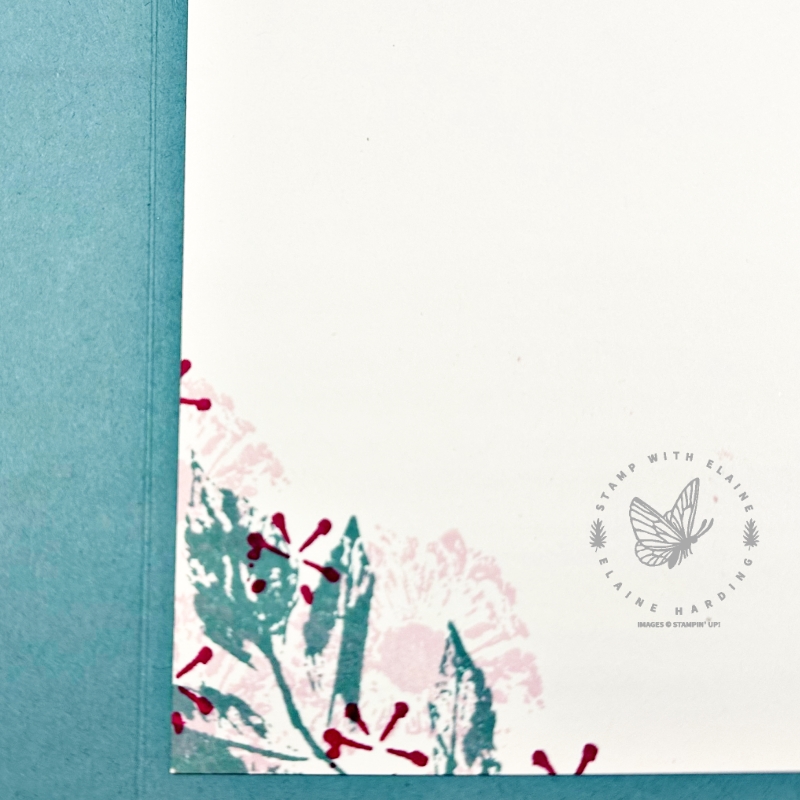
- Stamp the bottom left corner of the mat layer for the inside of the card.
- Punch out a Very Vanilla cross with the Inked & Tiled punch. Snip off top and bottom to create a straight label piece (see photo). Stamp sentiment.
Gilding
- Once watercolour paper is dry, apply Tombow adhesive sparingly along the edges. Use the bottom spreader of the Tombow. It has to be “tacky” for the Gilded Leafing to stick.
- Apply Gilded Leafing along the edges and use a soft brush to remove excess. Press down firmly to make sure Gilded Leafing has bonded to the paper.
Card Assembly
- Adhere stamped card front to Lost Lagoon card base.
- Put dimensionals on the back of the fluid 100 watercolour Gilded Leafing edged piece and adhere to card front.
- Attach sentiment with a dimensional on the left and a double stack dimensional on the right.
- Tie a flat know bow with the Lost Lagoon bordered ribbon and adhere with glue dot.
- Embellish with Brushed Metallic dots.
- Adhere stamped mat layer for inside of card to the inside to complete card.
Supply list
Listed below is the supply list. Just click on the picture to take you directly to the item in my online store.
Product List")
")


Thanks for visiting. I would love to know what you think of my project and would appreciate it if you could leave a comment. To visit the next person on the list and see their fabulous creations, simply click on the link below or before my name depending who you visited initially. Happy hopping!

- SHOP ONLINE – EARN 10% REWARDS ON ALL PURCHASES OVER £20
- PURCHASE A STARTER KIT : Get £155 worth of products for only £99. Choose from current catalogues and any specials available. Free Shipping. Read more
- Subscribe to my Video Tutorials – click here
Love this technique and the added gilding really makes it pop. Thank you
Thank you, Carol – gilding is a neat way to reduce the amount of layering on a card if you’re wary of postage costs and bulk!