
Today I’m going to show you how to make a bookmark-in-a-card with the Bird’s Eye View stamp set. This stamp set doesn’t have any sentiments in it, so you can choose any stamp set with greetings or sentiments to compliment it. I also used the bumper pack of DSP called “Delightfully Eclectic” 12″ x 12″ (30.5 x 30.5 cm) Designer Series Paper pack which has 48 sheets in it, 4 sheets each of 12 double-sided designs. One of the sheets has the alphabet tiles covering the whole sheet. I cut off a line of letters, then fussy cut the letters I needed to say “hiya”, but you can spell out any word you want besides “hiya”!
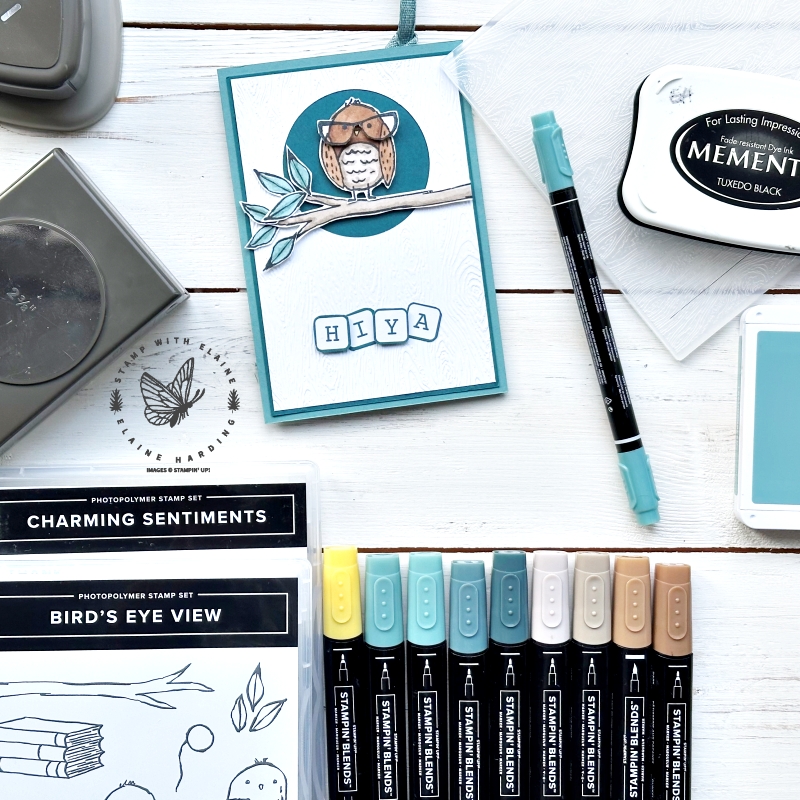
Tip for popping up the owl’s glasses
I wanted to pop up the owl’s glasses, so a neat little trick is to stamp him twice. On one of the owls, colour all of him, but on the second Owl, only colour his head and part of the wings then fussy cut along the black lines except for where the rim of his glasses are. Align his head and wings with the other owl, and adhere with dimensionals. Cool, huh?
Unfortunately there are no dies with this set, but fussy cutting is a breeze because the images are all simple line drawings.

The whole reason for creating this type of card was so that I could use the new Take Your Pick Crafter Tips! There are three tips in the pack, a double ended piercing tips – one end is straight and the other has a slight hook. Then there is the craft knife, and lastly, the perforating tool which is a circular blade. When cutting anything with a blade, you’ll also need a self-healing cutting mat. These usually come in different sizes but all have a grid printed on it both in Imperial and Metric.
Cutting guide
Imperial
- Card base : Lost Lagoon 10” x 5 ¾”.
- First mat layer card front : Pretty Peacock 5 ½” x 3 ¾”
- Second mat layer card front : Basic White 5 ⅜” x 3 ⅝”
- Inside card : Basic White 5 ½” x 3 ¾”
- Bookmark section : Basic White 1 ¾” x 5 ½”
- Scrap of Basic White for stamping extra owls, branch, leaves
Metric
- Card base : Lost Lagoon 23.5 cm x 14.5 cm
- First mat layer card front : Pretty Peacock 14 cm x 9.5 cm.
- Second mat layer card front : Basic White 13.5 cm x 9 cm
- Inside card : Basic White 14 cm x 9.5 cm
- Bookmark section : Basic White 4.5 cm x 14 cm
- Scrap of Basic White for stamping extra owls, branch, leaves
For further instructions on how to score and cut, please refer to video.
Video Tutorial
Supply list
Listed below is the supply list. Just click on the picture to take you directly to the item in my online store.
Product List
")


 Circle Punch")


 Bordered Ribbon")
 Designer Series Paper")


- SHOP ONLINE – EARN 10% REWARDS ON ALL PURCHASES OVER £20
- PURCHASE A STARTER KIT : Get £155 worth of products for only £99. Choose from current catalogues and any specials available. Free Shipping. Read more
- Subscribe to my Video Tutorials – click here