
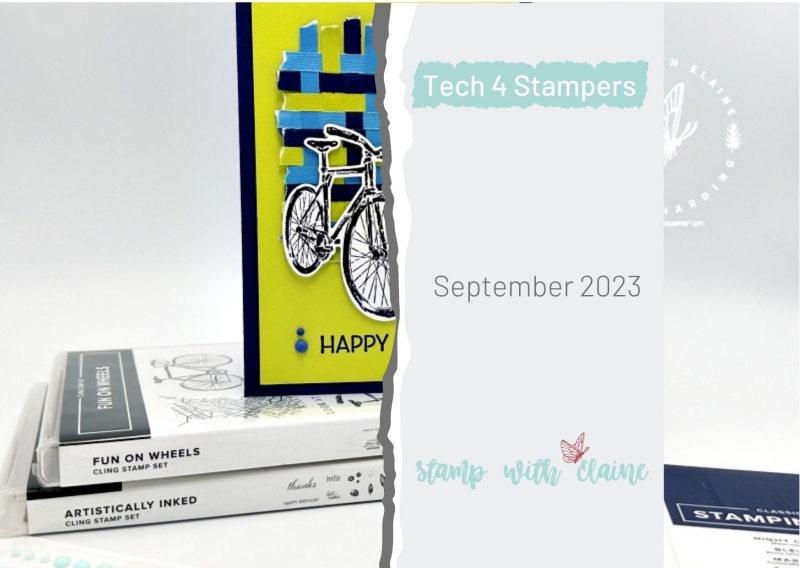
Paper Scraps is the theme for this month’s Tech 4 Stampers Blog Hop. Inadvertently when you’re cutting up patterned paper for card fronts, you get lots of scraps which you hang on to “just in case”! Familiar scenario? Here’s an idea on how you can use them up!
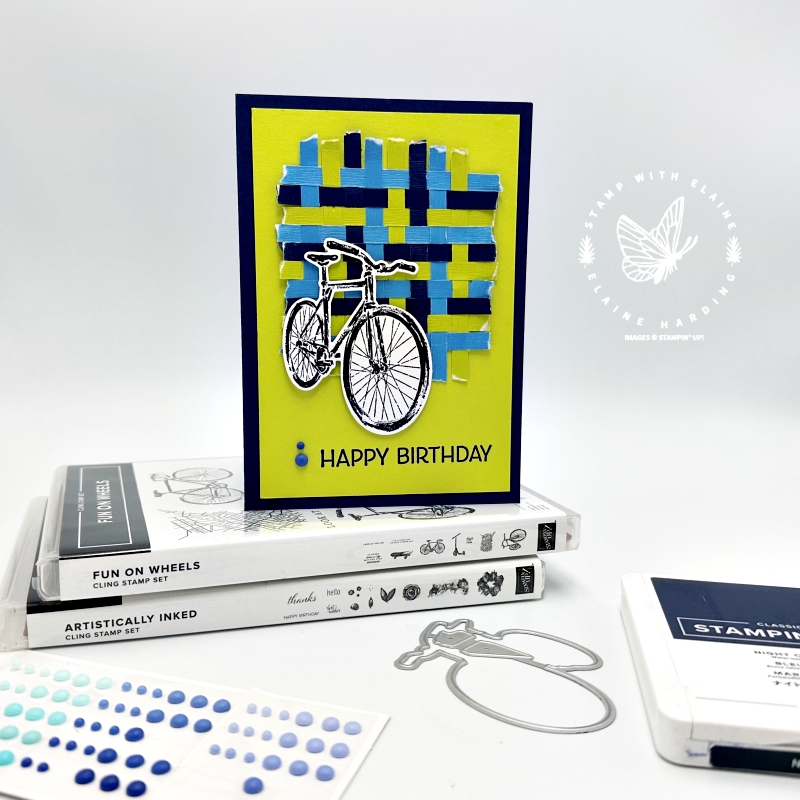
I chose to use my scraps to weave a background piece. These are ¼” strips from the White Center 12″x 12″ (30.5 x 30.5 cm) specialty paper pack. There are 10 sheets in the pack, 2 each of 5 colours in Azure Afternoon, Berry Burst, Fresh Freesia, Lemon Lime Twist and Night of Navy. I picked out Night of Navy, Azure Afternoon and Lemon Lime Twist as my colour palette.

The Build & Bloom Stampers Blog hop (formerly Tech 4 Stampers)is a monthly subscription group run by Louise Sims. She mentors and enables members to understand IT jargon and equips them with a fountain of Technical knowledge to build or manage their own websites. It takes the mystery out of “tech” and I’ve certainly grown in confidence thanks to her expertise, patience and guidance. Not only that, I’ve met and made new friends with my fellow “Techs” and love the camaraderie within the group.
Weaving the strips
Tear a strip of Painters tape long enough to double over and attach it to a silicone mat. Lay the colour strips on this sticky base vertically butting it up to each other so that there are no gaps. The sticky Painters tape will keep them in position. I chose 3 colours and started with Azure Afternoon, Lemon Lime Twist, Night of Navy and then repeated laying down subsequent strips in this colour order ending with Lemon Lime twist.
Then I wove the strips horizontally under, over, under, etc until the end. The second strip starts over, under, over etc until the end. Third strip begins under, over, under etc until the end and you get this woven pattern. Repeat weaving by alternating each strip beginning with either over or under until you have sufficient coverage.
Once completed, I attached another length of Painters tape on the bottom to keep it together and flipped it over. I cut a square of card stock large enough to cover the whole of the woven bits, attached an adhesive sheet behind it. Remove the backing from the adhesive sheet and attach to woven background to keep them together. Carefully remove the Painters tape from top and bottom.
Tear each strip on all the four sides to create this look as pictured. You can then attach this woven background to the mat layer of your card base.
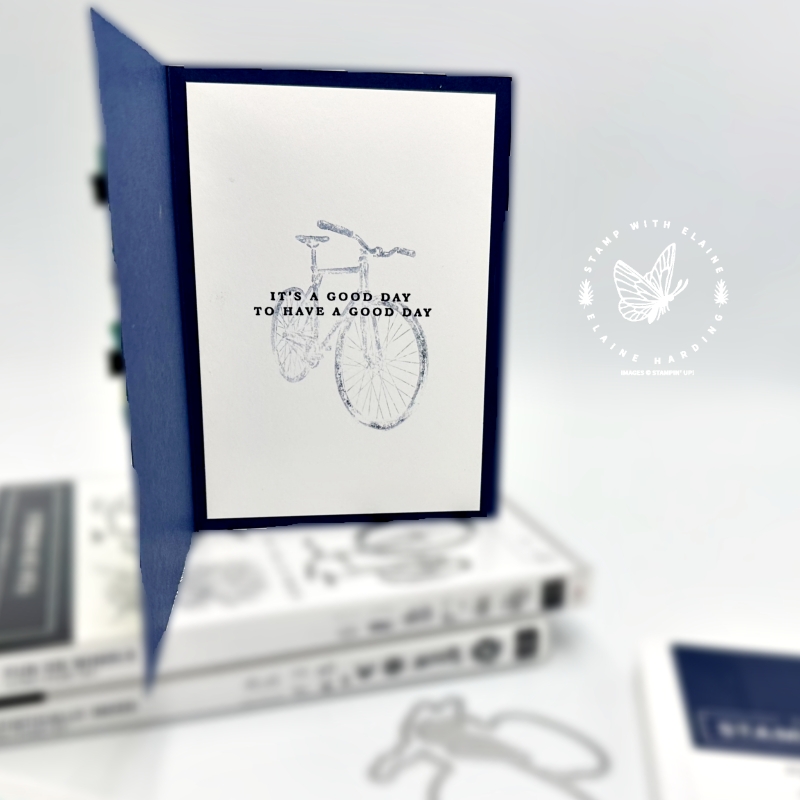
Inside card
I kept it really simple. The bicycle was stamped off twice before I stamped it in the centre. I then stamped first generation Night of Navy ink for the sentiment.
Cutting guide
- Card base Night of Navy : ½ A4 sheet. In Europe this measures 5 ⅞” x 8 ¼” (14.5 cm x 21 cm)
- Mat layer card front Lemon Lime Twist : 3 ¾” x 5 ½” (9.5 cm x 14 cm)
- Inside card mat layer Basic White : 3 ¾” x 5 ½” (9.5 cm x 14 cm)
- Scraps of Basic white to stamp and die cut bicycle
- ¼” strips of scraps of DSP
Supply list
Listed below is the supply list. Just click on the picture to take you directly to the item in my online store.
Product List")

 Specialty Paper")


Thanks for visiting. I would love to know what you think of my project and would appreciate it if you could leave a comment. To visit the next person on the list and see their fabulous creations, simply click on the link below or before my name depending who you visited initially. Happy hopping!

- SHOP ONLINE – EARN 10% REWARDS ON ALL PURCHASES OVER £20
- PURCHASE A STARTER KIT : Get £155 worth of products for only £99. Choose from current catalogues and any specials available. Free Shipping. Read more
- Subscribe to my Video Tutorials – click here
What a brilliant idea, Elaine. This makes a beautiful background. Thanks for sharing x
Such a clever idea Elaine, thank you