
Here’s a simple Valentine card with Country Bouquet – a flash back to products which carried over to the current 2023-2024 Annual Catalogue. If you’re budgeting and don’t necessarily want to invest in new specifically designed products for Valentine’s day, look through your stash and you’ll find that last year’s offering will fit the bill.
Remember the Alphabet a la Mode dies? The dies being tall and thin are perfect for die-cutting the word “Valentine”. I attached an adhesive sheet to the back of the Azure Afternoon card stock and die cut the letters and used the “negative” to adhere to Basic White card stock for my first card and the die cut letters on the second card.
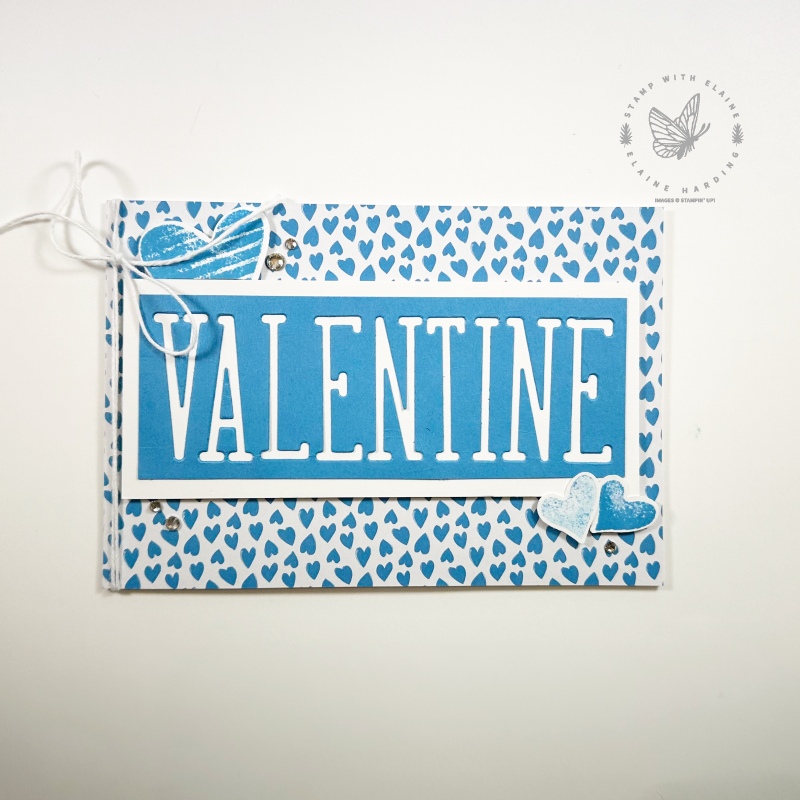
First card
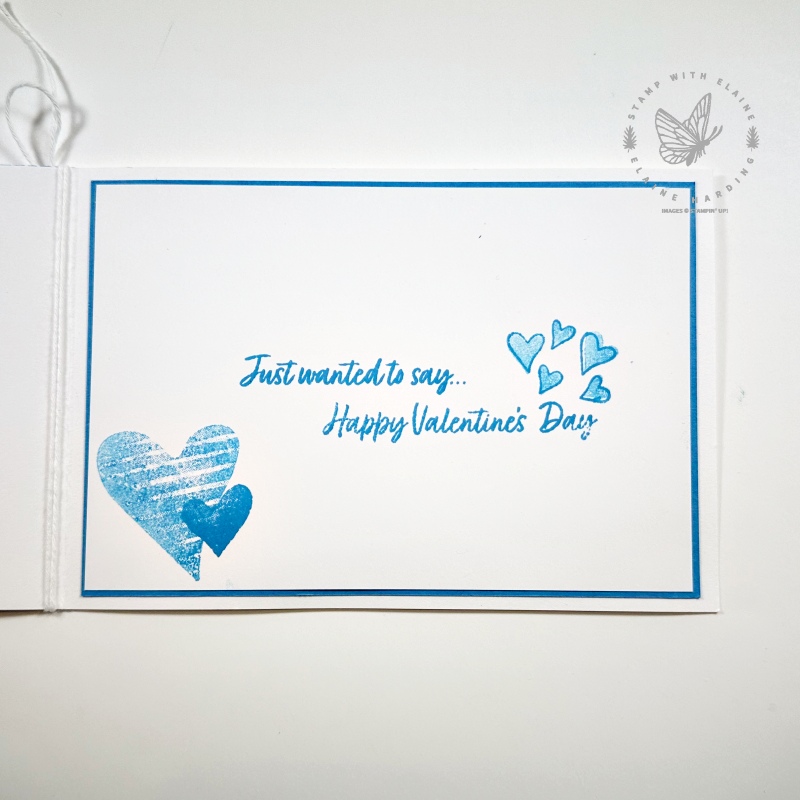
This one is the “Valentine” negative card. I used a landscape orientation so that the letters would fit easily across the front. Here are the details.
- Card base in landscape Basic White Thick 4 ⅛” x 11 ¾” (10.5 cm x 29 cm)
- Select hearts design from the Brights Basics 6″x 6″ (15.2 x 15.2 cm). Adhere to card front and trim off excess.
- Mat layer #1 inside card Azure Afternoon card stock : 1 piece cut at 3 ¾” x 5 ½” (9.5 cm x 14 cm)
- Inside card Mat layer #2 Basic White : 1 piece cut at 3 ⅝” x 5 ⅜” (9 cm x 13.5 cm)
- Attach adhesive sheet to back of Azure Afternoon card stock for die cutting letters : 1 ⅞” x 5″ (4.8 cm x 12.7 cm)
- Basic White piece Mat for Azure Afternoon “Valentine” negative : cut 2 ¼” x 5 ⅜” (5.7 cm x 13.7 cm)
- Scraps of Basic White for stamping hearts for punching out.
- Finishing touches Rhinestone Basic Jewels and Bakers Twine.
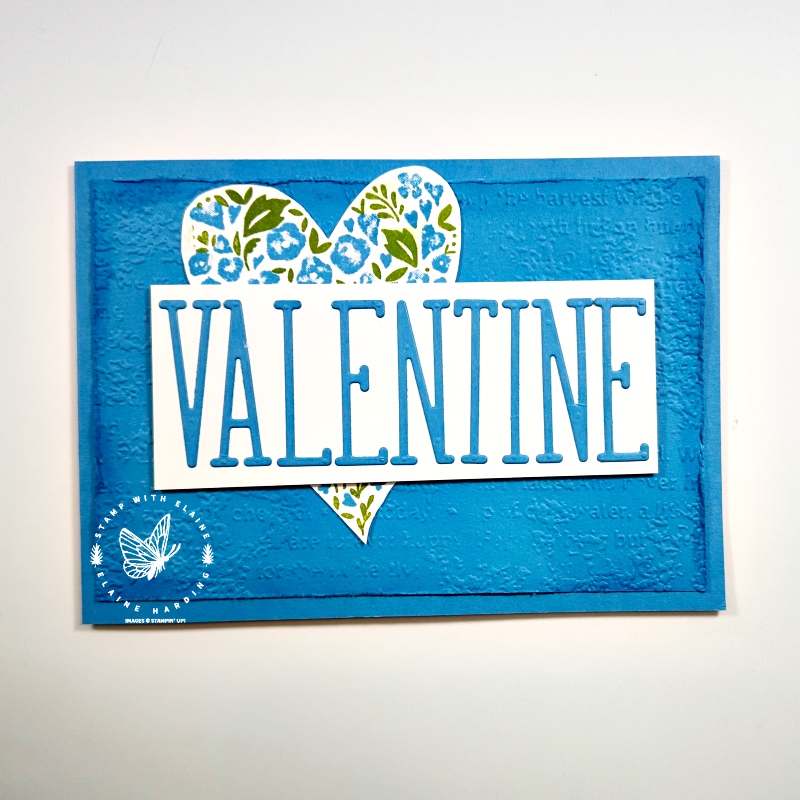
Second card
The die cut letters were used for the second card. I stamped the larger 2-step heart stamps with Azure Afternoon and Granny Apple green inks. A second large heart was stamped and punched out so that it would coordinate with the front of the card.
- Card base in landscape Azure Afternoon 4 ⅛” x 11 ¾” (10.5 cm x 29 cm)
- Emboss card front Azure Afternoon with Timeworn 3D embossing folder : 3 ¾” x 5 ½” (9.5 cm x 14 cm)
- Distress edges of embossed piece with scissors and use blending brush with Azure Afternoon ink to add depth to the embossed surface.
- Mat layer for “Valentine” letters 1 ¾” x 4 ½”(4.5 cm x 11.5 cm)
- Basic White Mat layer #1 inside card : 1 piece cut at 3 ¾” x 5 ½” (9.5 cm x 14 cm)
- Scrap of Basic White for stamping 2-step stamping large heart images
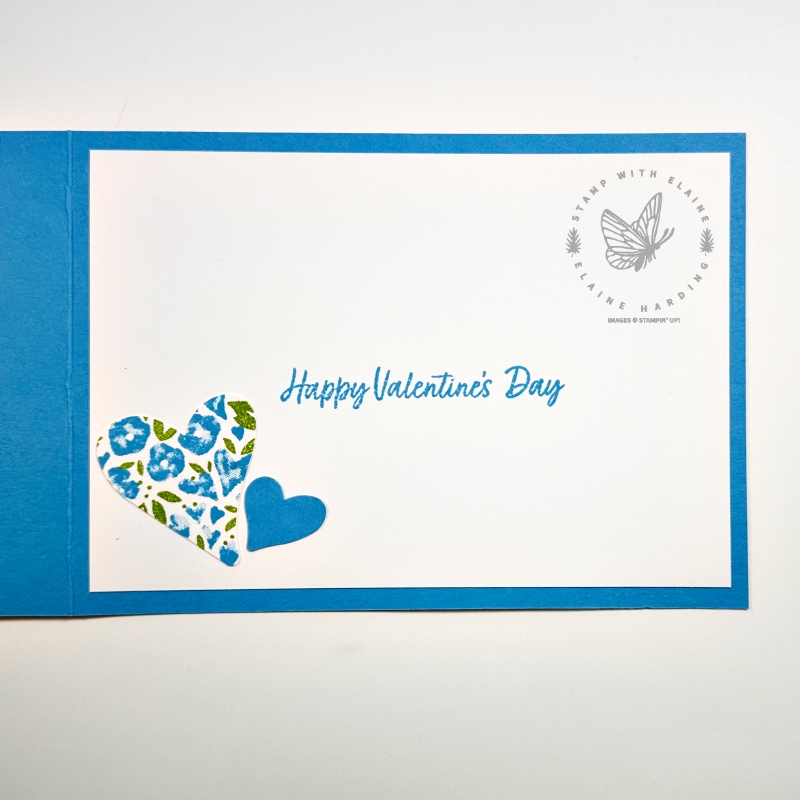
- Cut stamped heart in half so you can “stretch” the heart so it appears at the top as well as the bottom.
- Stamp another floral heart and punch out a large heart and the smaller heart.
Supply list
Listed below is the supply list. Just click on the picture to take you directly to the item in my online store.
Product List")


 Designer Series Paper")


- SHOP ONLINE – EARN 10% REWARDS ON ALL PURCHASES OVER £20
- PURCHASE A STARTER KIT : Get £155 worth of products for only £99. Choose from current catalogues and any specials available. Free Shipping. Read more
- Subscribe to my Video Tutorials – click here