Card Medley of Hot Air Balloons. The Hot Air Balloons stamps and dies are carrying over to the new Annual Catalogue so I pushed it aside to play with in May. I forgot that the gorgeous Lighter Than Air 6″x 6″ (15.2 x 15.2 cm) Designer Series Papers which coordinate with this stamp set retires at the end of April! So it’s a race against time to use as much of the papers as I can for today’s post!
Mini Slim Cards
I found some retired envelops which Stampin’ Up! used to supply and they are perfect for mini slim cards. The card base measures 6 ½” x 6 ½”, score 1 side at 3 ¼”. In metric this will be 16.5 cm x 16.5 cm, score 1 side at 8.25 cm.
Card 1 – Lighter than Air DSP
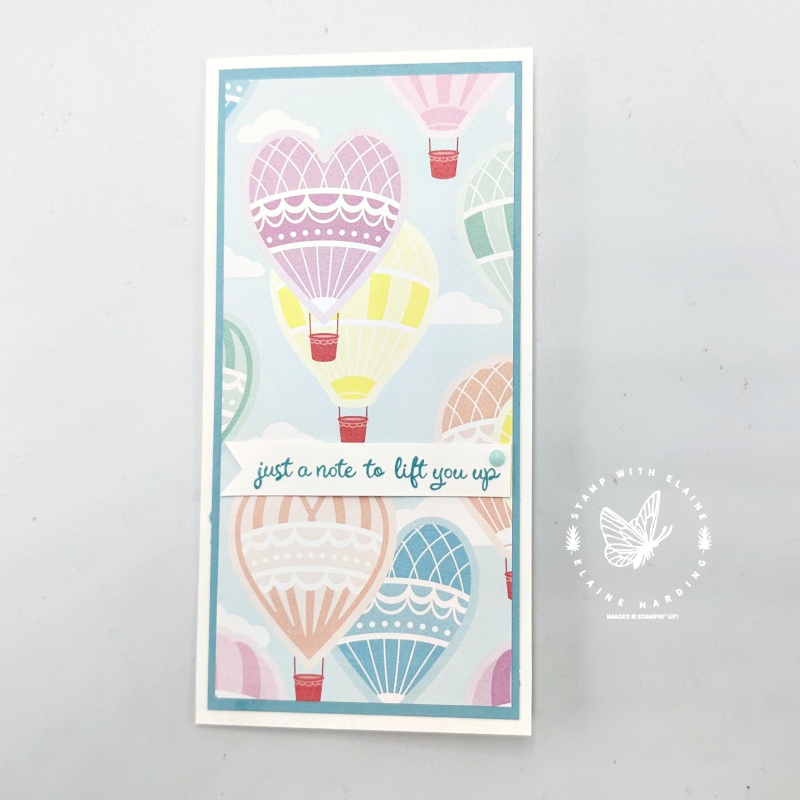
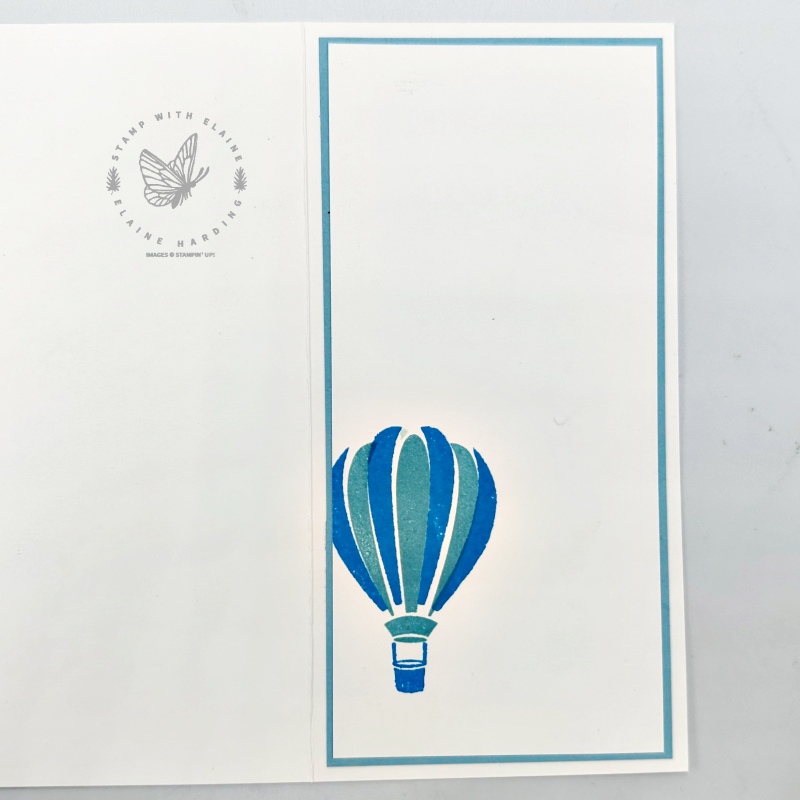
Cut the Balmy Blue mat layer ¼” (0.5 cm) smaller than card front and the Lighter than Air 6″x 6″ DSP ⅛” smaller than the Balmy Blue layer. Similarly for the layers inside the mini slim card. This paper is so pretty, that I didn’t have to do anything else except to add a sentiment.
Card 2 – New Dotted Circles 3D embossing folder
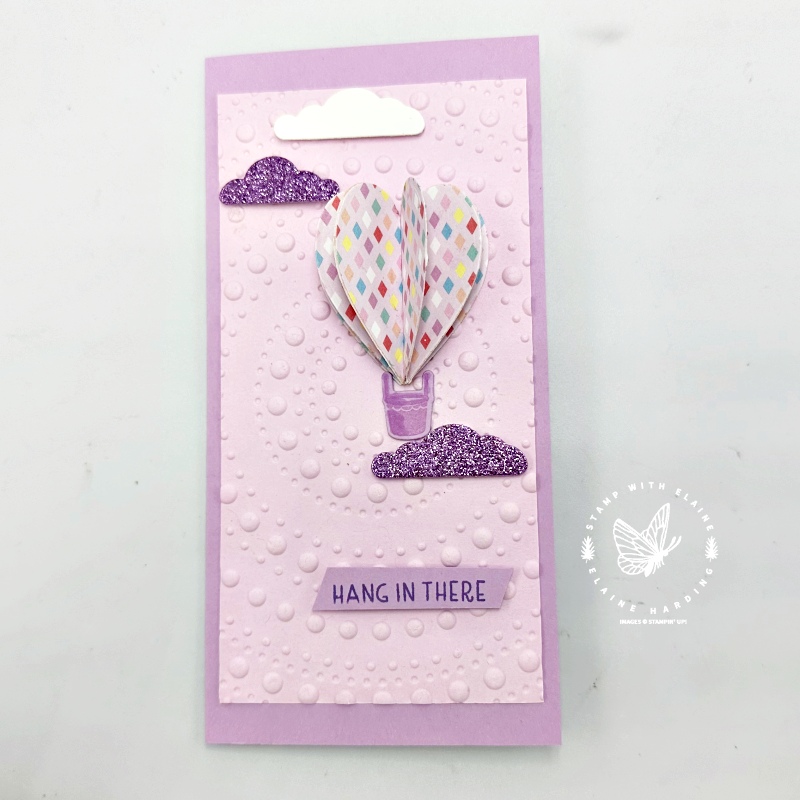
Here’s a sneak peek of the new Dotted Circles 3D embossing folder in the forthcoming Annual Catalogue for 2024-25. This embossing folder is huge! It can emboss a half sheet of A4 card stock so that you can use it as a card base among other uses.
To make the 3D balloon, I cut 5 hearts from the Lighter than Air DSP, scored them in the middle, folded them in half and glued each half to each other. You can fold the hearts flat for posting and inform the recipient to fluff up the balloon once they’ve opened the card.
The clouds were die cut from an Online Exclusive called Three Color Glimmer 12″x 12″ Specialty Paper.
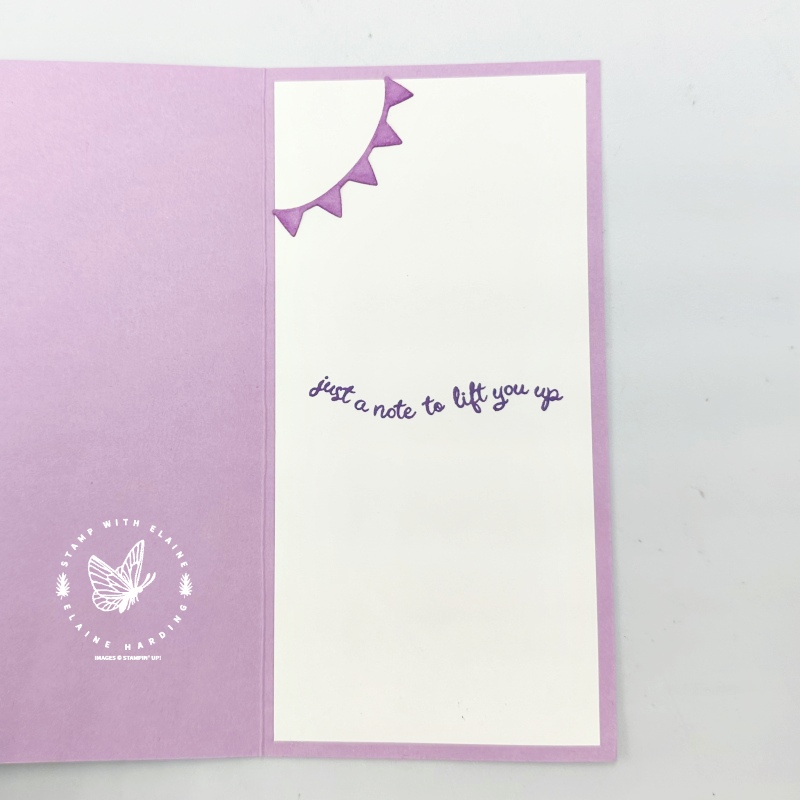
For the inside of the card, I cut a bunting with one of the dies from the Hot Air Balloon Dies.
Card 3 – Heart Shaped Balloon and the scalloped dies
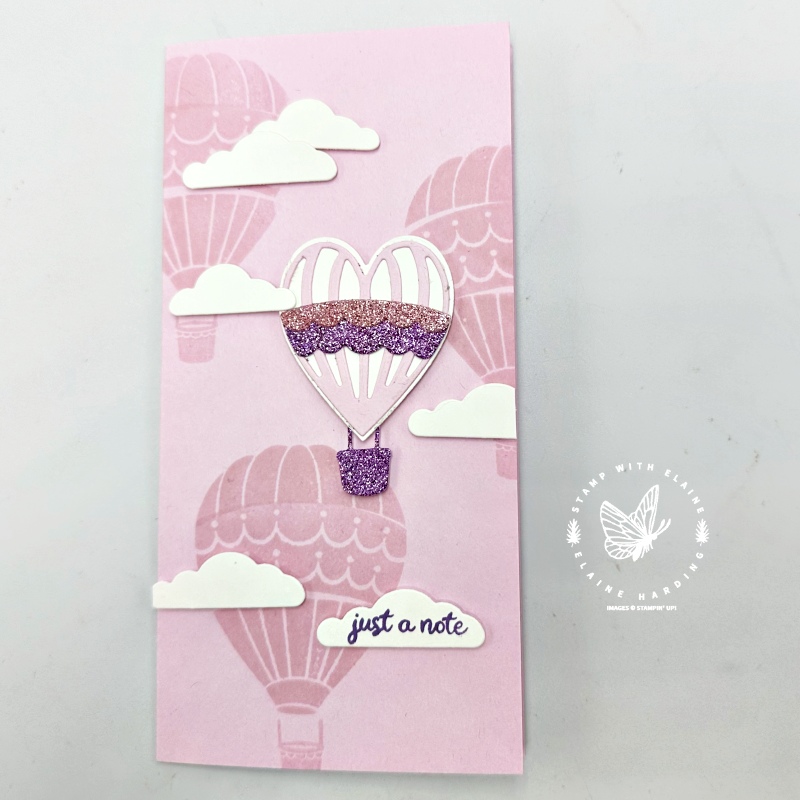
A super quick, easy card. This is a two-step stamping set which means you stamp twice with different stamps to complete the image. The balloon was stamped first in Bubble Bath ink, and then it was filled in with the scallop detail.
There is a scallop die which will cut a wider scallop and a thinner scallop on the one die, so in fact it cuts two scallop shapes with one pass through the die cutting machine.
The heart shaped open work die can be adhered to the plain heart die cut piece to add texture and detail. I die cut the scallops with the Three Color Glimmer paper and the new Thoughtful Designs 12″x 12″ Specialty Designer Series Paper from the Thoughtful Journey Suite Collection in the 2024-25 Annual Catalogue.
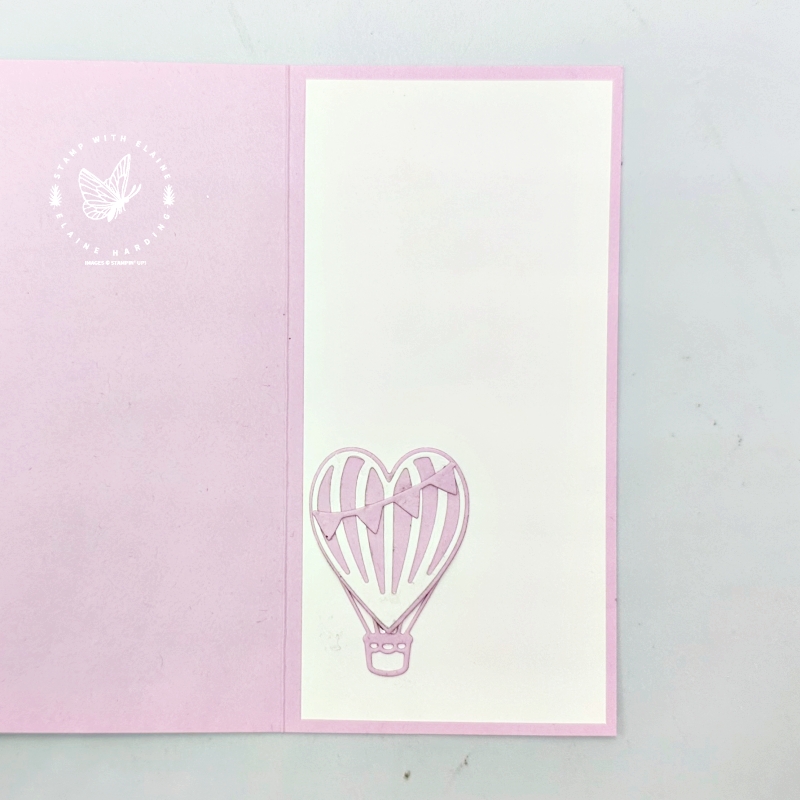
For the inside of the card, I simply reversed the colours. I die cut the special basket die and adhered it behind the heart and added a bunting.
Card 4 – Rainbow card
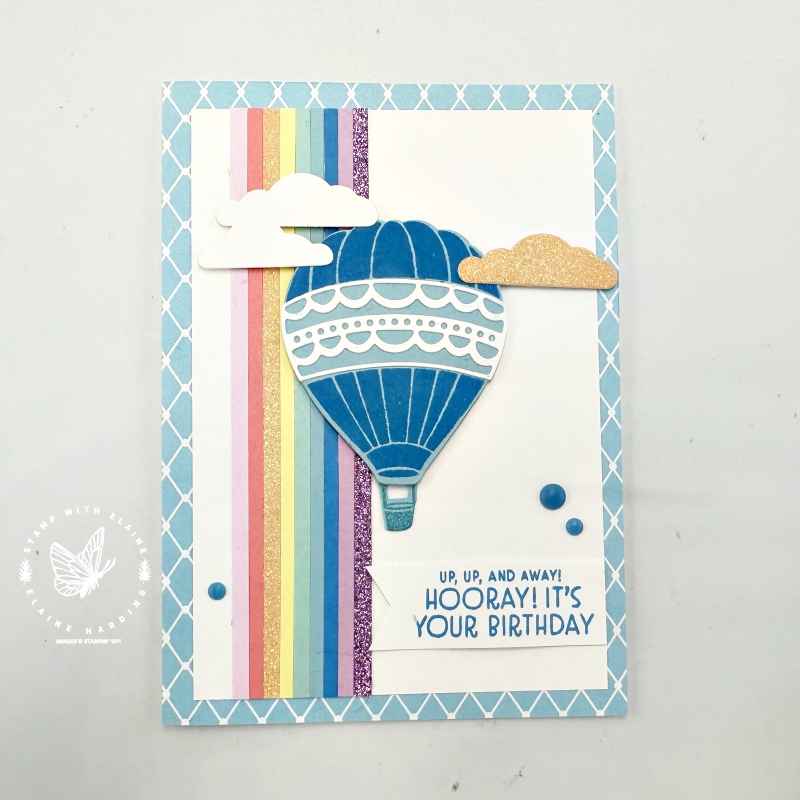
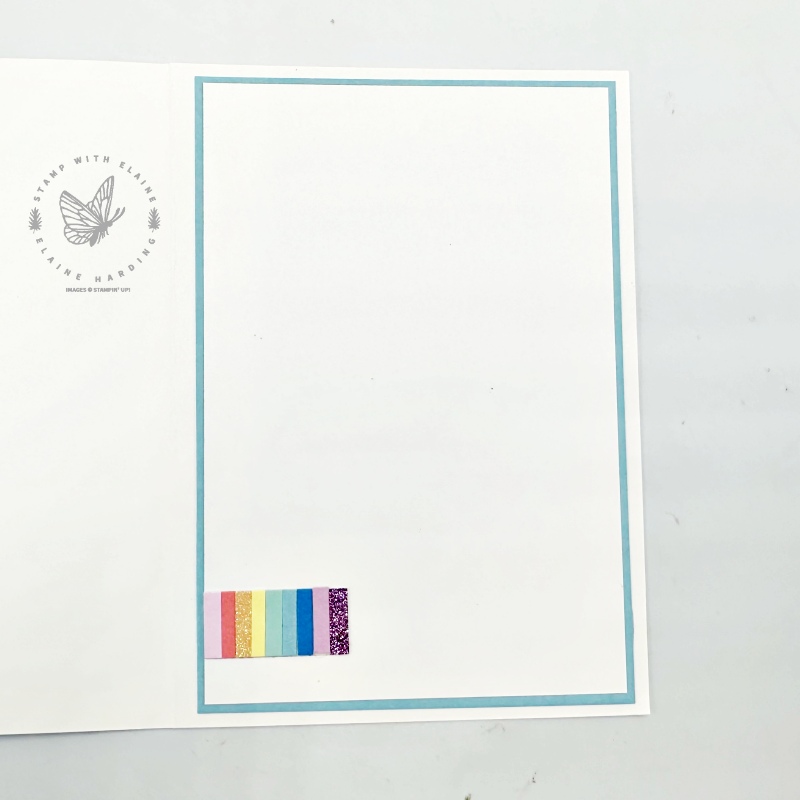
I cut ¼” (0.5 cm) strips in Bubble Bath, Calypso Coral, Thoughtful Designs 12″x 12″ Specialty DSP, Lemon Lolly, Pool Party, Balmy Blue, Azure Afternoon, Fresh Freesia and Three Color 12″x 12″ Glimmer Paper. Then butted them up next to each other on an adhesive sheet before adhering it to the Basic White mat layer. Use the leftover trimmed piece for the inside of the card.
Card 5 – Landscape Wish Big card
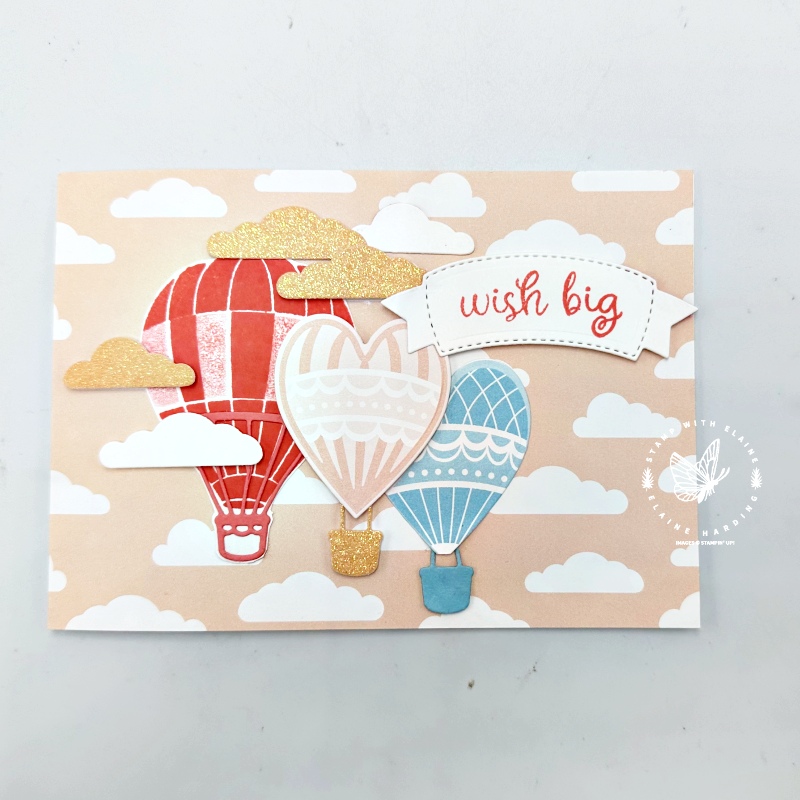
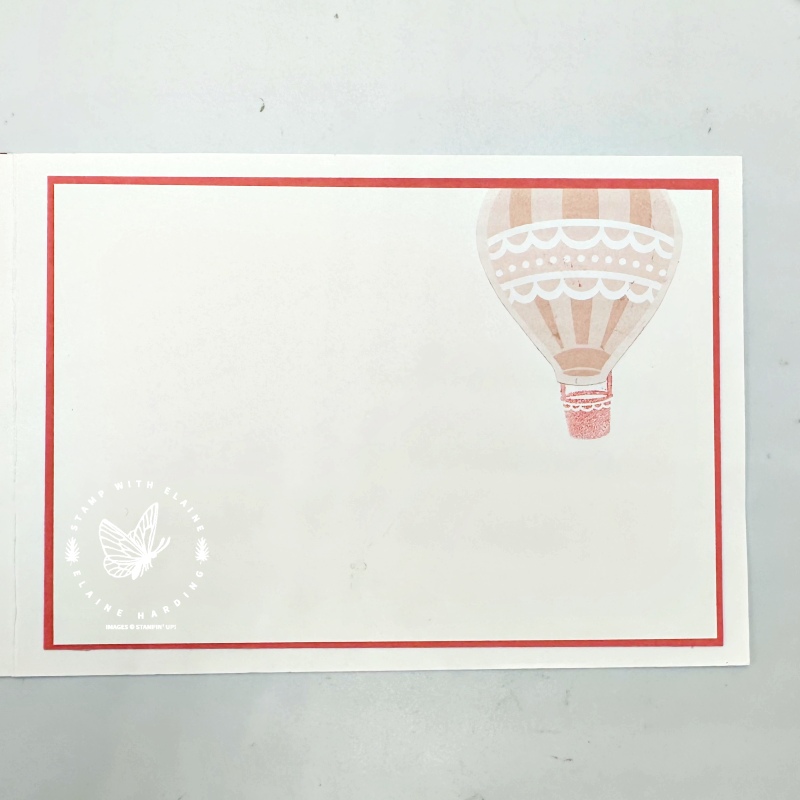
The balloon images were die cut from the Lighter than Air DSP except for the Calypso Coral Balloon on the left. I stamped the Calypso Coral balloon on a scrap of Basic White, die cut the special basket die with Flirty Flaming card stock and adhered this to the lower third of the balloon. Then I fussy cut it and adhered it to the card. I also used the banner die for my sentiment.
Supply list
Listed below is the supply list. Just click on the picture to take you directly to the item in my online store.
Product ListPhew! So pleased I managed to squeeze these in before the papers retired. I’ve got plenty more ideas, but will save it for another day as the stamps and dies will still be available. Enjoy your weekend.

- SHOP ONLINE – EARN 10% REWARDS ON ALL PURCHASES OVER £20
- PURCHASE A STARTER KIT : Get £155 worth of products for only £99. Choose from current catalogues and any specials available. Free Shipping. Read more
- Subscribe to my Video Tutorials – click here


