
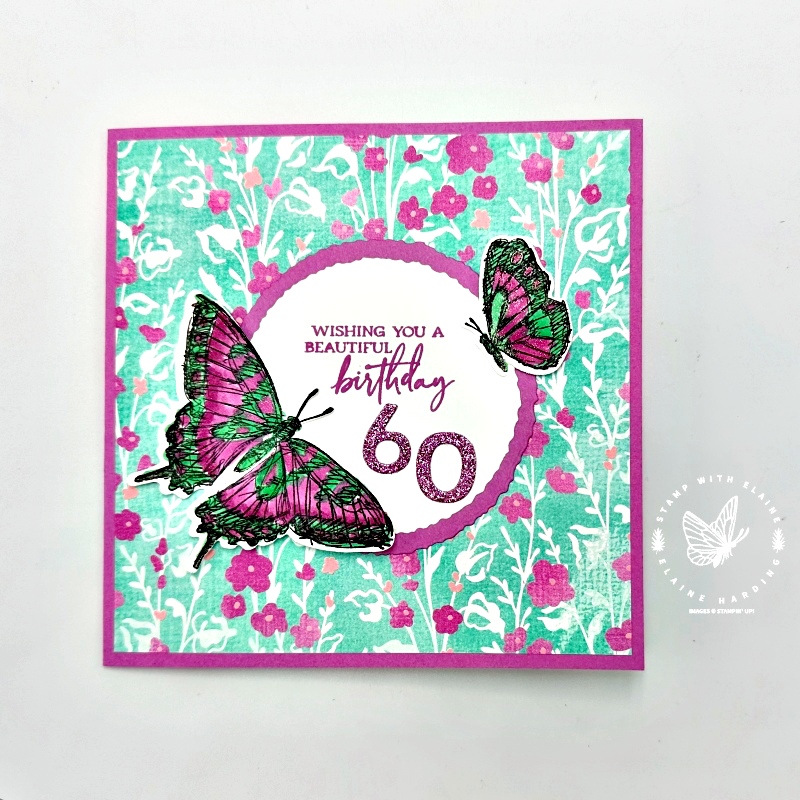
How to create a Birthday card – Sketched Butterflies. I revisited a fun fold with a rotating circle mechanism because I needed something special to mark a 60th birthday. For detailed instructions on how to make it, click HERE to see my previous post on the rotating pop up card. Back then, I’d created it using the Lily Pond Suite collection with the ducks, but this time I used the Sketched Butterflies and the Unbounded Beauty 12″x 12″ Designer Series Papers.
Additional materials used
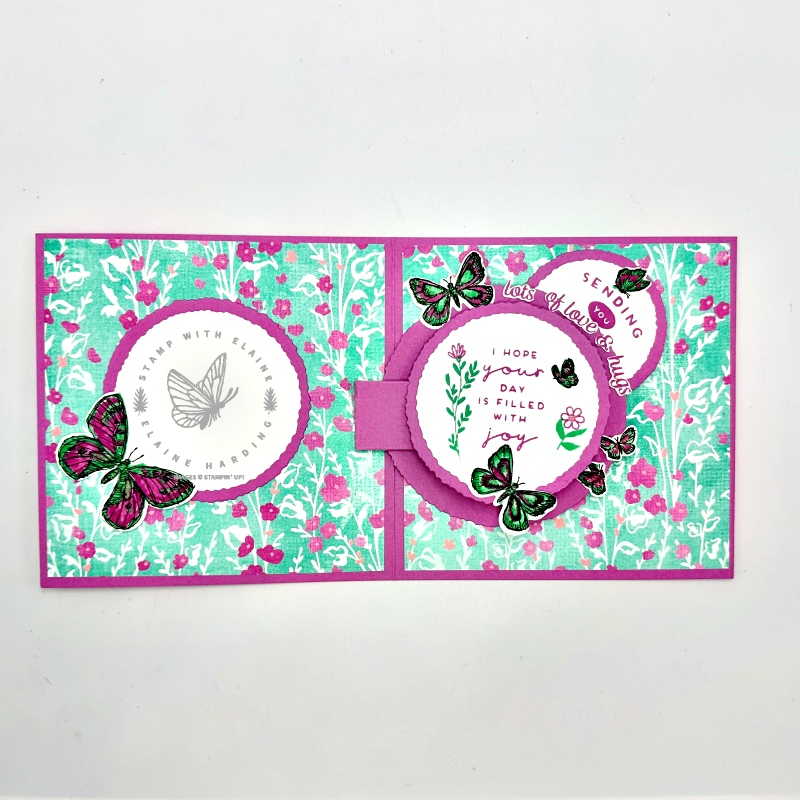
In addition to using the Sketched Butterfly stamps, I also used the Heartfelt Hexagon Photopolymer stamp set for my sentiments on the rotating circles. Also used the Deckled Circle Dies.
Short video clip to see card in action
Deckled Circle Dies needed
There are 14 nested circles in the Deckled Circles die set, no. 1 being the smallest and no. 14 being the largest.
- Die cut the no. 9 circle with Petunia Pop card stock.
- Nestle the no. 5 circle inside the die cut no. 9 circle and cut a frame. Set aside the no. 5 circle for using later as one of the rotating circles.
- Die cut a no. 7 circle in Petunia Pop.
- Basic White card stock : die cut with the no. 6 circle die for adhering to the no. 7 circle later.
- Also die cut no. 4 circle in Basic White to adhere to no. 5 circle later for stamping sentiment.
Rotating Mechanism
The overall size of the mechanism is 3 ⅜” x 4″ (9 cm x 10 cm) cut in Petunia Pop. For instructions on how to score and prepare the mechanism, please see detailed photos and notes on how to construct it HERE.
Cutting guide
- Card base : Petunia Pop 5 ½” x 11″ (14 cm x 28 cm) folded in half.
- Unbounded Beauty DSP : 3 pieces same pattern for inside and front of card 5 ¼” x 5 ¼” (13.5 cm x 13.5 cm)
- Inside left hand side of card and front of card : Basic White die cut 2 x no. 6 circle and 2 x no. 7 circle in Petunia Pop.
- Extra Basic White card stock for stamping all the butterflies. The larger butterflies have corresponding dies, but you’ll have to fussy cut the smaller ones. Colour them with Stampin’ Blends before die cutting or fussy cutting them. *Important note : When you adhere your pieces to the no. 9 circle frame, ensure your pieces are not jutting out from card base when the card is closed.
- Die cut the numerals with the Petunia Pop glimmer paper from the 2024-2026 In Color™ Glimmer 12″x 12″ paper. I used the retired Playful Alphabet, but you can use the Alphabet a la Mode dies instead.
Supply list
Listed below is the supply list. Just click on the picture to take you directly to the item in my online store.
Product List")
")

 Designer Series Paper")
 Specialty Paper")


Today’s card shows what is possible using the same mechanism but with different papers and different stamp sets for a completely different look. Once you’ve created one, you’ll probably want to make more! Give it a try. Enjoy the rest of your weekend.

- SHOP ONLINE – EARN 10% REWARDS ON ALL PURCHASES OVER £20
- PURCHASE A STARTER KIT : Get £155 worth of products for only £99. Choose from current catalogues and any specials available. Free Shipping. Read more
- Subscribe to my Video Tutorials – click here