
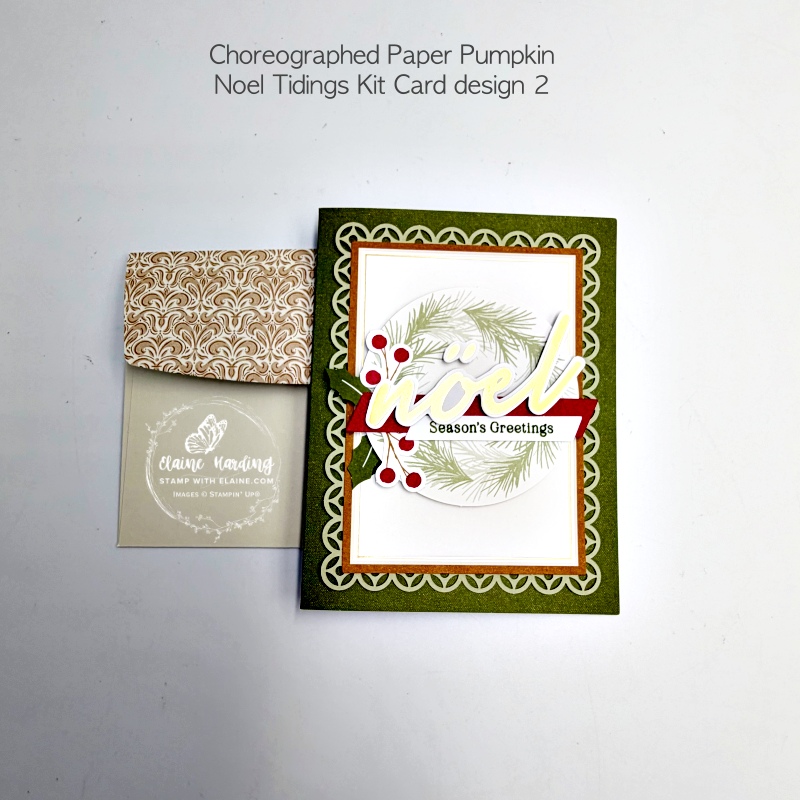
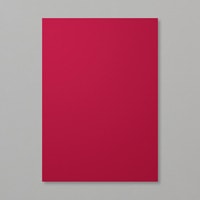
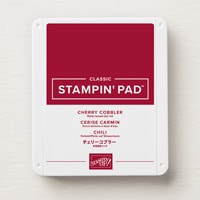
Altered choreographed Paper Pumpkin design 2 – Noel Tidings. Here are 3 cards I made by sharing all the elements from the choreographed Design 2 of the Paper Pumpkin Noel Tidings kit. I added Cherry Cobbler card bases and some Basic White card stock for the inside of the cards and for stamping extra stamped images for fussy cutting and stencilling.
Mossy Meadow Choreographed Kit card 2 and alternatives
Below on the left, I made the original card according to the instructions. On the right, I split the elements for making the choreographed design 2 kit card between the 3 cards and even used the envelop for the third card. One of the elements – i.e., the scalloped pattern piece, I used as a stencil as picture in the first alternate card.
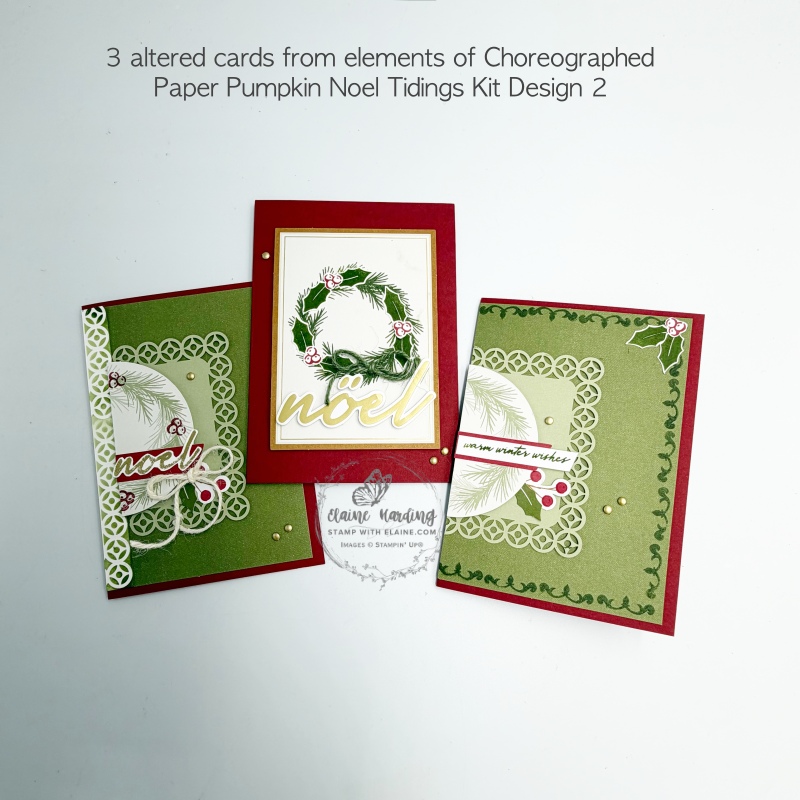
Alternate Card 1 Cherry Cobbler Stencilled border Kit Card Design 2
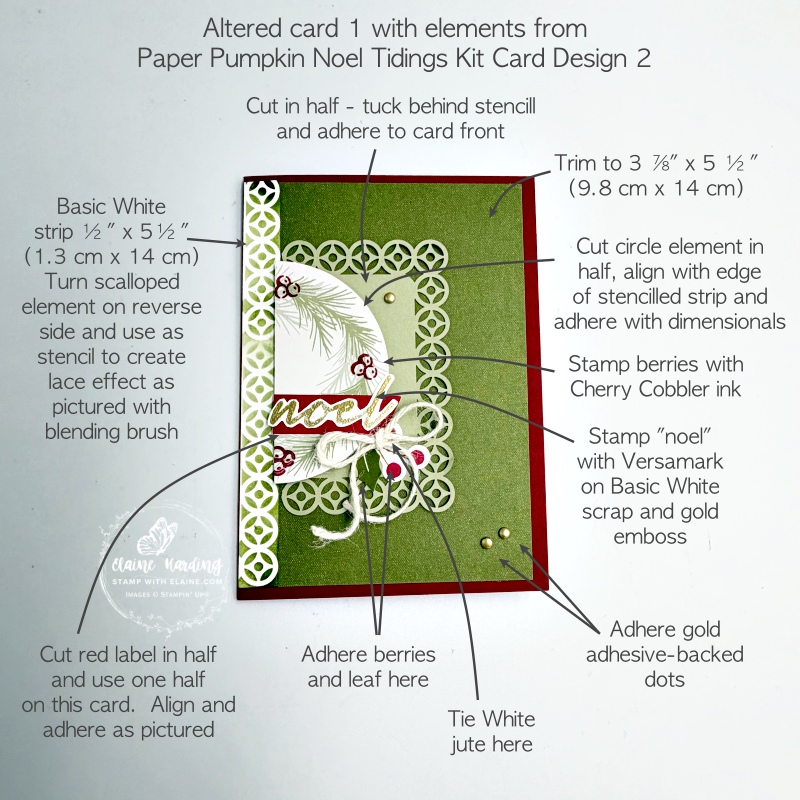
Card front
- Basic card base Cherry Cobbler 5 ¾” x 8 ¼” (14.5 cm x 21 cm) folded in half.
- Cut Design kit card 2 Mossy Meadow card base along score line so that it measures 4 ¼” x 5 ½” (10.8 cm x 14 cm). On the 4 ¼” (10.8 cm) short side, align at 3 ⅞” (9.8 cm) and trim – reserve remnant for inside card. Adhere 3 ⅞” x 5 ½” (9.8 x 14 cm) piece to front of Cherry Cobbler card base along fold with an even border at top, bottom.
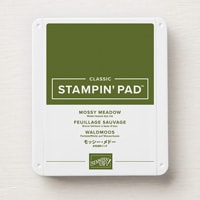
- Cut strip of Basic White card stock measuring ½” x 5 ½” (1.3 cm x 14 cm). Flip scallop Kit Card 2 design element on the reverse side and use as stencil. Place the pattern and align with strip – use blending brush and gently apply Mossy Meadow ink along strip to create border. Position stencilled strip along fold of card front but don’t glue it down yet.
- On the long side of scallop element, use pattern to align inside groove of cutting edge and split it in half. Reserve other half for 2nd alternate card. Partially tuck underneath stencilled white piece so that 5 whole circles are visible and adhere to card front.
- Now you can adhere the white stencilled strip as shown.
Adhering semi-circular element
- Cut the circular wreath element in half – reserve the other half for the next card.
- Stamp berries in Cherry Cobbler on one half of the circle as shown.
- Apply dimensionals on the back, align with the right edge of the stencilled white piece and adhere
Label and finishing touches
- The red label was cut in half. Reserve other half for next card. In the meantime, align straight edge with right edge of stencilled white strip and adhere on top of semi-circle.
- On scrap of Basic White, stamp “noel” in versamark ink and gold emboss. Fussy cut and adhere on top of Red label.
- Adhere Kit Card 2 berries and holly leaf element in bottom right of label.
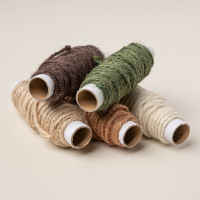
- Tie jute bow and adhere with glue dot as pictured.
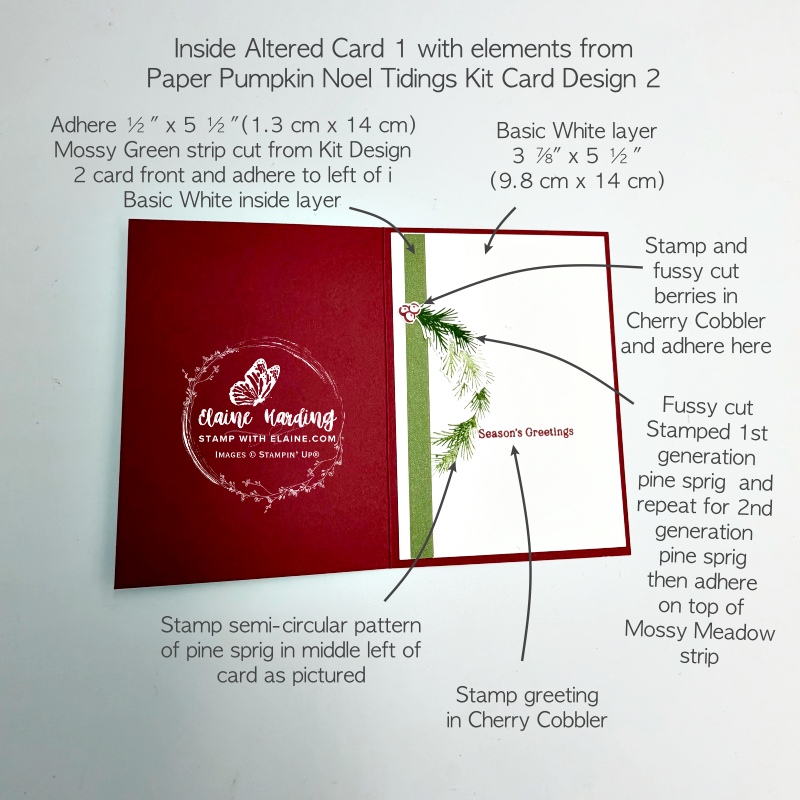
Inside card
- Cut Basic White layer 3 ⅞” x 5 ½” (9.8 cm x 14 cm). Adhere inside card as shown leaving an even border on all 4 sides.
- Stamp berries in Cherry Cobbler ink, pine needle image with 1st and 2nd generation Mossy Meadow ink then fussy cut and set aside.
- Next stamp off centre toward left of Basic White layer as pictured the pine needle image.
- Adhere remnant of Kit Card 2 toward the left of Basic White layer as shown overlapping stamped half wreath.
- Adhere fussy cut 1st and 2nd generation fussy cut stamped pine needles as pictured, and the berries on top of Mossy Green strip.
Second alternate card with stamped border
Card front
- Basic card base Cherry Cobbler 5 ¾” x 8 ¼” (14.5 cm x 21 cm) folded in half.
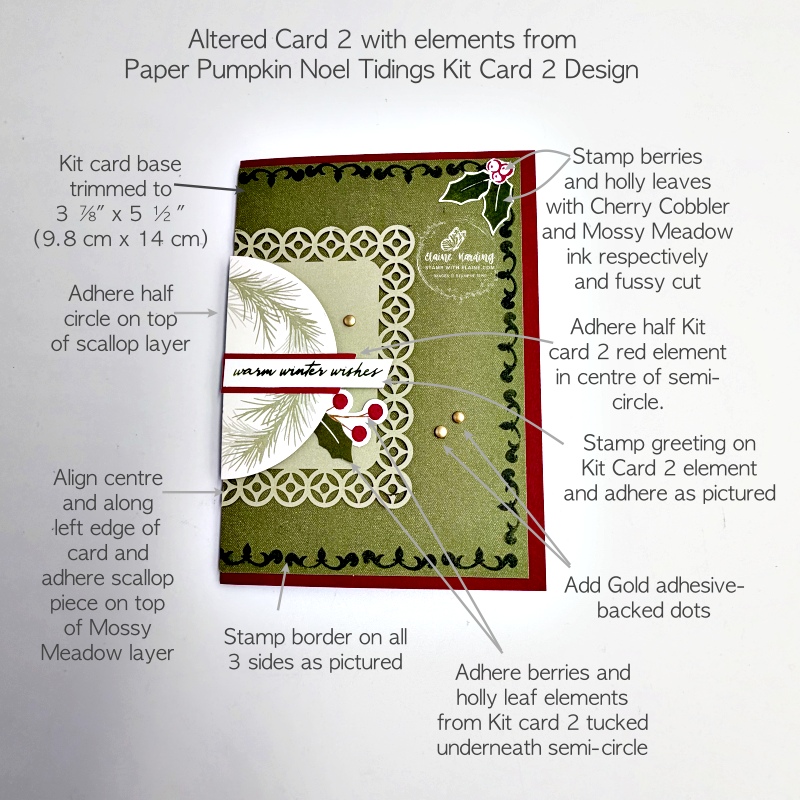
- Trim back half of Kit Card design 2 to 3 ⅞” x 5 ½” (9.8 x 14 cm). Adhere to card front along fold leaving an even border at top and bottom.
- Adhere second half of scalloped piece as shown.
- Align and adhere with dimensionals the remaining half of circle along fold and centred on the top and bottom of the scalloped piece.
- Stamp detail on top, bottom and side of Mossy Meadow layer as shown. Where it didn’t quite “join” at the top, I stamped a pair of holly leaves and the berries on a scrap of Basic White and fussy cut them and adhered it in the top right corner to hide the mis-aligned stamping.
Label and finishing touches
- Adhere 2nd half of red label in centre of semi-circle.
- On scrap of Basic White, stamp greeting and trim to fit. Place dimensional on right end of label and adhere left end centred on top of red label.
- Tuck remaining berry sprig and leaf in bottom right of semi circle as pictured.
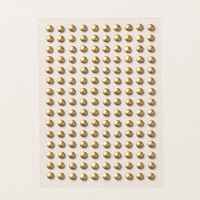
- Finish by adding Gold adhesive-backed dots.
Inside card
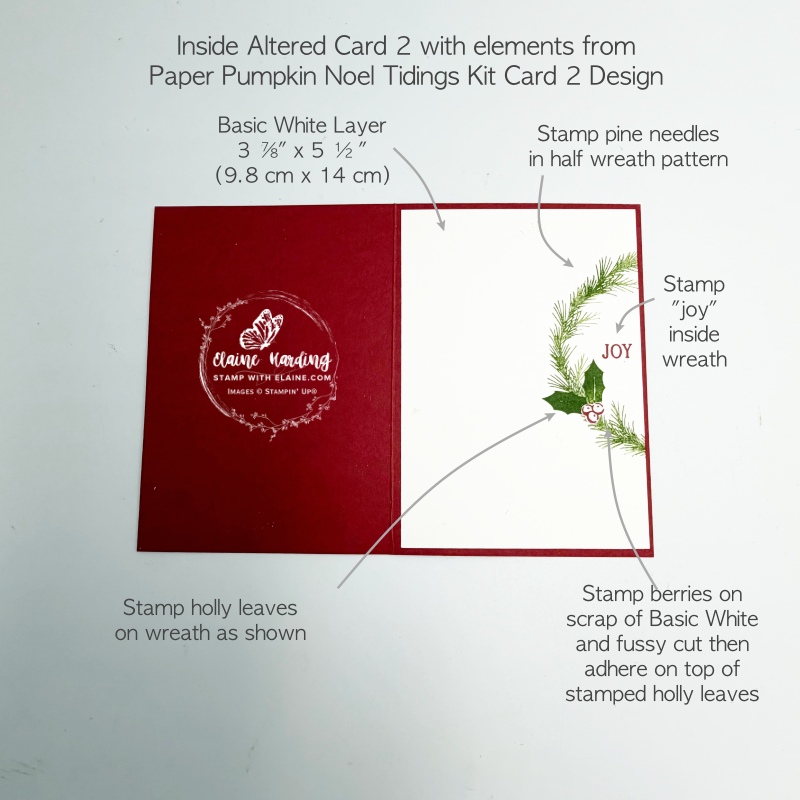
- Basic White layer cut at 3 ⅞” x 5 ½” (9.8 x 14 cm).
- Stamp pine needle image toward right as shown with Mossy Meadow ink
- On scrap of Basic White – stamp berries in Cherry Cobbler and fussy cut.
- Stamp holly leaves directly on wreath either side as shown then adhere berries in between the leaves.
- Finally stamp “joy” with Cherry Cobbler ink inside wreath as shown before adhering Basic White layer inside card leaving an even border on all 4 sides.
Third Alternate card using the envelop plus remaining elements from Kit Card Design 2
Card front
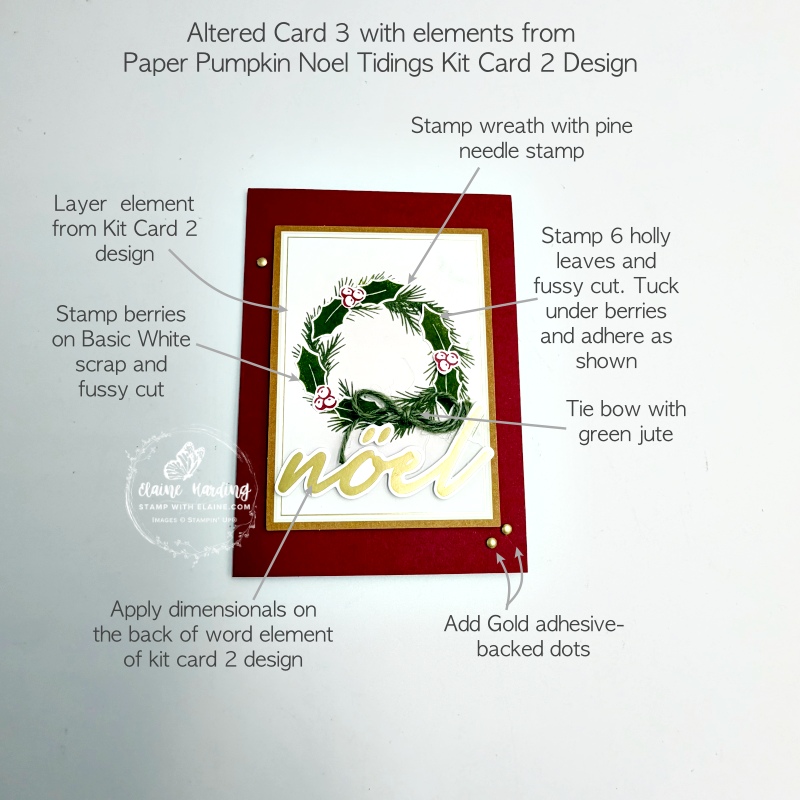
Last Kit card element is the rectangular piece with the Pecan Pie and gold border.
- Stamp the wreath with 1st and 2nd generation ink – i.e., stamp 1st generation the pine needle image, and follow on without re-inking for a lighter colour. Ink again and stamp 3rd pine needle image in 1st generation, and follow on without re-inking as you “construct” the wreath. Remember to allow enough room to adhere greeting at the bottom.
- On scrap of Basic White stamp 6 holly leaves with Mossy Meadow ink and fussy cut. Then stamp 3 sets of berries with Cherry Cobbler ink and fussy cut. Adhere on top of stamped wreath as shown to give wreath a fuller look.
- Tie jute bow and adhere with glue dots toward bottom of wreath.
- Apply dimensionals to the Gold Kit card element and adhere below wreath.
- Lastly apply dimensionals to the back of the rectangular piece and adhere to card front leaving an even border on the two sides, and an even border top and bottom.
Inside card
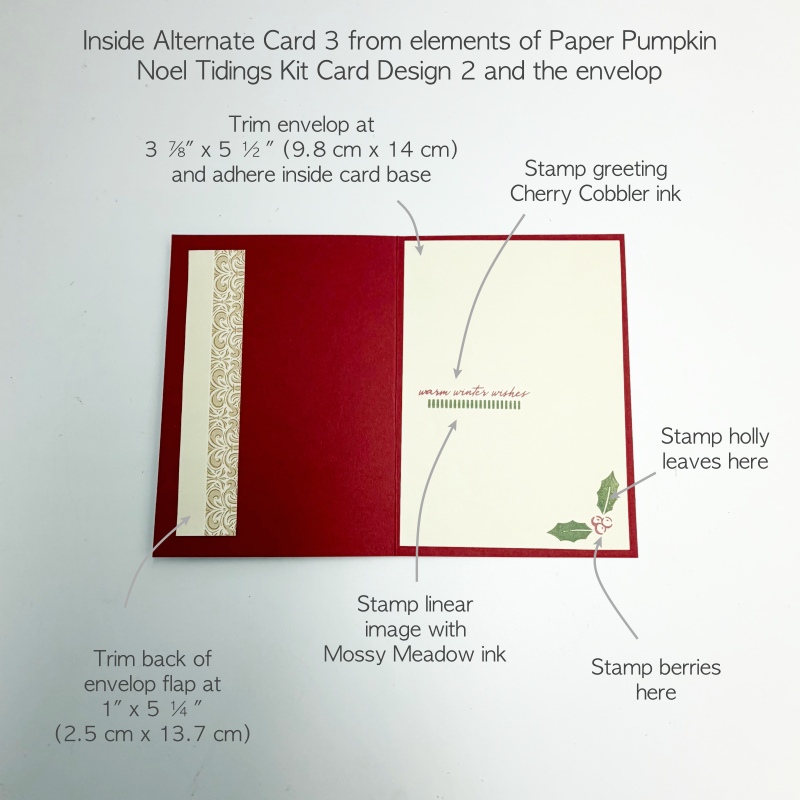
Trim the sides of the envelop a tad so the you can open it up. Cut it on the score line where it joins the opening and back of envelop. This means the patterned flap is still joined to the front of the envelop. This will allow you to trim a piece large enough to use as the inside of the card layer in lieu of using Basic White card stock.
- Align front of envelop straight edge (patterned flap on right) at 3 ⅞” and trim to 3 ⅞” x 5 ½”(9.8 cm x 14 cm). Adhere this to the inside of the card leaving an even border on all 4 sides.
- Stamp berries with Cherry Cobbler ink first in bottom right corner, then stamp holly leaves on either side with Mossy Meadow ink.
- Then stamp “warm winter wishes” to centre left in Cherry Cobbler and underneath, use linear stamp to stamp detail underneath with Mossy Meadow ink.
- Take envelop and trim the edges so that the flap is straight on the two short sides and long side. Align the score line between the envelop flap and basic beige portion ½” (1.3 cm) to the left of the cutting groove and slice through.
- Repeat, but this time ½” to right of cutting groove so that you incorporate the Basic Beige portion into the 1″ (2.5 cm) strip. You should now have a 1″ x 5 ⅛” (2.5 cm x 13 cm) strip that is half Basic Beige and half patterned paper. Adhere this on the inside left of card base as shown to complete card.
Supply list
Listed below is the supply list. Just click on the picture to take you directly to the item in my online store.
Product List






- SHOP ONLINE – EARN 10% REWARDS ON ALL PURCHASES OVER £20
- PURCHASE A STARTER KIT : Get £155 worth of products for only £99. Choose from current catalogues and any specials available. Free Shipping. Read more
- Subscribe to my Video Tutorials – click here
