
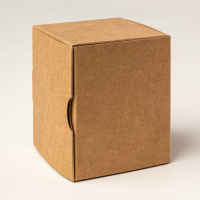
Advent Calendar – Week 8 of Christmas Countdown Series. I was rather intrigued by how the Advent Calendar was put together on the front cover of the September-December 2026 catalogue. Stampin’ Up! offered an Advent-ures in Christmas Class. which took place on 17 September using the Advent Treat Boxes (168534). I used the Advent Labels Bundle, and the Advent Treat boxes. I needed two sets, so I used one for the class following their class instructions. For the other, I went carte blanche and used their tiered template to make the tree on the cover. So this is my interpretation of the Tree version.
Extra materials
You’ll need a hot glue gun for this project. I also used the Home for Christmas dies to make my tree topper and also die cut tiny bows for the wreath out of a scrap of Timeless Metallic paper. To decorate the back of Box 24 I used the largest snowflake die from Dreamy Snowflakes Hybrid embossing folder. I fussy cut some of the numbers, stamped directly on to the label or stamped and punched them out with a ¾” circle punch (retired).
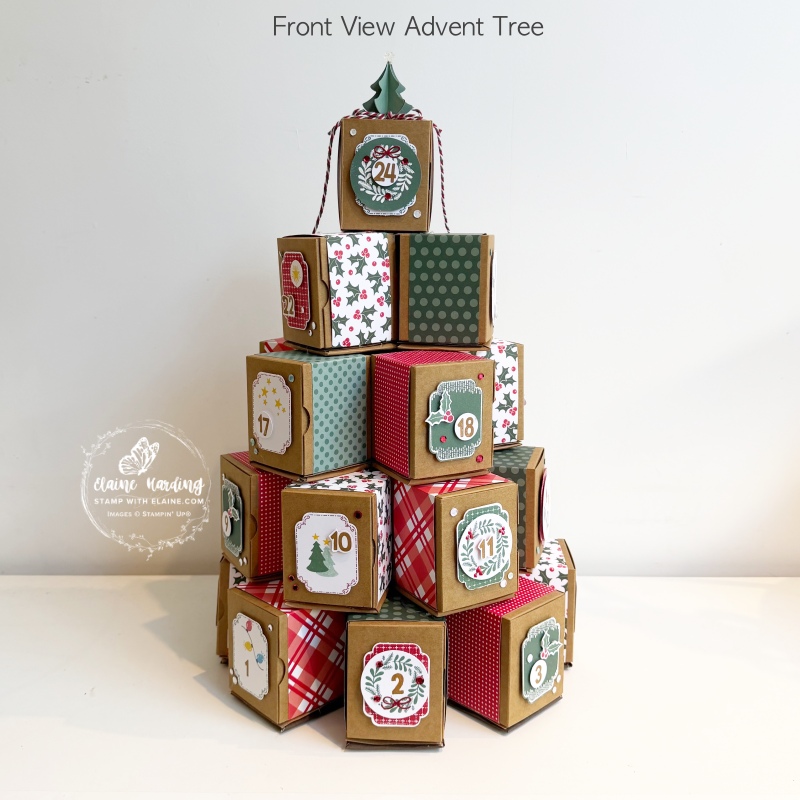
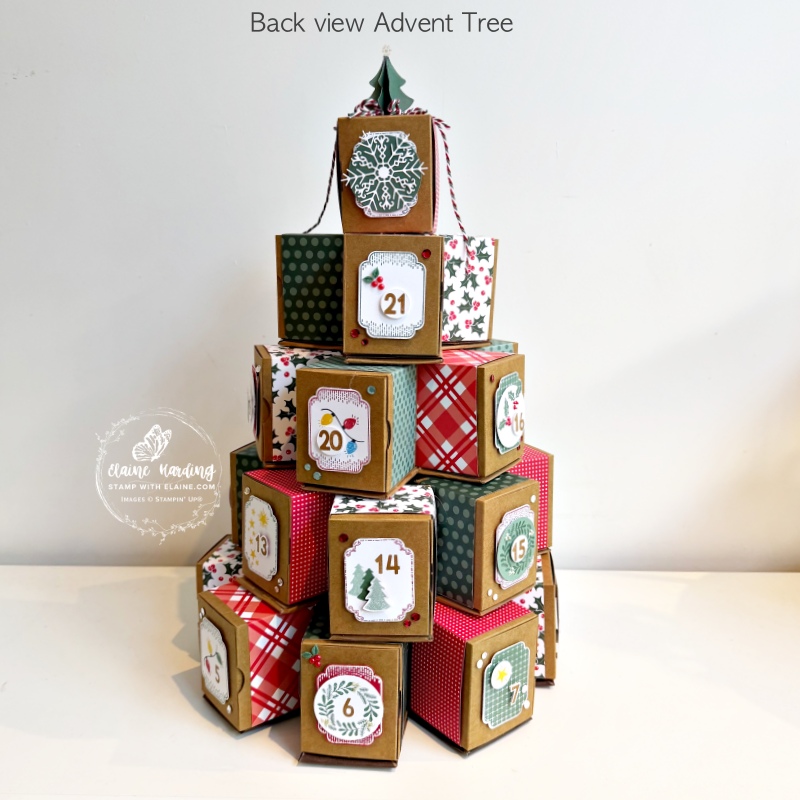
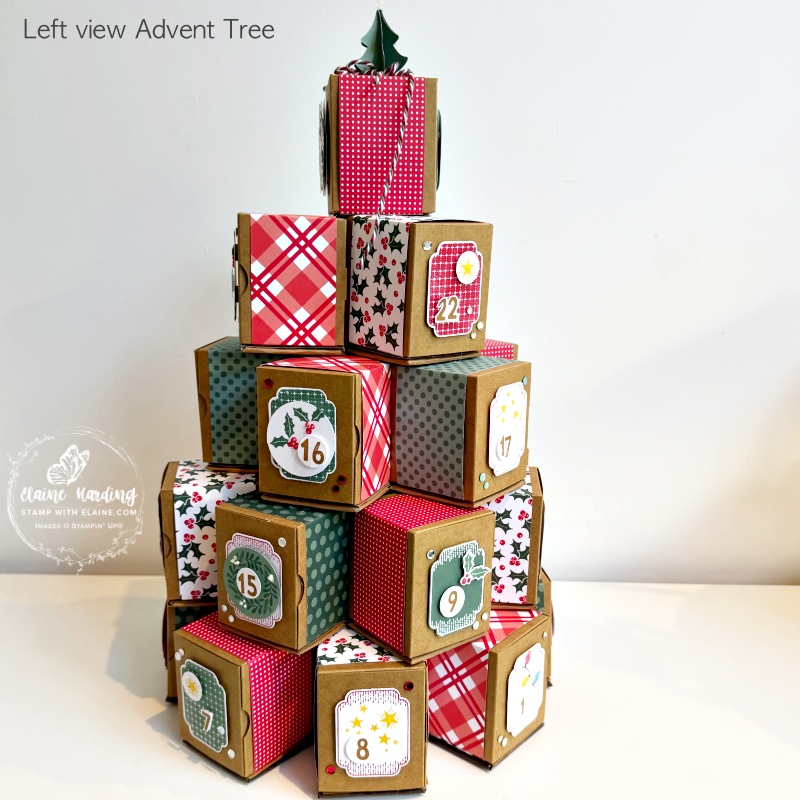
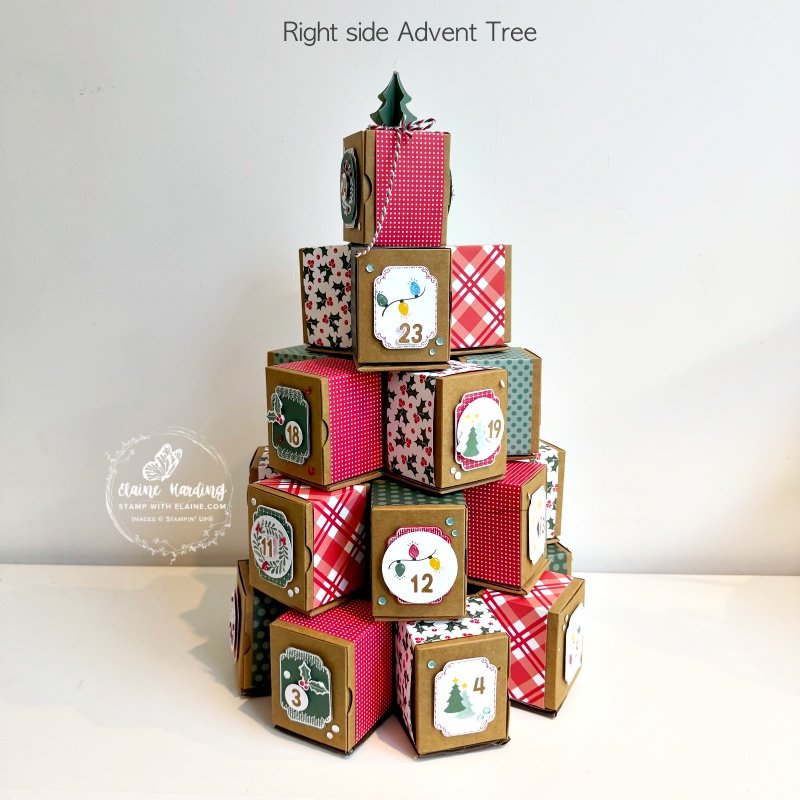
Side views
Tier 1
There are templates included in the Advent Treat Boxes package to create the Advent Tree. However they are too flimsy to support the treat boxes required for each tier. You can use the cardboard boxes your Stampin’ Up! orders are shipped in and trace round each template to create a sturdier base. In order to adhere them securely, I would recommend a hot glue gun. Tier 1 supports 8 treat boxes.
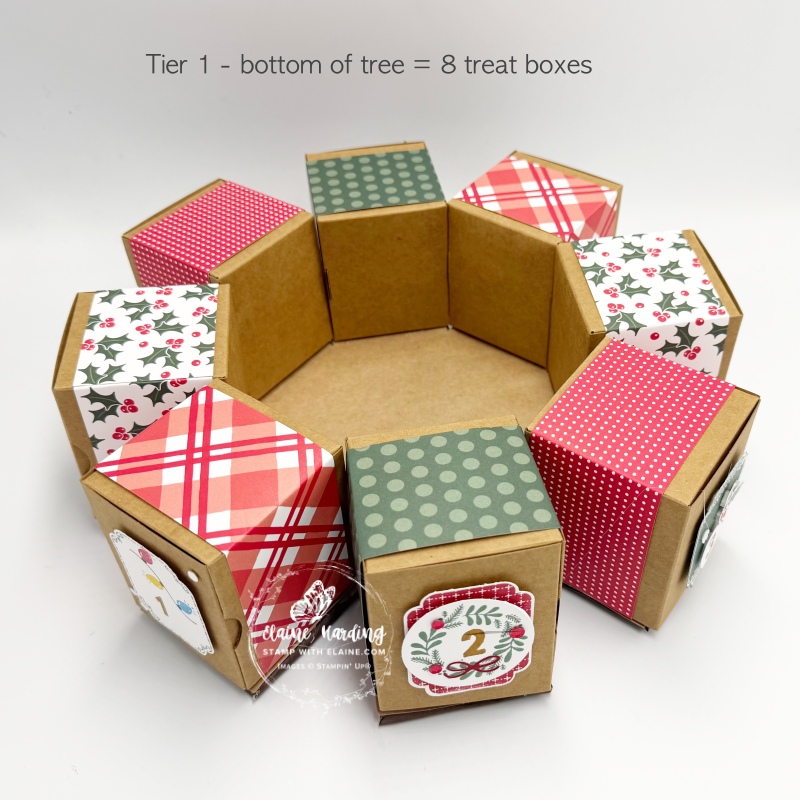
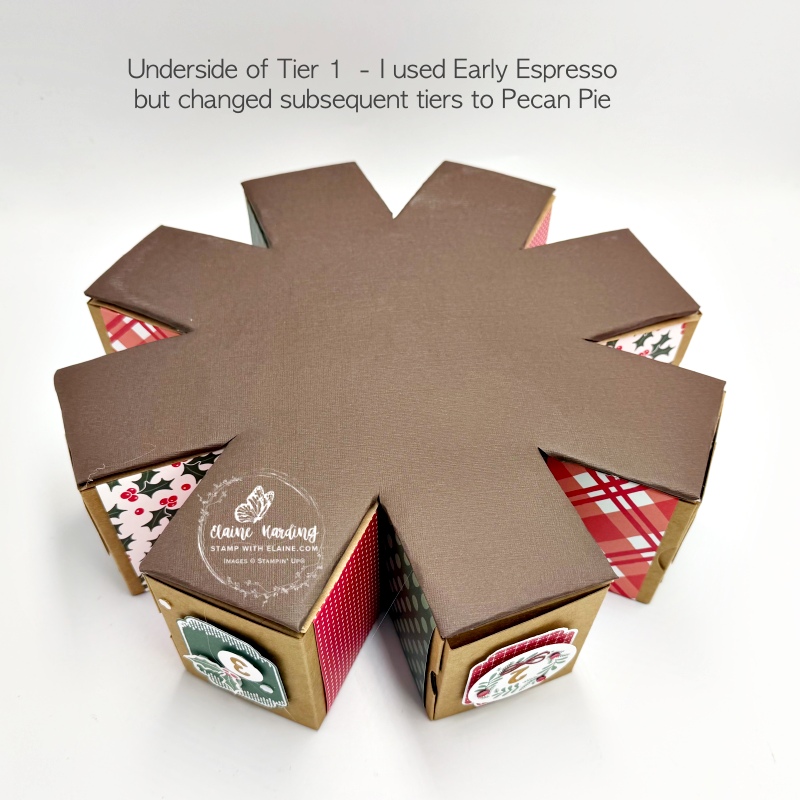
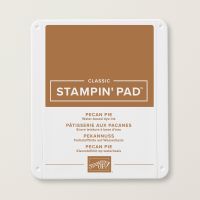
- Trace Tier 1 template on cardboard and also on a sheet of 12″x 12″ card stock in Pecan Pie – it is a better match to treat boxes. I used Early Espresso for my first tier and it was too late to change it because I had used a hot glue gun and couldn’t take it apart.
- Trim and wrap card stock around template on one side and adhere with hot glue gun.
- Flip over and align and adhere the Advent Treat Box tier template with hot glue gun.
How to strengthen your templates
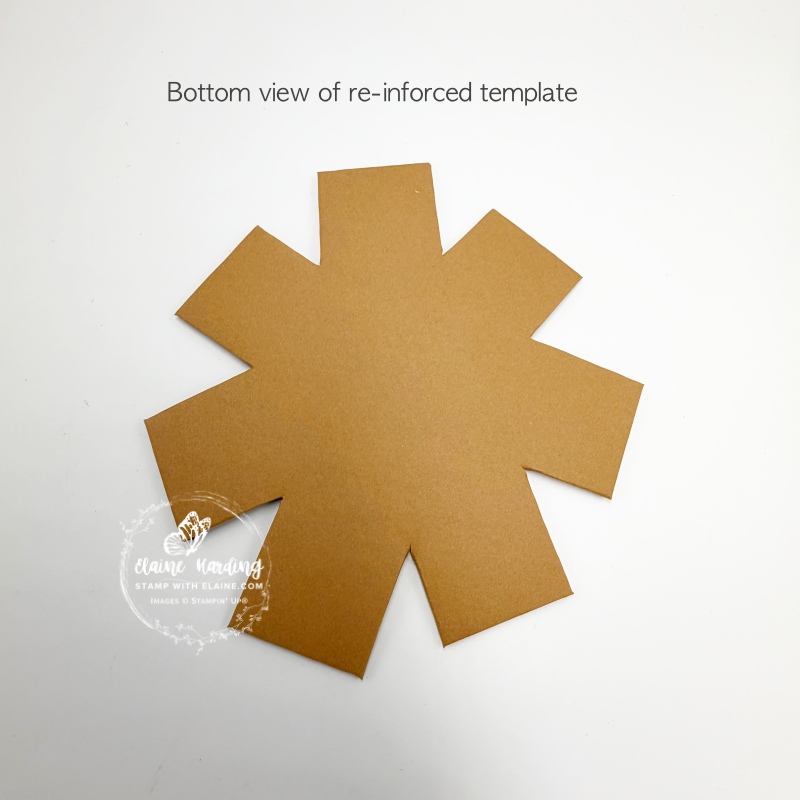
I didn’t take any photos while I was experimenting with the 1st tier, but have photographed the process for Tier 2 which supports 7 Advent Treat Boxes. Repeat process for remaining tiers 3 & 4. There is no need for a Tier 5 because it only has the one remaining box no. 24.
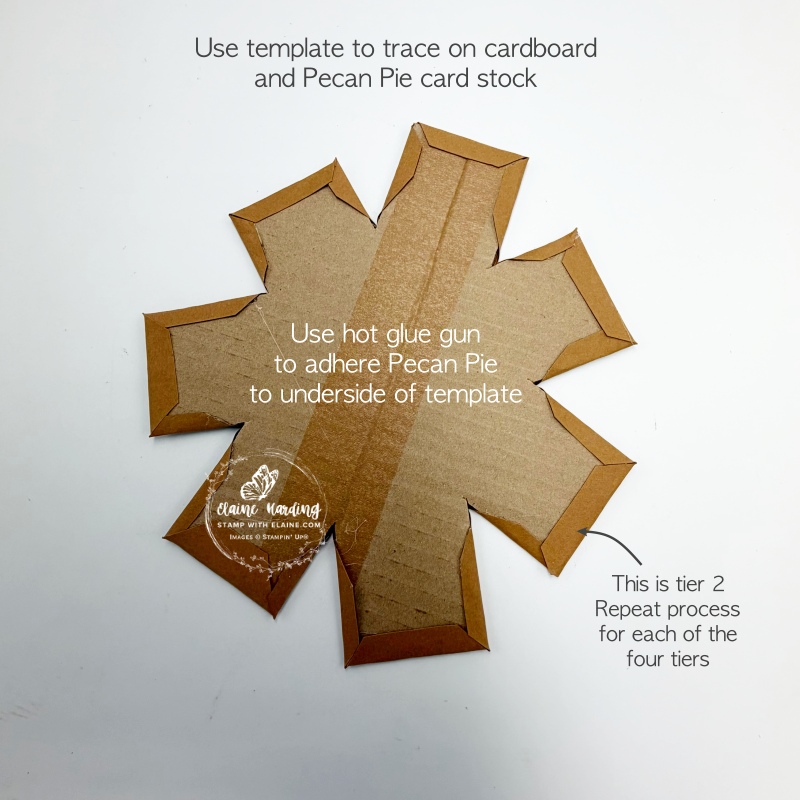
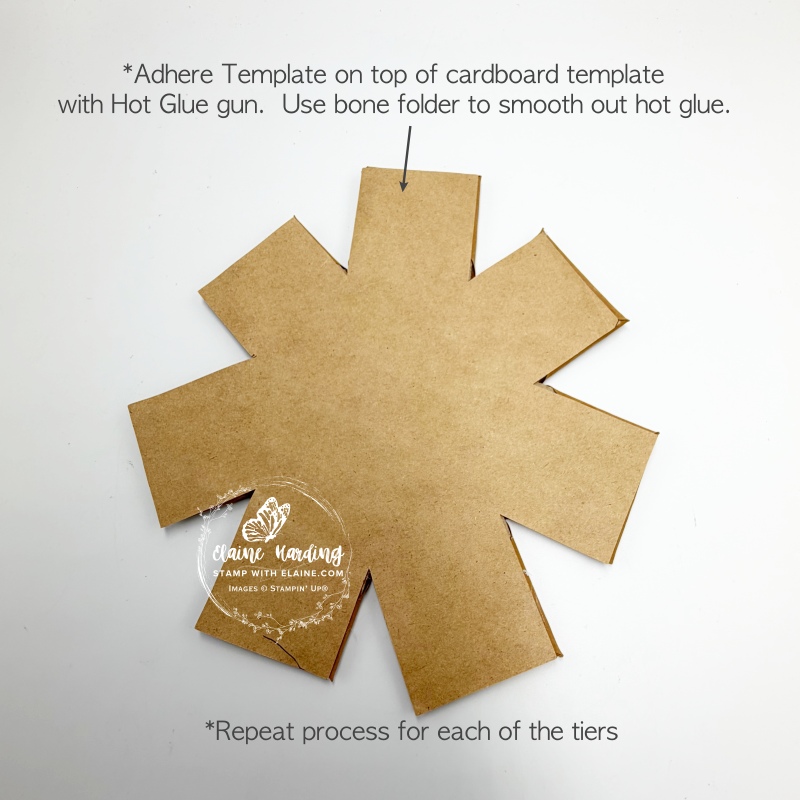
- Trace template on cardboard (picture 1). Also trace template on Pecan Pie 12″x 12″ (30.5 x 30.5 cm) cards stock.
- Trim Pecan Pie template ensure you make a ½” (1.5 cm) allowance for all tabs so you can wrap it round each prong of the template. (picture 1) and adhere to cardboard with a hot glue gun.
- Once the prongs have been wrapped with Pecan Pie card stock, it should look like middle picture.
- Lastly adhere template from Advent Treat Box package on the reverse side (top) – picture on the right.
- Repeat process for Tier 3 & 4.
- For the last treat box (box 24) it is a single box which doesn’t require a template.
Cutting guide for DSP for Advent Treat Boxes and labels
This is how I decorated mine, but you can decorate it as you wish in any configuration.
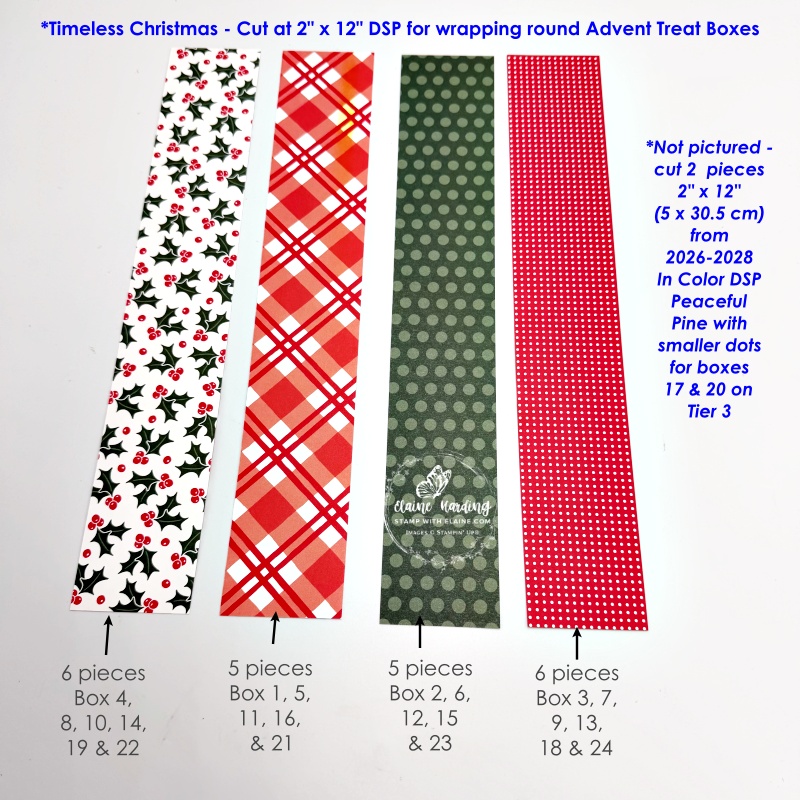
DSP for wrapping boxes
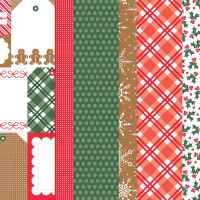
I used the Timeless Christmas 12″x 12″ (30.5 x 30.5 cm) Specialty Paper for wrapping the Avent Treat boxes and also the 2026-2028 In Color 12″x 12″ (30.5 x 30.5 cm) DSP.
- Cut 6 strips measuring 2″ x 12″ (5 cm x 30.5 cm) of the Holly pattern on numbers 4, 8, 10, 14, 19 and 22 Advent Treat boxes.
- Plaid pattern (reverse of holly pattern) cut 5 strips 2″ x 12″ (5 cm x 30.5 cm) for boxes 1, 5, 11, 16 and 21.
- Peaceful Pine dotted pattern – cut 5 strips 2″x 12″ (5 cm x 30.5 cm) for boxes 2, 6, 12, 15 & 23.
- Real Red with tiny dots – cut 6 strips 2″ x 12″ (5 cm x 30.5 cm) for boxes 3, 7, 9, 13, 18 & 24.
- Peaceful Pine 2026-2028 In Color DSP cut 2 strips 2″ x 12″ (5 cm x 30.5 cm) for boxes 17 & 20 on Tier 3.
Card stock for labels
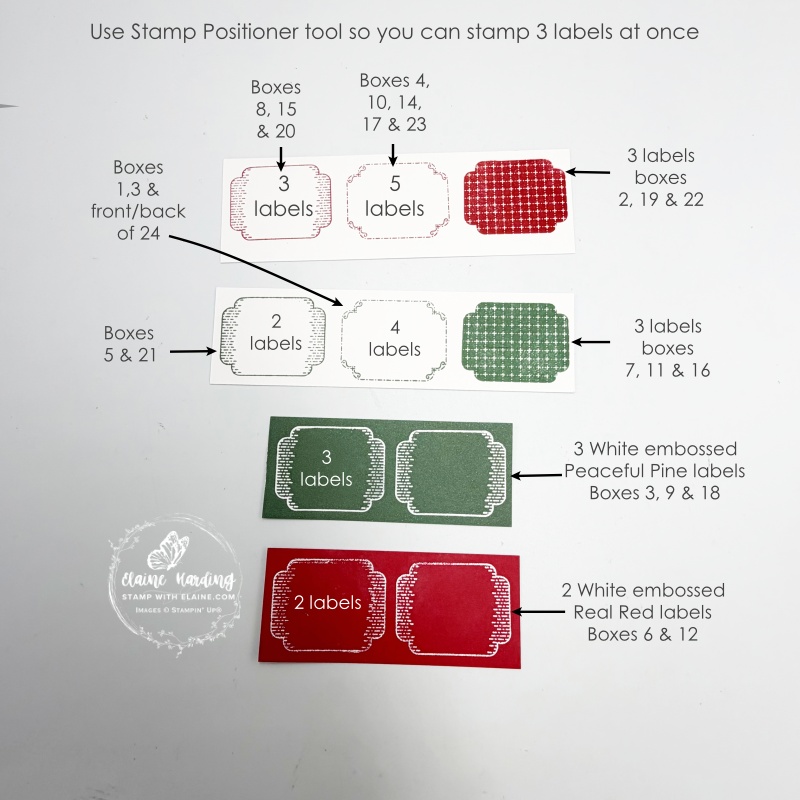
I used the stamp positioner tool to stamp my labels 3 at a time. These were stamped on strips of White Willow 2″ x 12″ (5 cm x 30.5 cm) and Real Red and Peaceful Pine two-tone card stock. Refer to picture on right to see which label I used for which box.
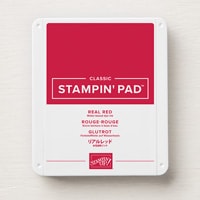
- Real Red Ink – pattern 1 – 3 labels for boxes 8, 15 & 20.
- Pattern 2 – real red ink – 5 labels for boxes 10, 14, 17 & 23.
- Solid Real Red ink pattern – 3 labels for boxes 2, 19 & 22.
- Peaceful Pine ink – pattern 1 – 2 labels for boxes 5 & 21.
- Pattern 2 Peaceful Pine ink – 4 labels for boxes 1, 3 & front and back of 24.
- Solid Peaceful Pine ink pattern – 3 labels for boxes 7, 11, & 16.
- White Emboss 3 labels on Peaceful Pine two-tone card stock – boxes 3, 9 & 18
- Real Red card stock – white emboss 2 labels for boxes 6 & 12.
How to assemble treat boxes
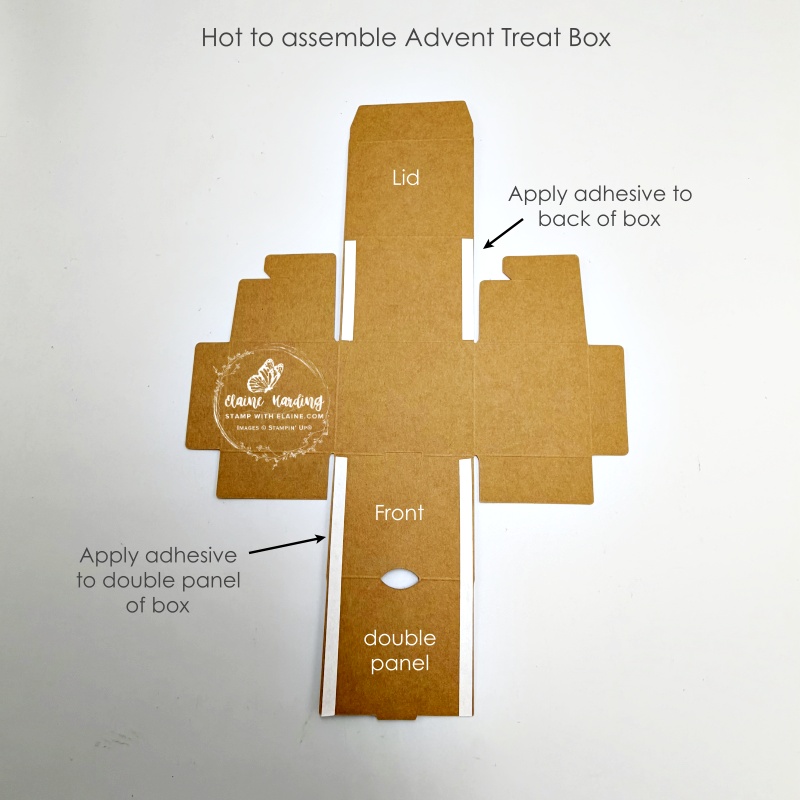
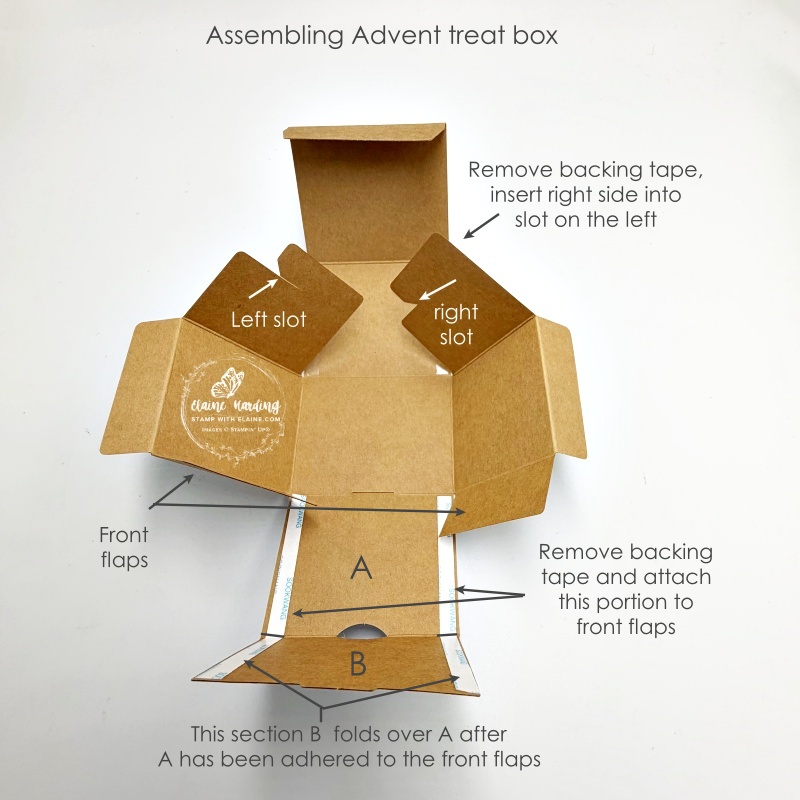
- On the embossed side, apply tear n’ tape as shown on picture on left.
- Remove backing tape on the lid side and insert the right slot over the left slot (picture on right) and adhere to back of box lid.
- Remove backing tape spanning across “A” and “B” sections. Attach “A” to the front flaps
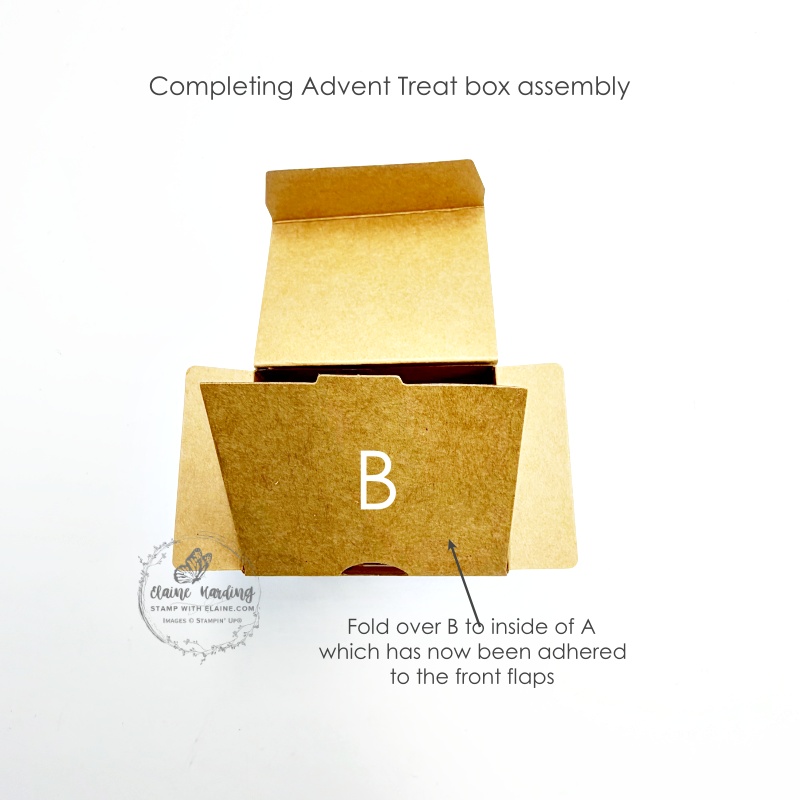
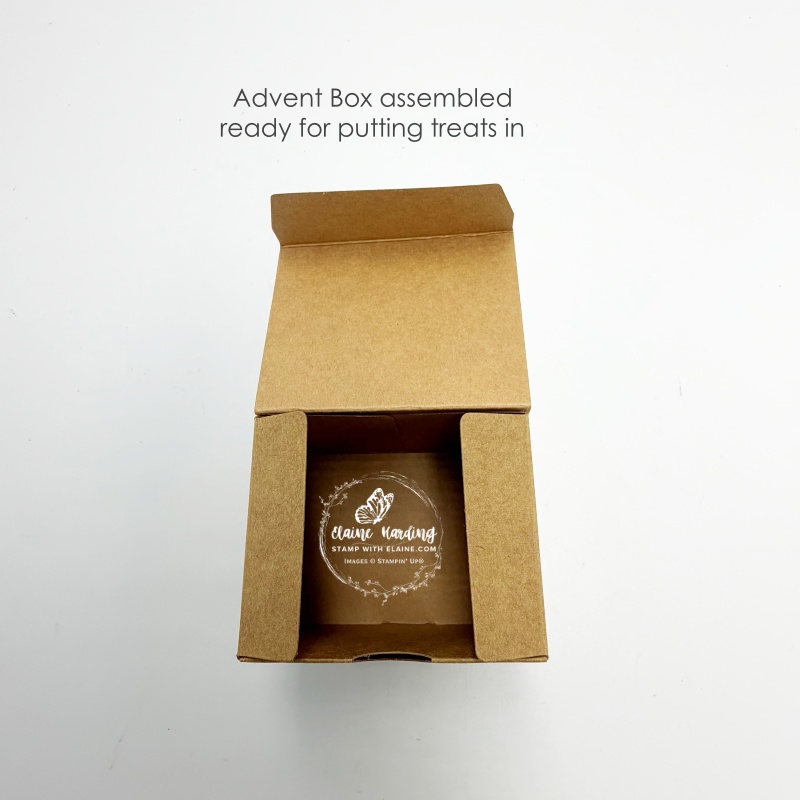
- Once “A” has been attached to front flaps, fold over “B” and secure to inside of “A”.
- Ensure it is properly sealed as in picture on right.
How to wrap DSP around box
In lieu of scoring, I simply wrapped the DSP round the box. Ensure you can still open the lid.
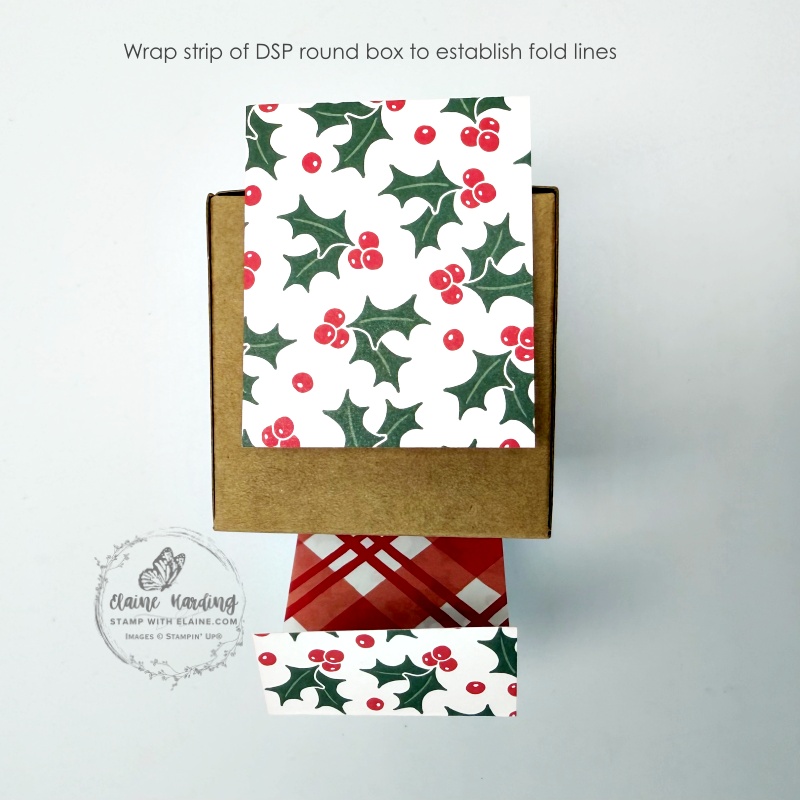
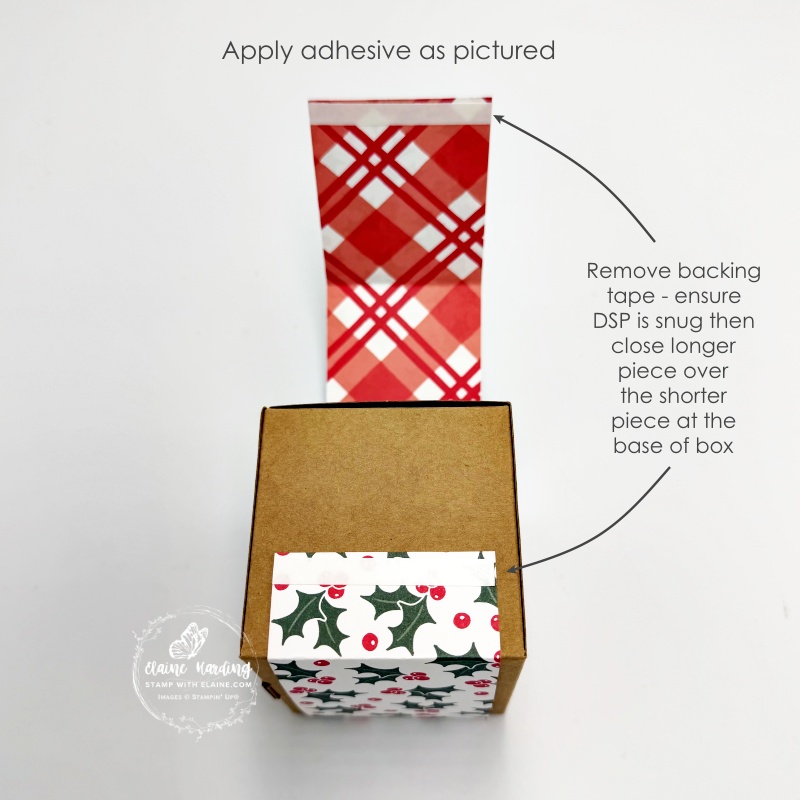
- Align the DSP with the base of the box for your first fold. This eliminates the need to trim the bottom. Carry on wrapping around each side of the box. You should be left with a short strip (picture on left).
- Reinforce fold lines for a crisper fold. Apply adhesive on top of the shorter piece (picture on right) and to the underside of the longer piece.
- Remove backing tape from shorter piece, ensure it fits snugly into box, then bring the longer piece aligned with shorter piece and adhere. You should have sufficient leeway to lift longer piece, remove backing tape and adhere on top of shorter piece.
Decorating your boxes
Decorate the boxes as you wish – to ensure I didn’t have two of the same next to each other, I had a sequence of 4 different patterns then repeated the same sequence for Tier 1. Follow the same sequence up all tiers by staggering them. That’s why I had to introduce the 2026-2028 In Colors Peaceful Pine dots for Tier 3 so that I could use the last of the Peaceful Pine strip from the Timeless Christmas DSP for Tier 4 which only has 3 boxes.
Tree Topper
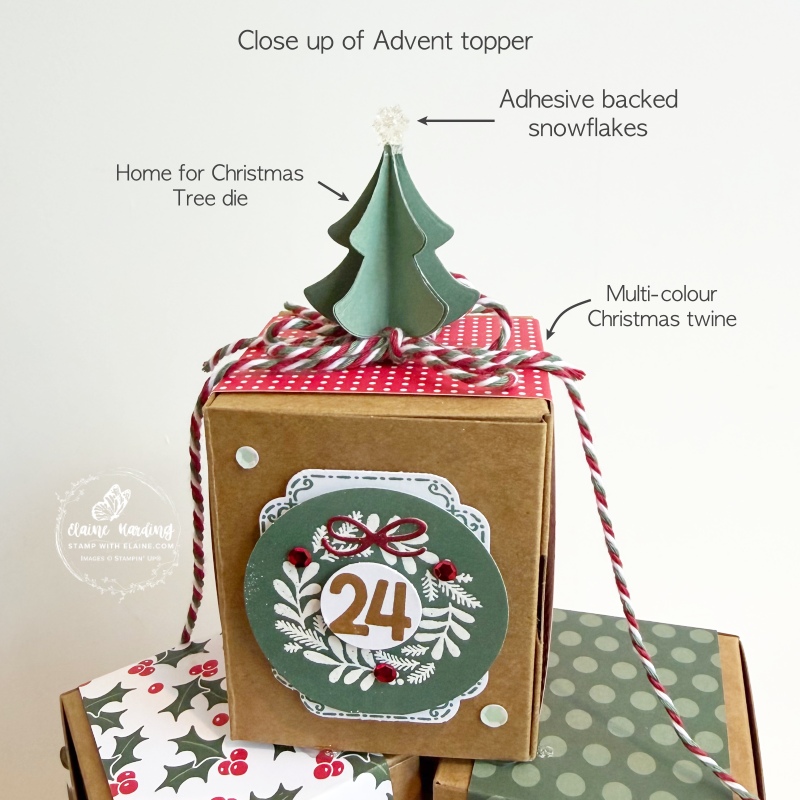
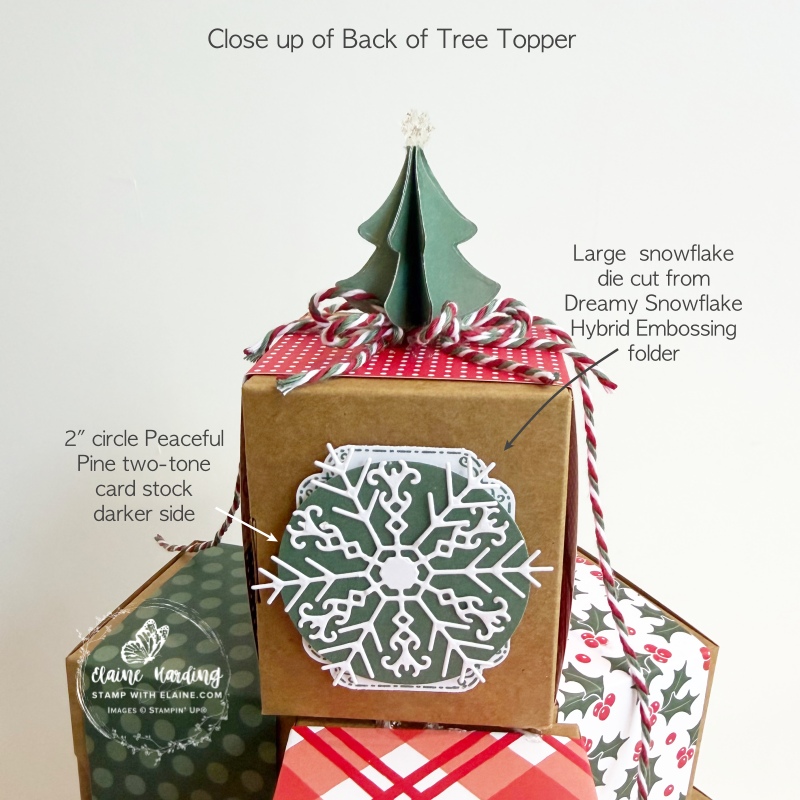
- Die cut 6 trees from Home for Christmas dies with Peaceful Pine two-tone card stock. Fold them in half and glue each half to the next tree half until all tree halves are glued together. You should have a stack of 6.
- Adhere the last halves of stack together to form a 3D tree. Apply hot glue to the base of tree and adhere in centre of Box 24
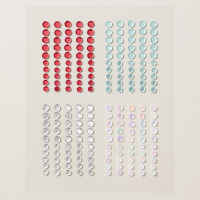
- Take two of the larger clear snowflake from Adhesive-backed snowflakes and stick them back to back. Apply hot glue to top of tree and adhere snowflake to top.
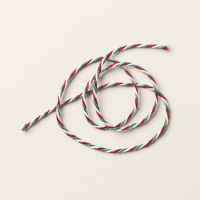
- Take a length of Multi-coloured Baker’s twine and tie bow to base of tree as pictured at the beginning of post.
- Tie two additional smaller bows and adhere with glue dots around base of tree evenly spaced apart.
- Adhere punched green label to back of box 24. Punch 2″ circle Peaceful Pine two-tone card stock and adhere on top of label then adhere largest die cut snowflake from Dreamy Snowflake Hybrid Embossing folder
Advent-ures in Christmas Craft Class
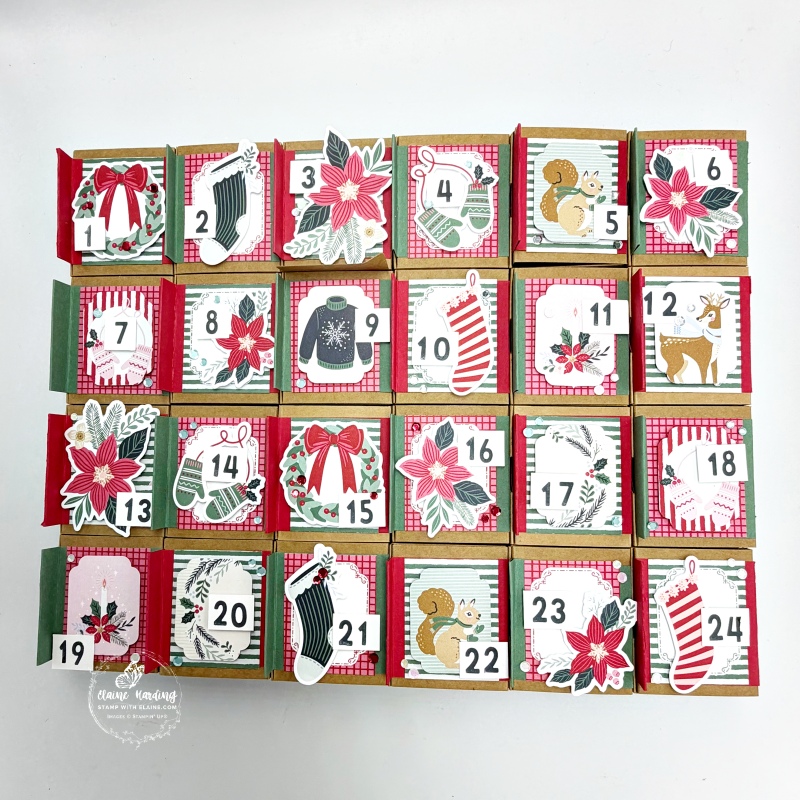
I attended the Advent-ures in Christmas Craft Class on 17 September and this is the one we made. Which do you prefer – the rectangular configuration or the tree? For this one we used the Creative Celebrations Mix & Match 6″ x 6″ (15.2 x 15.2 cm) Specialty Designer Series Paper.
Supply list
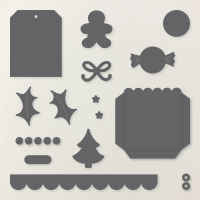
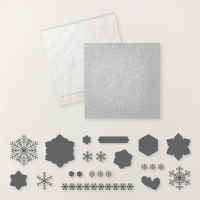
Listed below is the supply list. Just click on the picture to take you directly to the item in my online store.
Product List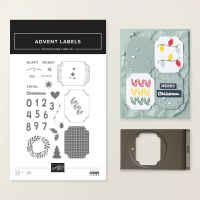







- SHOP ONLINE – EARN 10% REWARDS ON ALL PURCHASES OVER £20
- PURCHASE A STARTER KIT : Get £155 worth of products for only £99. Choose from current catalogues and any specials available. Free Shipping. Read more
- Subscribe to my Video Tutorials – click here
