
Altered Paper Pumpkin cards – Noel Tidings. Today’s altered Paper Pumpkin card is made from the elements for the Kit Card Choreographed. design 1. I try to use what’s available from the kit or the add on dies but I’ve added extra card stock to use as card bases, Basic White for the inside of the cards and envelops.
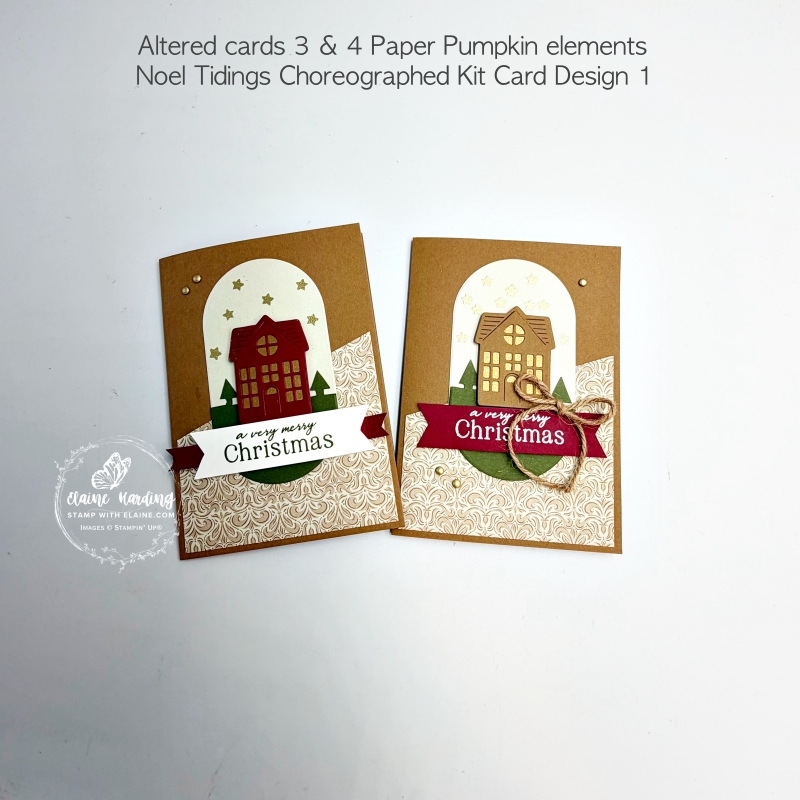
I shared the elements to make the 1st choreographed kit card design to make two alternative cards from the front half of the kit card base (shown in picture in the middle). Then I used the other stamp and die bundle from Neutral Noel Suite Collection called Welcome Noel from the September-December 26 catalogue to make a 3rd and 4th card with the back of the card base (pictured on the right).
4 cards from elements for Design 1 Kit card
With 4 cards to cover – it’s going to be a long post – so I’m glad it’s a Sunday so you can relax, grab a cuppa and a favourite snack before you dig in!
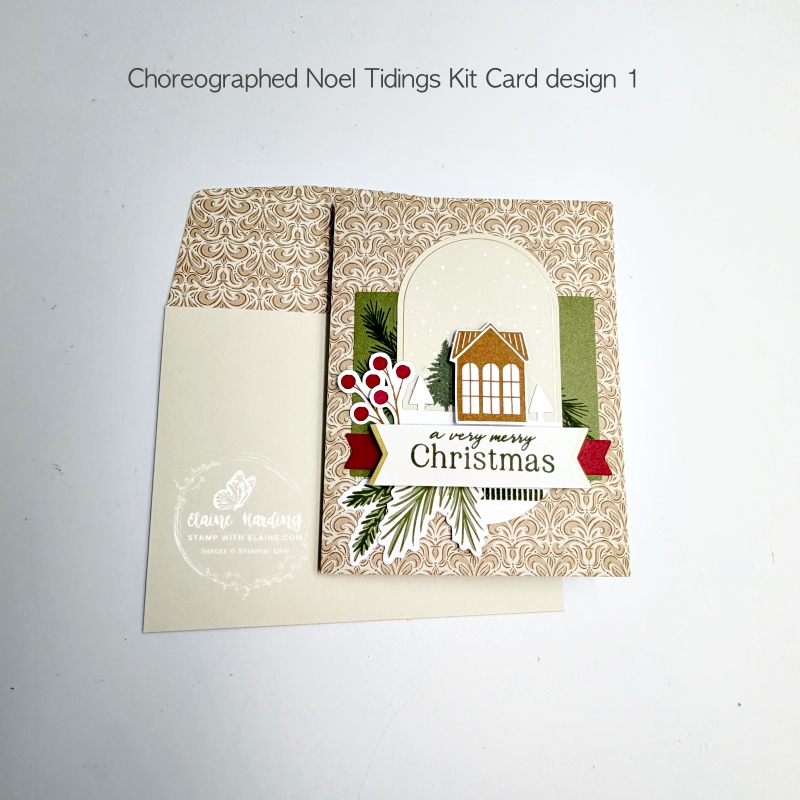
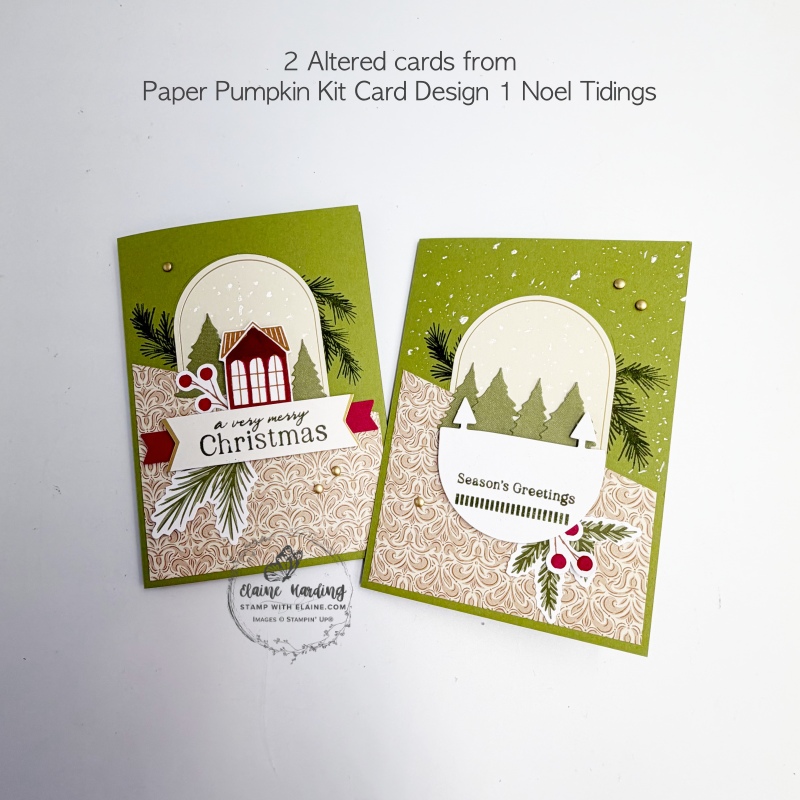
Alternate Card 1 Kit Card Design 1
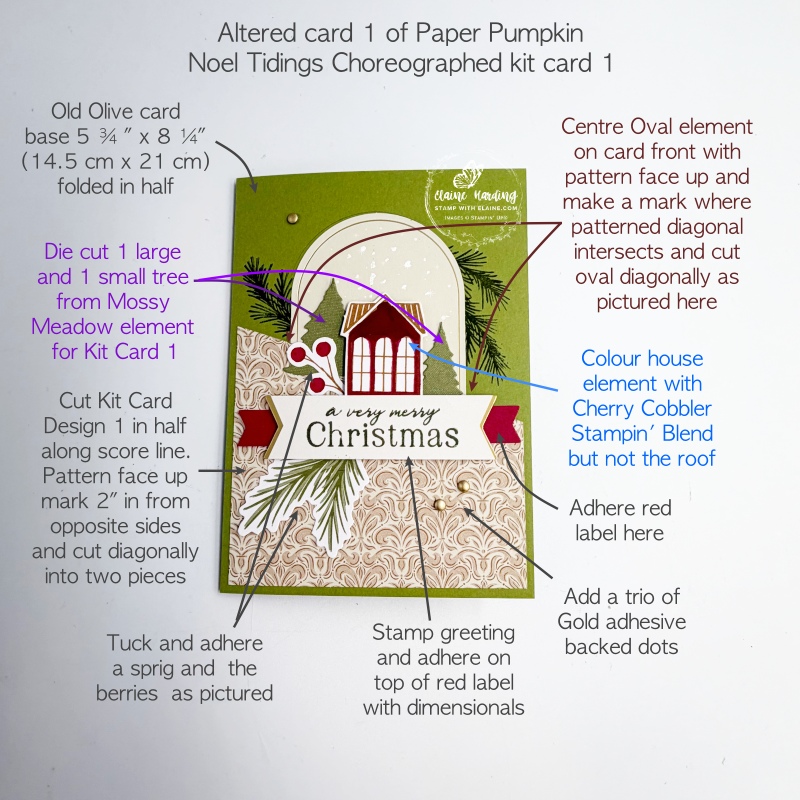
Card front of Alternate Card 1 Kit Card Design 1
I have colour coded some of the instructions to make it easier to follow.
- Old Olive card base 5 ¾” x 8 ¼” (14.5 cm x 21 cm) score at 4 ⅛” (10.5 cm) on the long side and folded in half.
- Cut the Kit Card design 1 card base in half – measure 2″ in from opposite ends (pattern side face up) and cut diagonally as pictured. Reserve other half for the second alternate card – dark red arrows and instructions.
- Mark the gradient on the oval piece on one half of the patterned side both with pattern side face up and cut in two halves. Reserve other half for the second alternative card.
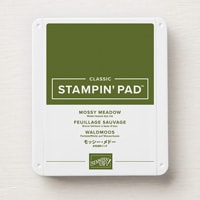
- Stamp pine leaves as shown in Mossy Meadow first. Use half oval piece as a guide to see where to stamp.
Die cut trees with Layered Tags Dies Paper Pumpkin Add On
- From the Kit Card Design 1 elements – use the Mossy Green piece to die cut 1 large and 1 smaller Christmas tree. Please be aware how you place the dies because you’ll need to cut more trees for the 2nd alternate card below. (instructions in purple)
- Adhere this to the 1st half of the Basic Beige oval piece as pictured.
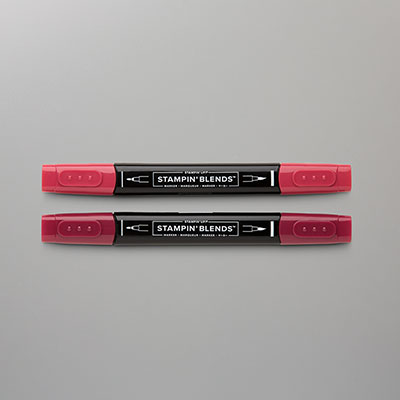
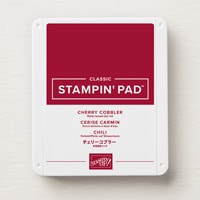
- Colour the front of the house element (instructions in blue) with the dark Cherry Cobbler Stampin’ Blend and adhere with dimensionals between the trees.
Labels and pine and berry elements
- Stamp the wide gold tipped flag end label with “a very merry Christmas” with Mossy Meadow ink.
- Apply adhesive to the back, then centre and adhere the red label as picture. Put dimensionals on the back and adhere to centre of card as pictured.
- Tuck berry behind house and adhere and tuck and pine sprig to left of label as pictured.
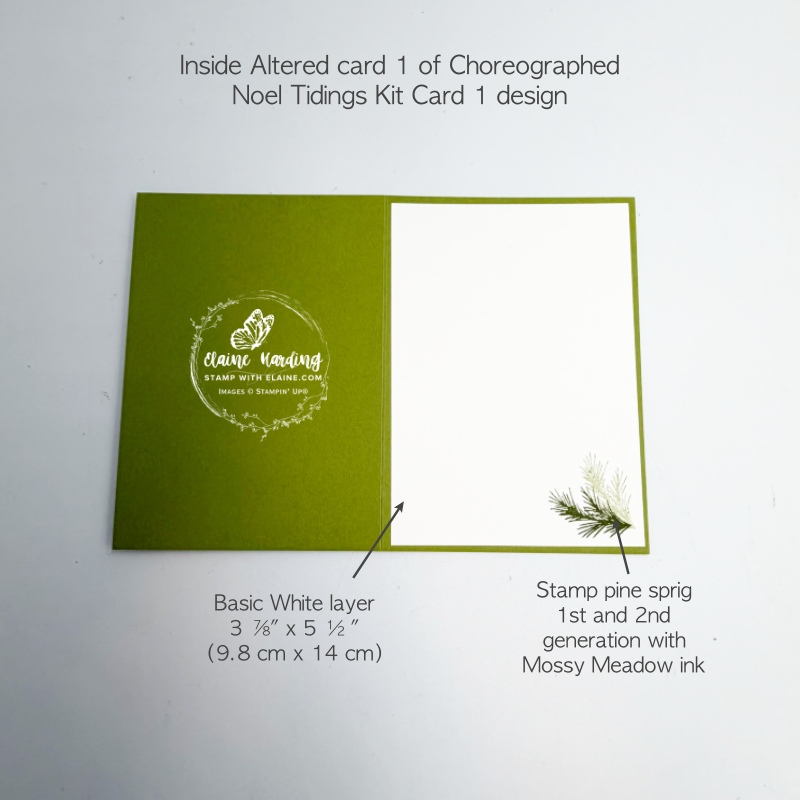
Inside card of Alternate Card 1 Kit Card Design 1
- Cut Basic White piece 3 ⅞” x 5 ½” (9.8 cm x 14 cm) and adhere to inside of card leaving an even border on all 4 sides.
- Stamp 1st and 2nd generation ink of the pine image in bottom right corner to complete card.
Alternate Card 2 Kit Card Design 1
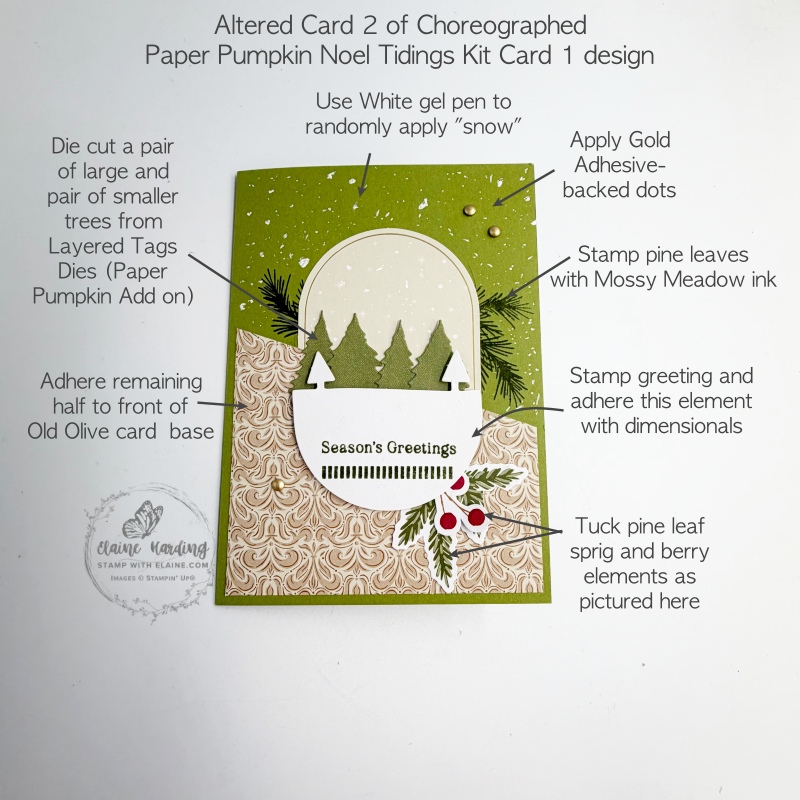
Card front of Alternate Card 2 Kit Card Design 1
- Old Olive card base 5 ¾” x 8 ¼” (14.5 cm x 21 cm) score at 4 ⅛” (10.5 cm) on the long side and folded in half.
- Adhere remaining diagonally cut piece to card front leaving an even border on the two sides and bottom.
- Use remaining oval as a guide as to where to stamp the pine leaf sprigs before aligning and adhering to diagonal edge of remaining diagonally cut rectangular piece.
- From Mossy Meadow element, die cut 1 pair of large and a pair of small trees from the Layered Tags Dies (Add on Paper Pumpkin dies). Adhere this along the diagonal alternating small, large, small and large as pictured.
- Attach dimensionals to the white tree oval element and adhere on top of trees.
Finishing touches
- Tuck remaining pine sprig and berries to right bottom of kit card white element and adhere as pictured
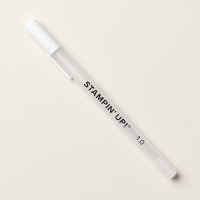
- Randomly dot snowflakes in upper half of card front on the Old Olive part with a white gel pen.
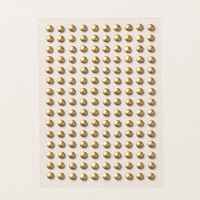
- Lastly add a trio of Gold adhesive-backed dots.
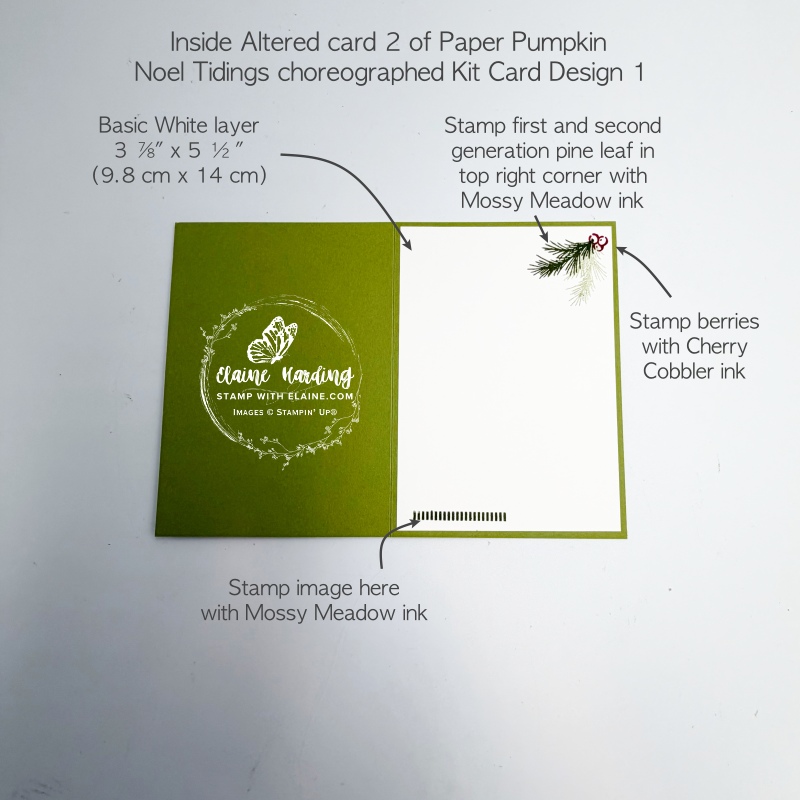
Inside card of Alternate Card 2 Kit Card Design 1
- Cut a Basic White layer 3 ⅞” x 5 ½” (9.8 cm x 14 cm) and adhere inside card leaving an even border on all 4 sides.
- Stamp linear image in bottom left corner with Mossy Meadow ink.
- In top right corner, stamp 1st and 2nd generation pine needles with Mossy Meadow ink and the berries with Cherry Cobbler ink.
Adding Welcome Noel bundle for 2 more designs
These two cards were made with the other half of the card base of the Choreographed Kit Card Design 1 elements. By using the oval die from Noel Tidings dies and the house dies from the Welcome Noel Bundle in the Neutral Noel Suite, I was able to make a third and fourth card.
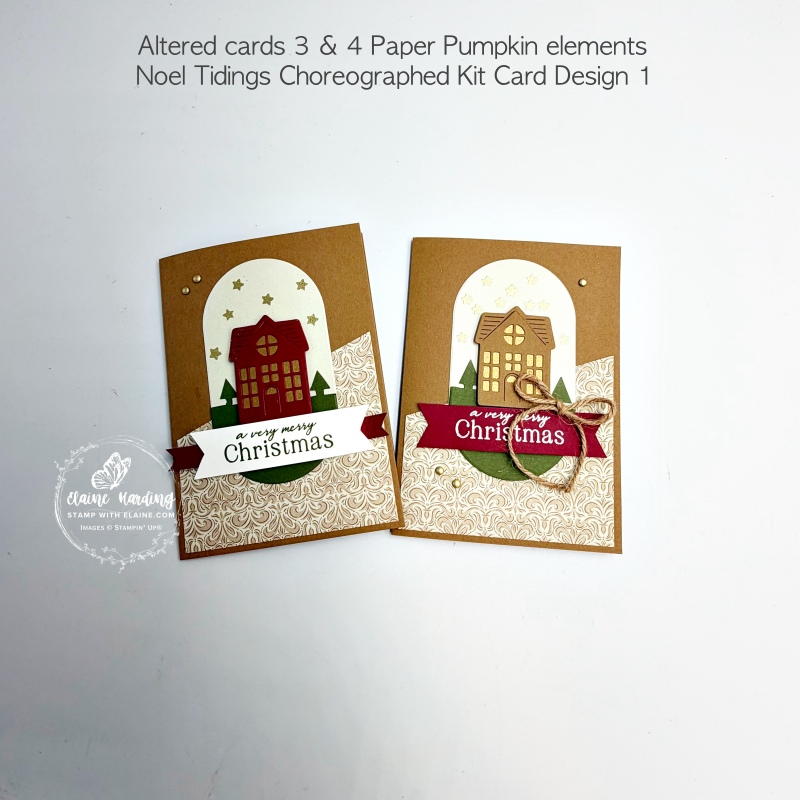
Third Alternate card using the back half of card base
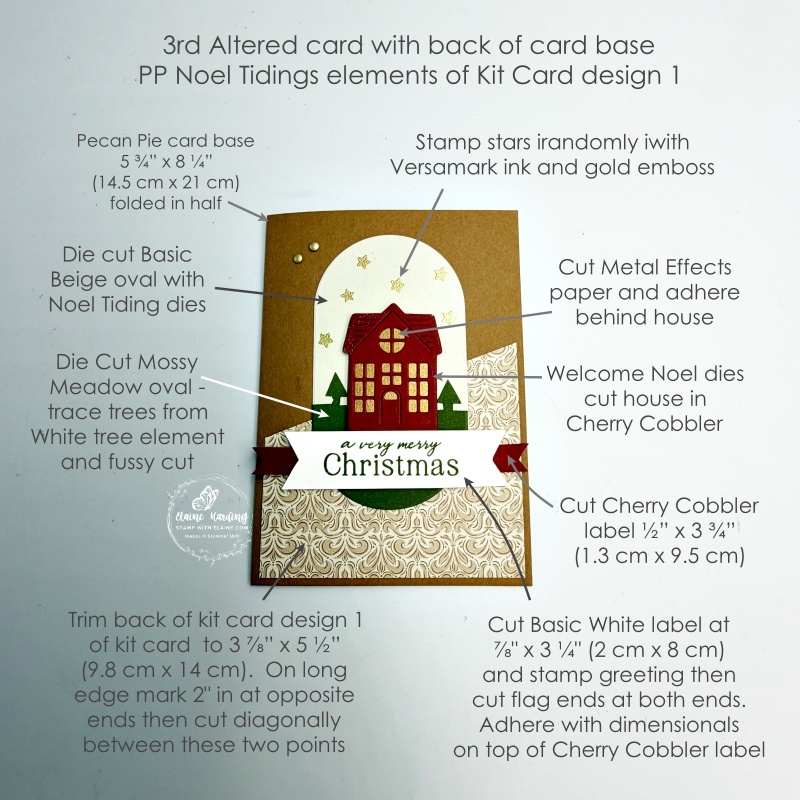
Card front Third Alternate card
- Trim back of Kit Card design 1 so that it measures 3 ⅞” x 5 ½” (9.8 cm x 14 cm). Reserve ⅜” x 5 ½” (1.9 cm x 14 cm) strip for inside of card.
- Cut the Kit Card design 1 back half of card base in half – measure 2″ in from opposite ends (pattern side face up) and cut diagonally as pictured. Reserve other half for the second alternate card. Adhere one half to front of card base leaving an even border on 2 sides and bottom of card.
- Noel Tidings oval die – cut Basic Beige oval and one in Mossy Meadow.
- Use white oval tree Kit Card 1 element as template and trace contour on Mossy Meadow oval. Fussy cut as shown in picture. Align and adhere to bottom of Basic Beige oval, then centre and adhere oval to card front as pictured.
Die cut House with Welcome Noel Dies
- Align middle size house open die and detailed die – tape with low tack tape on top of Cherry Cobbler card stock to ensure it stays in place before die cutting.
- Cut Metal Effects Specialty Paper to adhere behind house. Add dimensionals to the back and adhere slightly overlapping Mossy Meadow oval tree element as pictured.
Gold embossing
- Randomly stamp stars with Versamark above and around house on the Basic Beige oval.
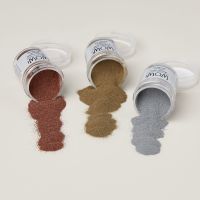
- Sprinkle with Metallics Wow! gold embossing powder and heat set.
Labels and finishing touches
- Cut Cherry Cobbler label at ½” x 3 ¾” (1.3 cm x 9.5 cm). Cut flag ends at each end. Centre and adhere below house.
- On scrap of Basic White cut at ⅞” x 3 ¼” (2 cm x 8 cm), stamp greeting and cut flag ends. Apply dimensionals on the back and adhere as shown.
- Apply Gold adhesive-backed dots as finishing touch.
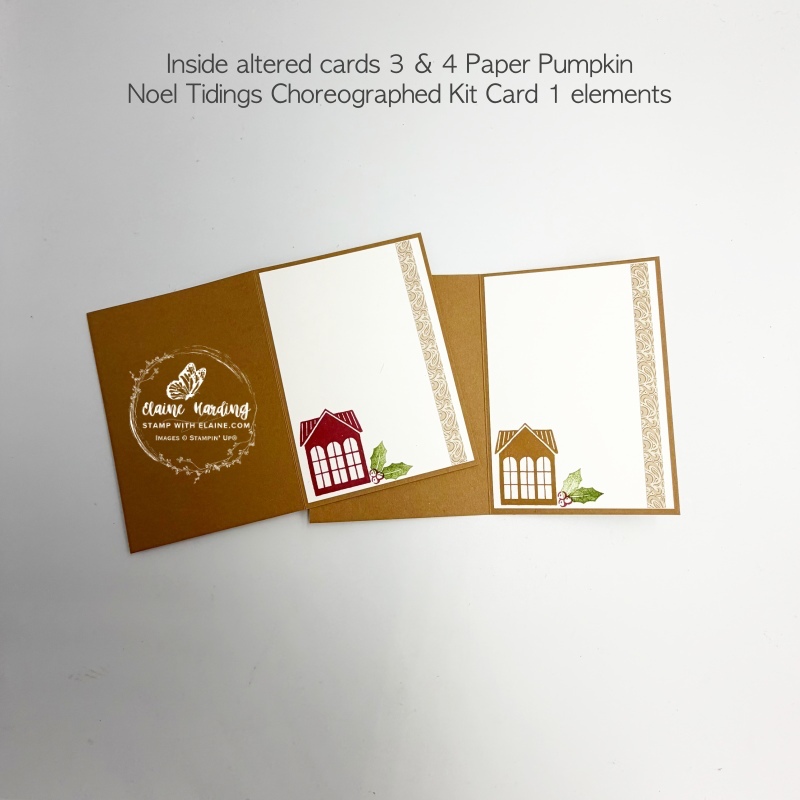
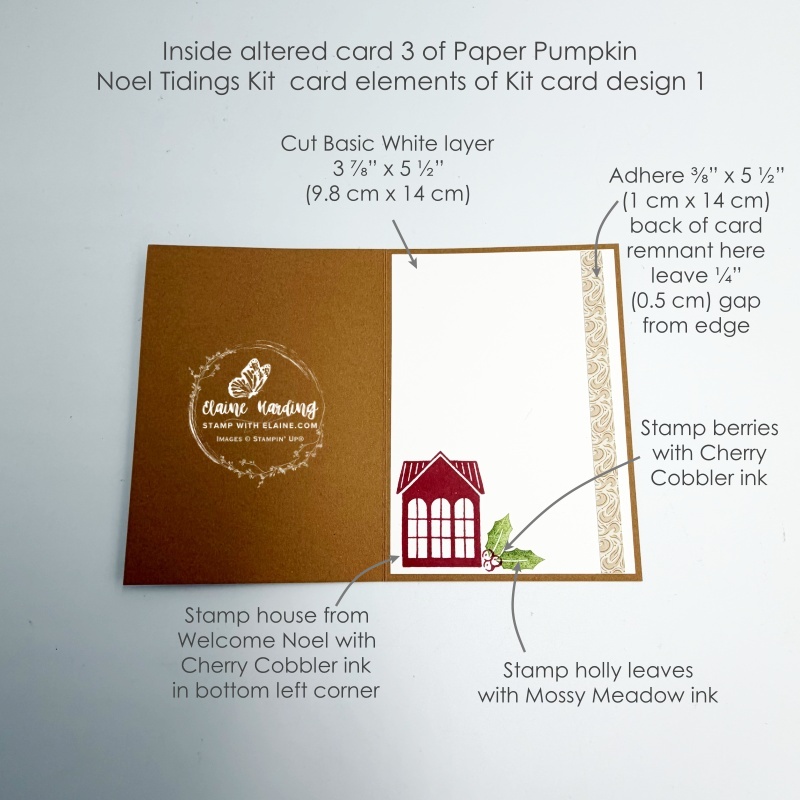
Inside alternate card 3
- Cut Basic White layer at 3 ⅞” x 5 ½” (9.8 cm x 14 cm). Adhere to inside of card leaving an even border on all 4 sides.
- Stamp bottom left corner with medium house image with Cherry Cobbler ink.
- Use holly leaf stamp inked with Mossy Green ink and stamp first and second generation as shown in picture.
- Stamp berries as shown in Cherry Cobbler.
- Adhere back of Kit Card base remnant ⅜” x 5 ½” (1.9 cm x 14 cm) to right of Basic White layer leaving a ¼” (0.5 cm) gap.
Fourth Alternate card using the back half of card base
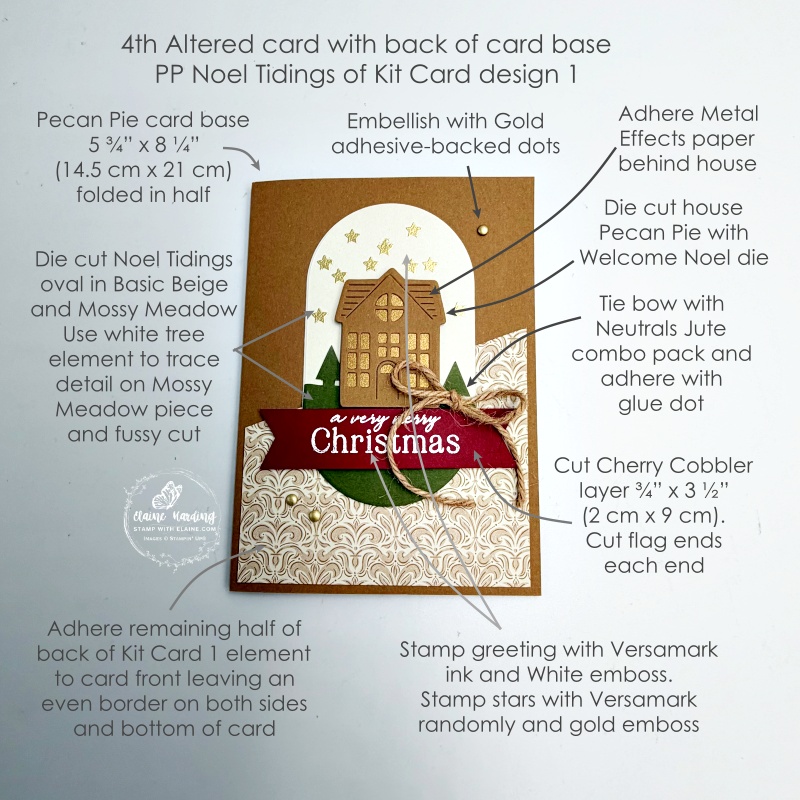
Card front on 4th alternate card
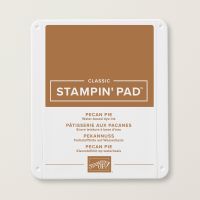
- Pecan Pie card base cut at 5 ¾” x 8 ¼” (14.5 cm x 21 cm) folded in half.
- Adhere other half of back of card base from Kit Card design 1 on front of card leaving an even border on each side and bottom of card.
- Repeat steps 4 & 5 as for alternate card 3.
Die cut House with Welcome Noel dies
- Align middle size house open die and detailed die – tape with low tack tape on top of Pecan Pie card stock to ensure it stays in place before die cutting.
- Cut Metal Effects Specialty Paper to adhere behind house. Add dimensionals to the back and adhere slightly overlapping Mossy Meadow oval tree element as pictured.
Gold embossing
- Randomly stamp stars with Versamark above and around house on the Basic Beige oval.
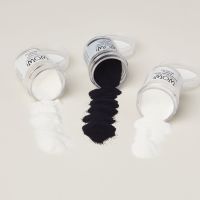
- Sprinkle with Metallics Wow! gold embossing powder and heat set.
Labels and finishing touches
- Cut Cherry Cobbler label ⅞” x 3 ¼” (2 cm x 8 cm).
- Stamp greeting with Versamark ink and white emboss with Basics Wow! embossing powder as picutered. Apply dimensionals on the back and adhere as shown.
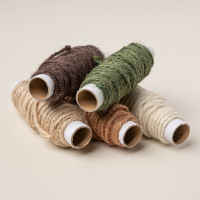
- Tie bow with Neutrals Jute combo and attach with glue dots as pictured.
- Apply Gold adhesive-backed dots on card front.
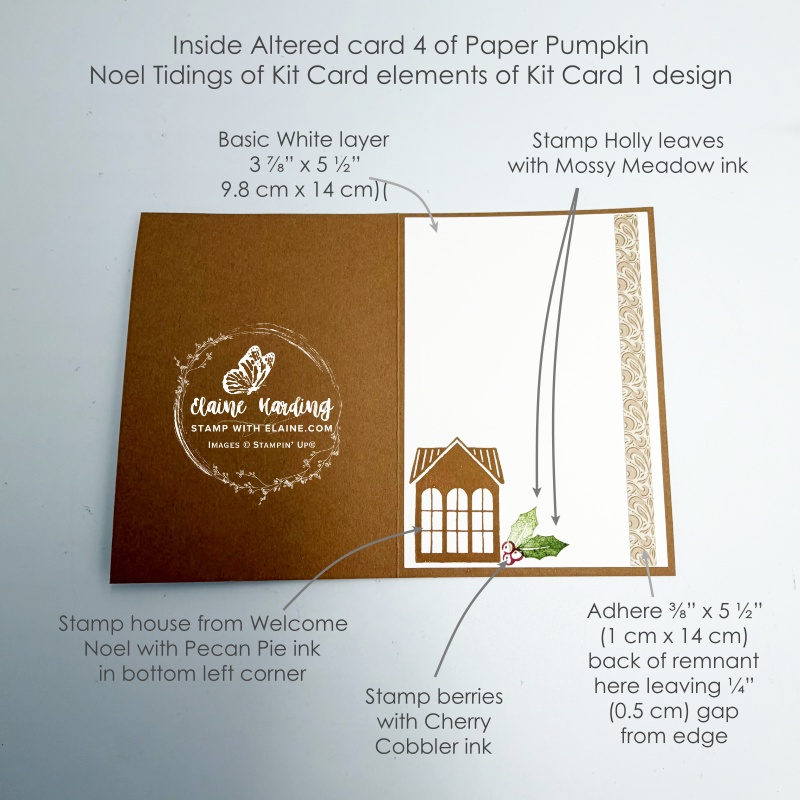
Inside alternate card 4
- Cut Basic White layer at 3 ⅞” x 5 ½” (9.8 cm x 14 cm). Adhere to inside of card leaving an even border on all 4 sides.
- Stamp bottom left corner with medium house image with Pecan Pie ink.
- Use holly leaf stamp inked with Mossy Green ink and stamp first and second generation as shown in picture.
- Stamp berries as shown in Cherry Cobbler.
- Adhere back of Kit Card base remnant ⅜” x 5 ½” (1.9 cm x 14 cm) to right of Basic White layer leaving a ¼” (0.5 cm) gap.
Supply list
Listed below is the supply list. Just click on the picture to take you directly to the item in my online store.
Product List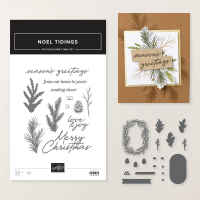

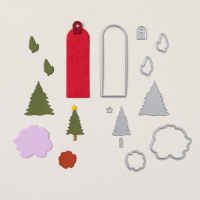





- SHOP ONLINE – EARN 10% REWARDS ON ALL PURCHASES OVER £20
- PURCHASE A STARTER KIT : Get £155 worth of products for only £99. Choose from current catalogues and any specials available. Free Shipping. Read more
- Subscribe to my Video Tutorials – click here
