
Christmas Countdown Week 10 – Christmas Mice. Christmas Mice stamps and die bundle are part of the A Little Christmas Suite Collection in the September-December 2026 catalogue on pages 24-25. A Little Christmas 12″ x 12″ (30.5 x 30.5 cm) Designer Series Papers which is part of the suite, features adorable mice decorating, baking and carolling through the Christmas season on one side. and on the reverse, fabulous artwork and coordinating plaids, stripes, bows and a cut-apart sheet. I’ve used this cut-apart sheet to make 5 cards
Cut apart sheet of A Little Christmas 12″x 12″ (30.5 x 30.5 cm) DSP
There are two sheets of the cut-apart sheet and it’s great for making some simple cards. I made 2 landscape ones, 2 in portrait and 1 fun fold one.
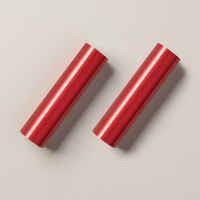
I also used my stash of foiled Magical Christmas Hot Foiled greetings which I foiled in different colours using the reverse hot foil die. You can see it in this post HERE
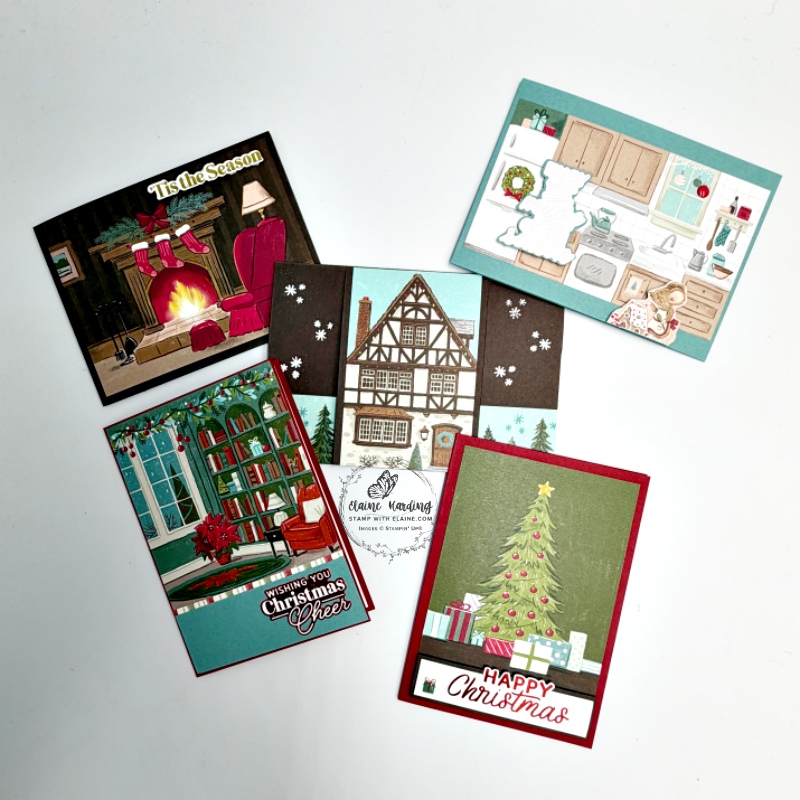
Portrait cards
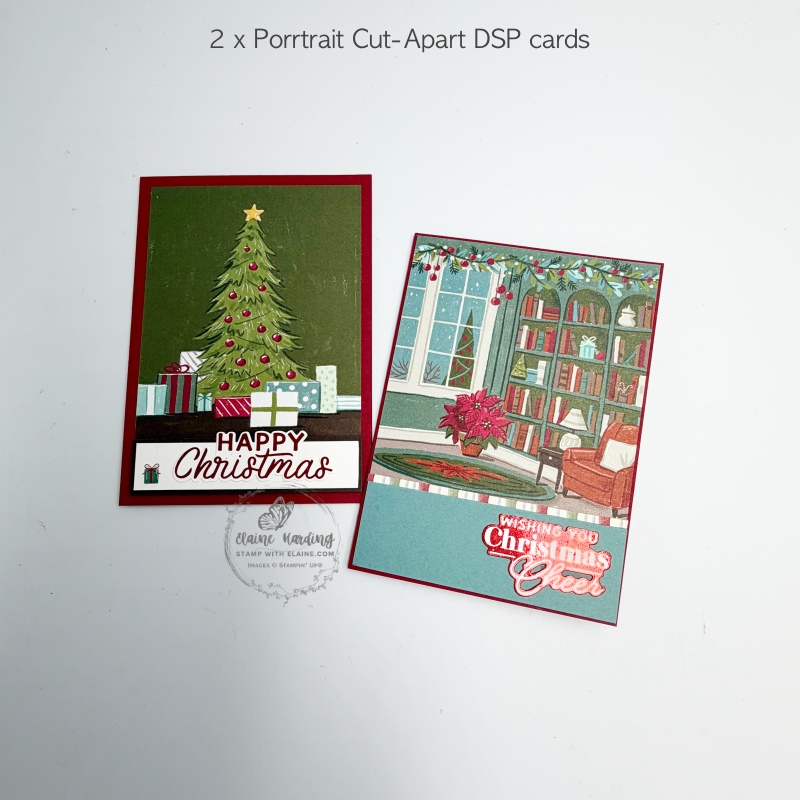
Cutting guide Portrait cards
Both card bases are Cherry Cobbler 5 ¾” x 8 ¼” (14.5 cm x 21 cm) folded in half.
Christmas tree card
- Adhere Christmas tree to front of card.
- Basic White strip – ¾” x 3 ⅝” (2 cm x 9.2 cm)
- Adhere Basic White strip on top of Early Espresso cut at ⅞” x 3 ¾” (2.2 cm x 9.5 cm). Then adhere this on top of Christmas Tree cut-apart DSP aligning it with sides and bottom leaving an even border on sides and bottom.
- Select Magical Christmas hot foiled greeting and adhere with dimensionals on top of Basic White piece.
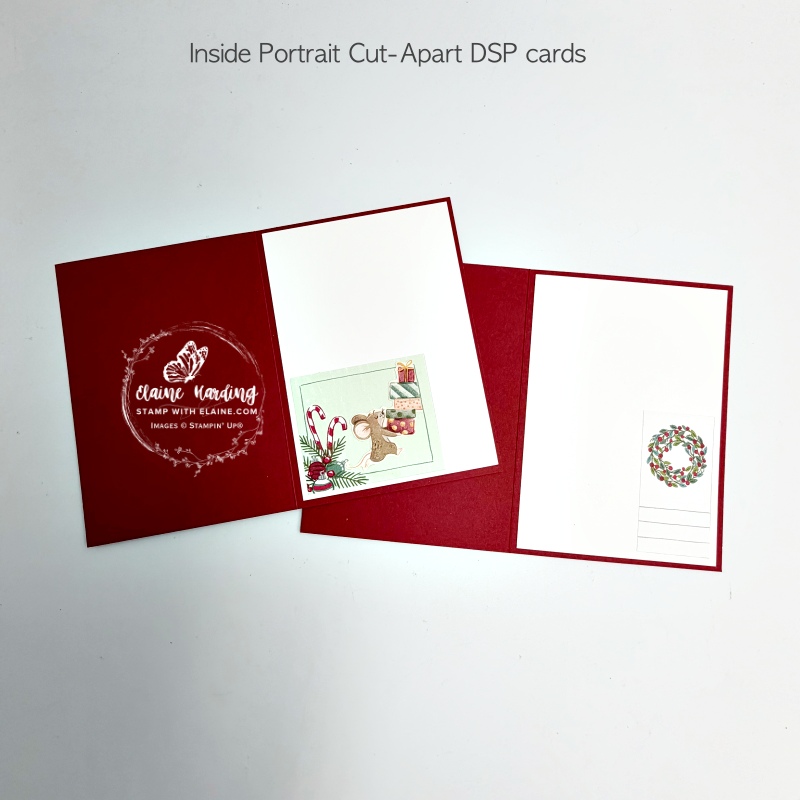
- Inside card – Basic White 3 ⅞” x 5 ½” (9.8 cm x 14 cm).
- Adhere Candy Cane cut-apart piece to bottom left corner and fussy cut mouse carrying presents from DSP and adhere as pictured.
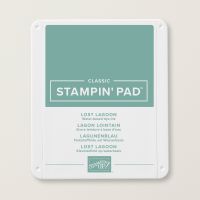
Lost Lagoon Library card
- Adhere Library cut-apart DSP to front of card. This piece measures 4″ x 4 ¼” (10.2 cm x 10.8 cm).
- Lost Lagoon strip cut at 1 ⅜” x 4″ (3.5 cm x 10.2 cm). Align bottom and sides so that there is an even border at the bottom and 2 sides following on from cut-apart library DSP piece.
- Cut ⅛” x 4″ (0.3 cm x 10.2 cm) strip and adhere between Lost Lagoon strip and the cut-apart Library DSP piece.
- Select one of the reverse foiled Magical Christmas sentiments to adhere to right bottom corner of Lost Lagoon strip as pictured.
- Adhere Basic White piece cut at 3 ⅞” x 5 ½” (9.8 cm x 14 cm) to inside of card and adhere the wreath cut-apart DSP piece in bottom right corner as shown.
Cutting guide Landscape cards
- Early Espresso landscape cards is cut at 4 ⅛” x 11″ (10.5 cm x 28 cm) folded in half.
- Cut Lost Lagoon card at 4 ⅛” x 11 ½” (4 ⅛” x 29 cm).
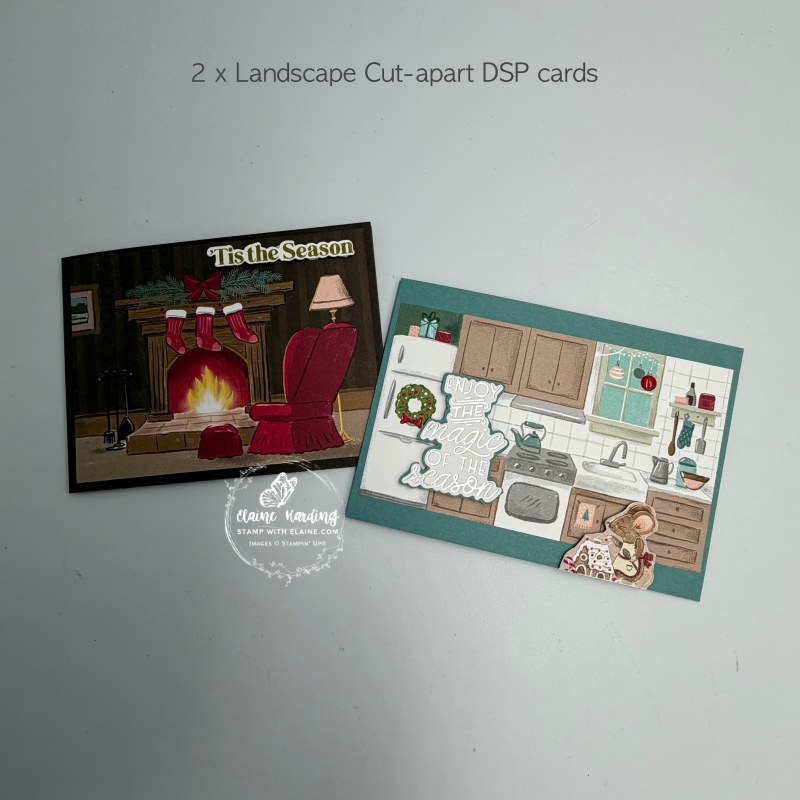
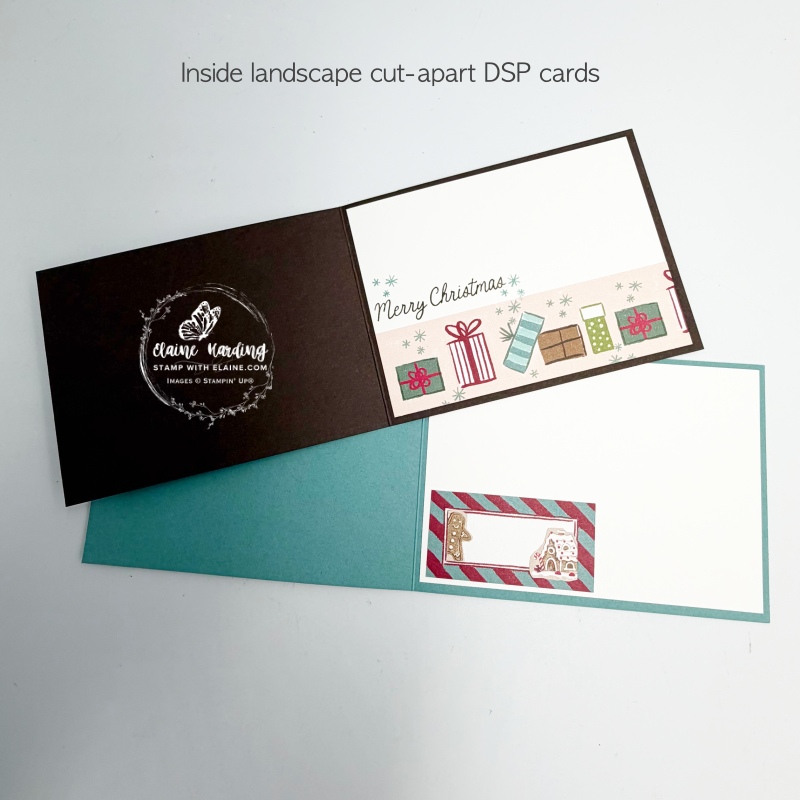
Early Espresso Fireside card
- Adhere the cut-apart Fireside DSP on front of Early Espresso landscape card base leaving an even border on all 4 sides.
- Select Magical Christmas hot gold foiled and adhere to top right corner with dimensionals.
- Cut Basic White layer 3 ⅞” x 5 ¼” (9.8 cm x 13.3 cm) and adhere inside leaving an even border on all 4 sides.
- Trim presents cut-apart DSP strip at 5 ¼” (13.3 cm) and adhere to bottom of Basic White layer as pictured.
- Stamp Merry Christmas with Early Espresso ink and the stars in Lost Lagoon ink.
Lost Lagoon Kitchen card
- Adhere the cut-apart Library DSP equi-distant on 2 sides and centred on Lost Lagoon card front as pictured.
- Fussy cut the mouse decorating the gingerbread house – adhere with dimensionals in front of sink a shown.
- Select silver foiled Magical Christmas hot foiled sentiment and adhere to scrap of Lost Lagoon, then fussy cut around it and adhere with dimensionals between the fridge and oven as pictured.
- Add Christmas Epoxy shapes as desired.
- Adhere Basic White layer cut at 3 ⅞” x 5 ½” (9.8 cm x 14 cm) to inside of card.
- Fussy cut a gingerbread man and gingerbread house and adhere to the cut-apart striped Lost Lagoon and Cherry Cobbler label as pictured.
Bridge Fun-fold Tudor house
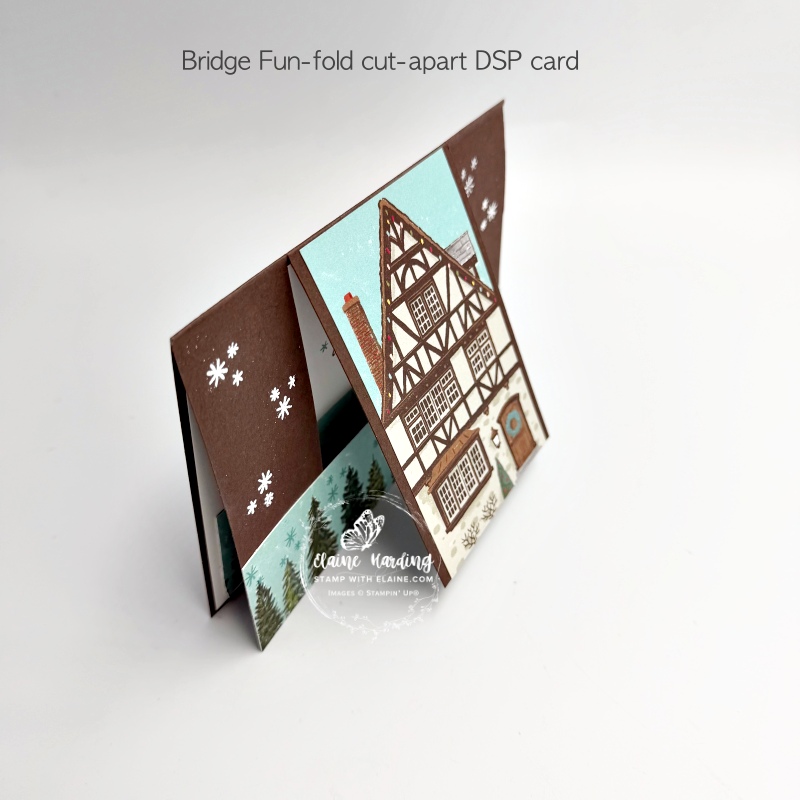
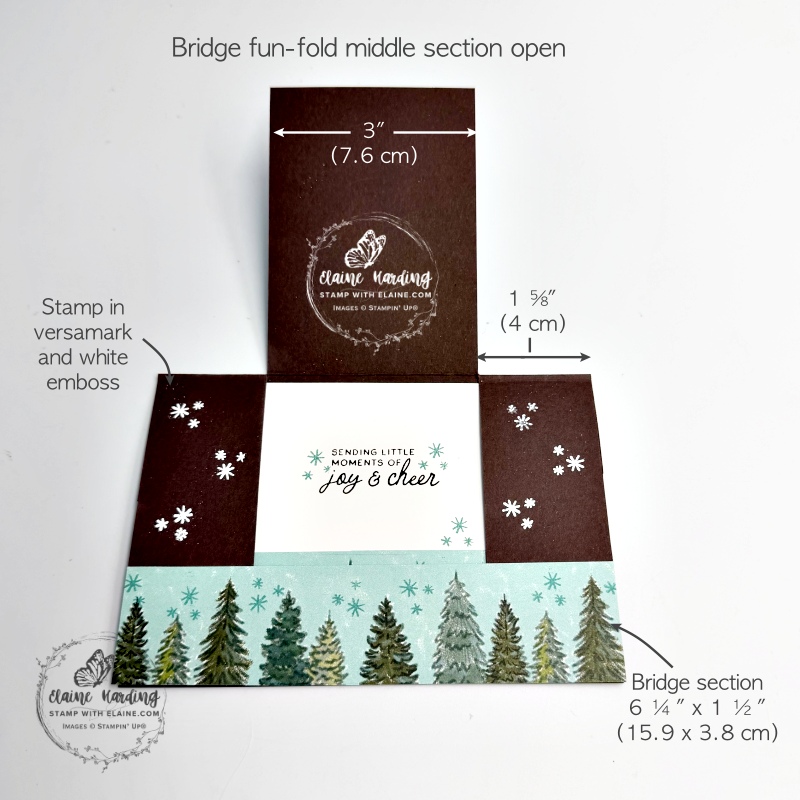
Cutting guide Bridge fun-fold Tudor cut-apart DSP card
- Card base Early Espresso 6 ¼” x 8 ½” (16 cm x 21.6 cm). On long side score at 4 ¼” (10.8 cm)
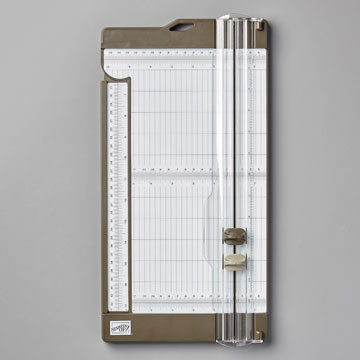
- Place in trimmer and cut front of card at 1 ⅝” (4 cm) at each end.
- Adhere cut-apart Tudor DSP measuring 2 ¾” x 4 ¼” (7 cm x 10.8 cm) on centre panel equidistant on both sides.
- Attach Basic White 1 ½” x 6 ¼” (3.8 cm x 16 cm) to Christmas tree strip the same size. Apply adhesive on the left panel and right panel only and adhere to create bridge.
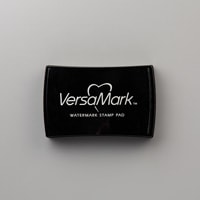
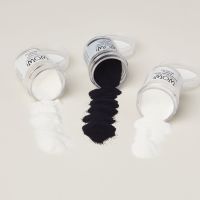
- Stamp a trio of star clusters in versamark ink on each side panel and white emboss as pictured in middle picture.
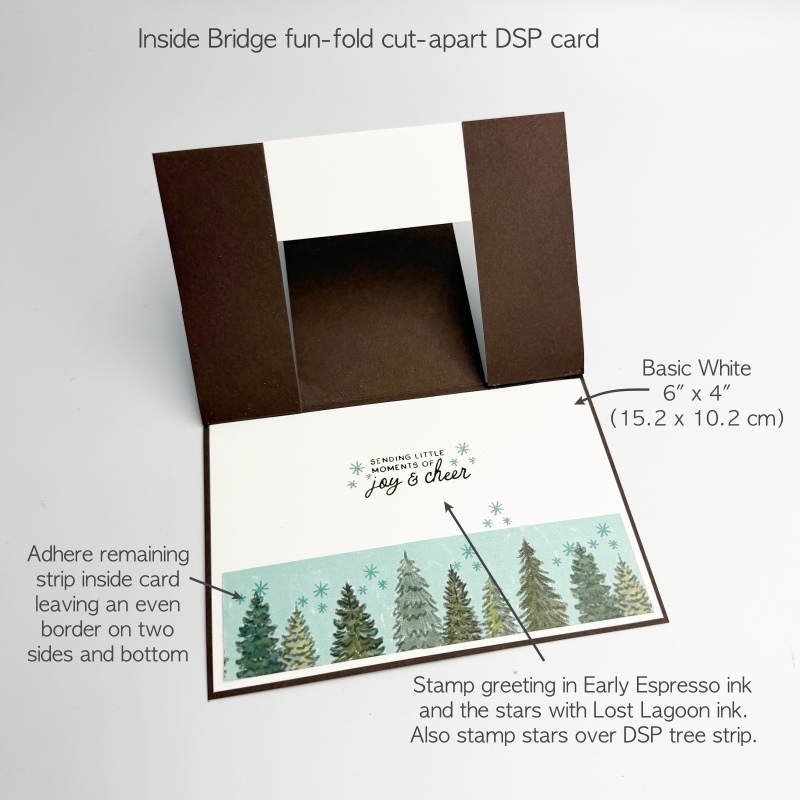
Inside Bridge fun-fold card
- Adhere 6″x 4″ (15.2 cm x 10.2 cm) Basic White piece inside card leaving an even border on all 4 sides (picture on the right).
- Stamp greeting in Early Espresso and randomly stamp stars with Lost Lagoon ink as shown in middle picture.
- Take remaining strip of trees and adhere to inside of card leaving an even border on two sides and bottom of the card as shown.
- Optional : I added a bit of glue at the crease ⅛” along score lines of each side panel to prevent card from collapsing when you stand it up for display.
Supply list
Listed below is the supply list. Just click on the picture to take you directly to the item in my online store.
Product List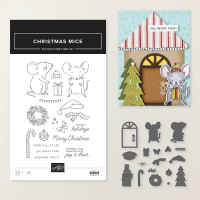








How to prevent Over-foiling tip
From my own experience using the Stampin’ Hot Foil System, I had better results by following the instructions that came with the Stampin’ Hot Foil System. I added a thin piece of copy paper on top of the card stock before placing the green Hot Foil Shim on. This helps protect the shim from picking up any excess foil in the process.
- After the red light goes solid red, put your hot foil die on to the heated surface with flat side down. Press the white timer button. The platform beeps and a yellow light flashes while the die heats up (approximately 1 ½ minutes). The white timer button and the red light stays lit and when ready, the platform beeps again and the green light turns on. All lights will be lit.
- Next build your sandwich by placing these items on the die in order: Foil (shiny side down)>Card stock/or desired material> thin piece of copy paper (to prevent foil from getting on to your shim)>Hot Foil Shim>Hot Foil Spacer.
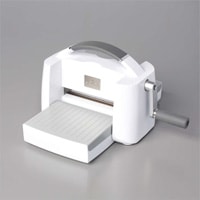
- Unplug the cord from the platform and carefully remove it from the silicone platform station, keeping the sandwich stable to prevent foil transfer. Place it on the Stampin’ Cut & Emboss Machine and slowly run it through without reversing as the die may shift and smudge the card stock.
Stampin’ Hot Foil System
This is a new tool by Stampin’ Up! with special Hot Foil Dies. If you missed the post introducing the machine and information all about it, here’s a video to explain how the system works. Please be aware this machine is designed to fit Stampin’ Up!’s larger Stampin’ Cut & Emboss machine and was tested with their own line of products. It would render the 1 year warranty on the Stampin’ Hot Foil System null and void if you use it on non-Stampin’ Up! machines which may not fit.
Also be sure you’re ordering the machine with the right plug for your market. Foils and dies have to be purchased separately.
If you purchase the Stampin’ Hot Foil System before Jan 4, 2027, it will also include the Metallic Magic Craft Class for free. The class will cost £28.00 to purchase when the free class offer ends.
.
