
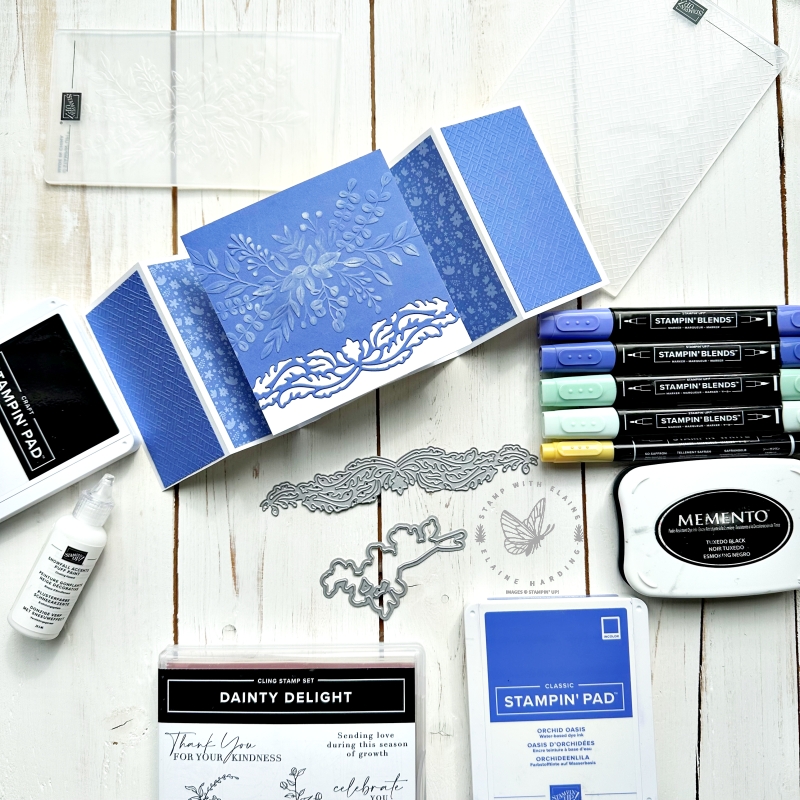
Today’s fancy fold card with a hidden message has been trending and is made up in three sections. Last Sunday, I posted a version of it for Easter which you can see HERE. I promised I would be back with a more detailed post to include a video tutorial as a visual aide. This fancy fold originated from an American Demonstrator, Susan (her last name escapes me) and she refers to it as a flying seagull fold.
This is my version of it, using the Elegant Borders Dies which is currently an Online Exclusive product. There are four different border dies in the set. In my previous post I featured one of the borders using the Hello, Irresistible Blooms 6″x 6″ DSP and the Queen Bee Bundle. Today’s post features the second border die with the Dainty Delight bundle and the 2022-2024 In Color 6″x 6″ DSP.
I omitted adding a greeting on the front so I could add whatever greeting I wanted at a later date.
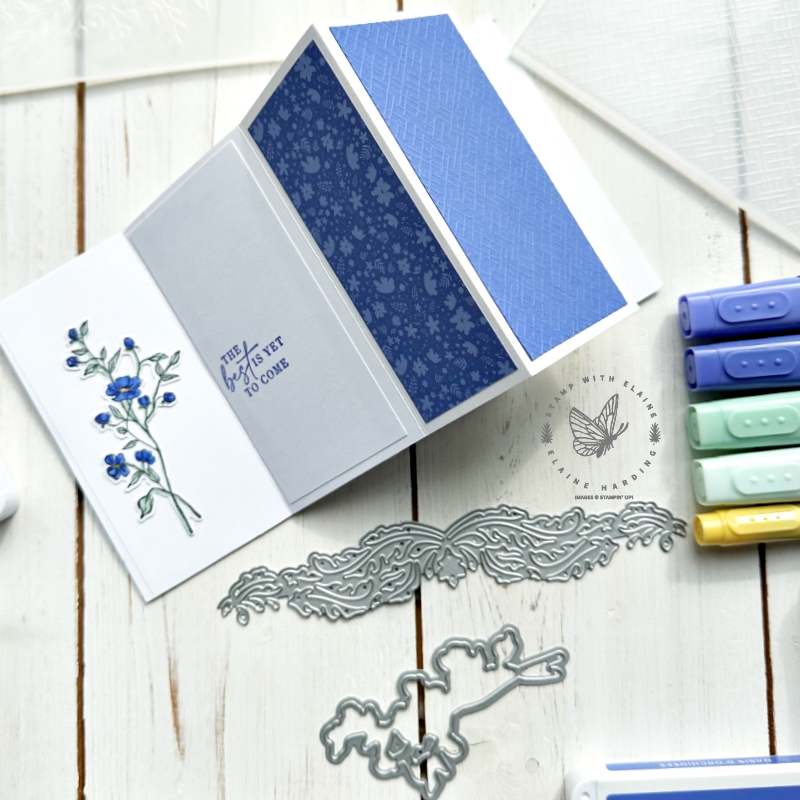
Here are more photos to show you the hidden messages. I stamped the floral images in Tuxedo Black Memento ink behind the front square piece and coloured it in with Stampin’ Blends in Mint Macaron and Orchid Oasis. On the left, I stamped directly on to the back of the square piece on the right side and added a Basic White mat layer on the “wing” . I did the same for the right hand panel, but adhered the Basic White mat layer on the right “wing” and stamped, coloured then die cut the floral image and adhered on the left.
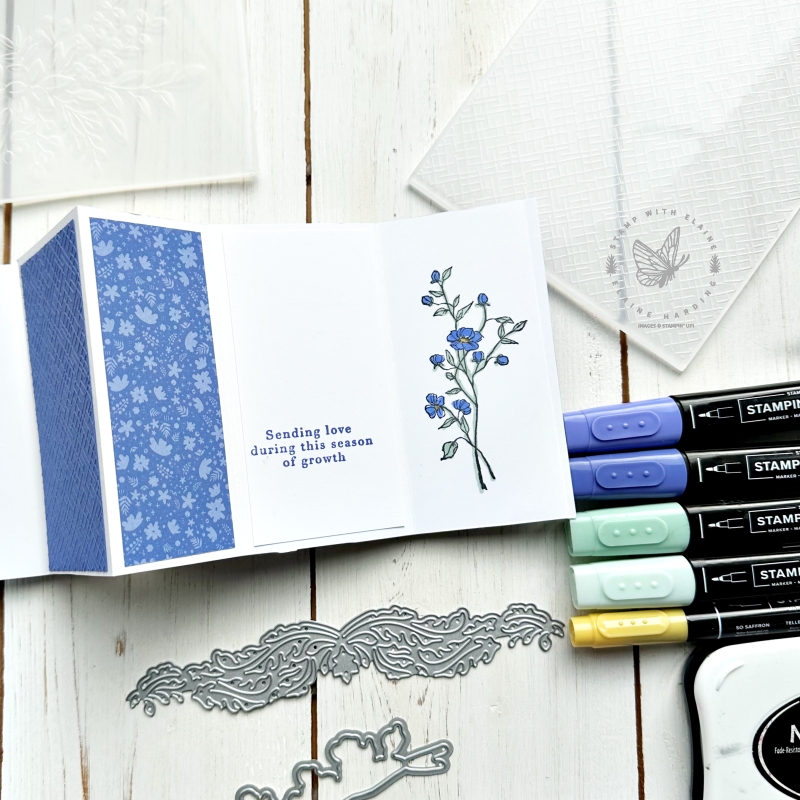
To die cut or not to die cut
There are two options depending on which option you prefer. One option is to stamp then die cut the image to elevate the piece a tad without having to use dimensionals which would add bulk. The other option is to stamp directly on to the back of the square piece which will not. I did both to compare the two. Which do you prefer?
Cutting Guide
Please note, metric measurements are in brackets. For instructions on how to assemble, please refer to video tutorial.
- Card base Basic White Thick : Cut 2 pieces 4 ¼” x 8 ¼” (10.5 cm x 20.5 cm)
- On long side, score both pieces at 2 ¼”, 4″, 6 ¼” (5.5 cm, 10 cm, 15.5 cm)
- Card front cut 1 piece in Basic White and 1 piece in Orchid Oasis : 4 ¼” x 4 ¼” (10.5 cm x 10.5 cm)
- End panel on wings Orchid Oasis 2 pieces : 2″ x 4″ (5 cm x 10 cm)
- Middle panel layers DSP 2 pieces : 1 ½” x 4” (4 cm x 10 cm)
- Inside wings panel for writing Basic White 2 pieces : 2″ x 4″ (5 cm x 10 cm)
- Scraps of Basic white (optional) for stamping and die cutting floral image.
Video Tutorial
Supply list
Listed below is the supply list. Just click on the picture to take you directly to the item in my online store.
Product List")
")


 Designer Series Paper")


- SHOP ONLINE – EARN 10% REWARDS ON ALL PURCHASES OVER £20
- PURCHASE A STARTER KIT : Get £155 worth of products for only £99. Choose from current catalogues and any specials available. Free Shipping. Read more
- Subscribe to my Video Tutorials – click here