I hope you all had a lovely Easter and are thinking about Squares for the Tech 4 Stampers Blog Hop in April. It’s a mystery why I don’t make more square cards because I love them!
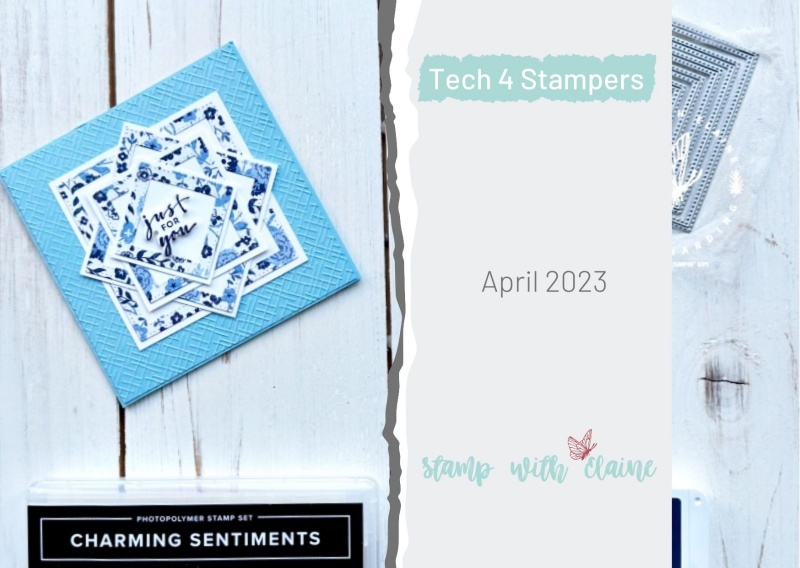
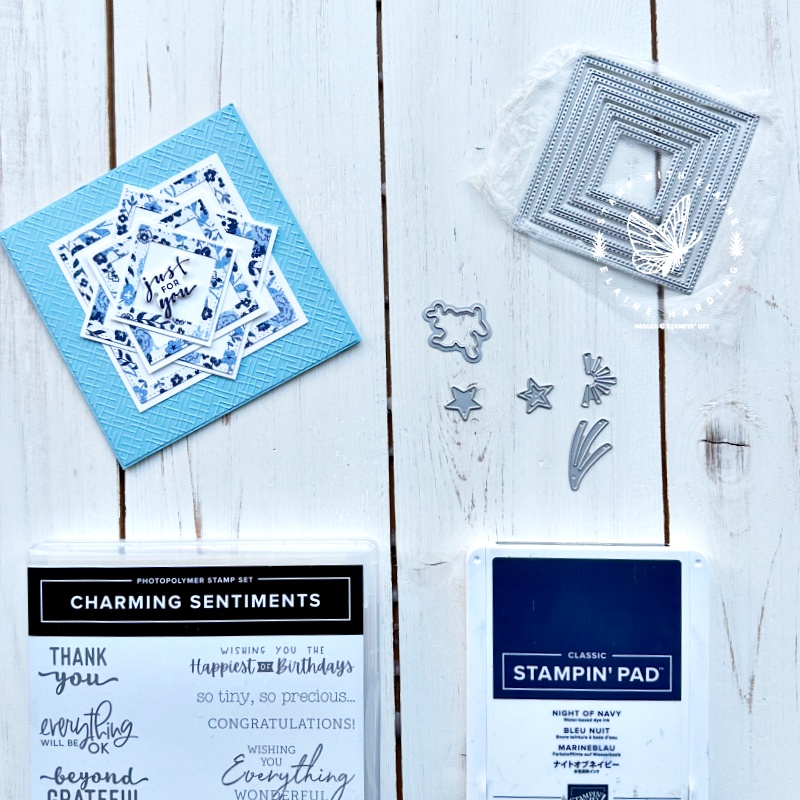
The theme for April’s blog hop said simply “Something Square” – so I suppose it’s open to all sorts of interpretation! So I did squares within squares to make as a feature for the front of my card.

It’s a mish mash of something “old”, something from the “Online Exclusives” and a Sneak Peek at something coming in the new Annual Catalogue!

The Build & Bloom Stampers Blog hop (formerly Tech 4 Stampers)is a monthly subscription group run by Louise Sims. She mentors and enables members to understand IT jargon and equips them with a fountain of Technical knowledge to build or manage their own websites. It takes the mystery out of “tech” and I’ve certainly grown in confidence thanks to her expertise, patience and guidance. Not only that, I’ve met and made new friends with my fellow “Techs” and love the camaraderie within the group.
This is such an easy card, clean and simple – in busy times, it’s good to go back to basics. I’ve had house guests and I was time poor, so this is what I came up with.

Cutting guide
- Card base : 8 ½” x 4 ¼” (21.5 cm x 11 cm) folded in half
- Mat layer 1 same colour as card base : 4 ⅛” x 4 ⅛” (10.5 x 10.5 cm)
Basic White mat layers
- First layer – 3″ x 3″ (7.5 cm x 7.5 cm)
- Second layer – 2 ½” x 2 ½” (6.5 x 6.5 cm)
- Third layer – 2 ⅛” x 2 ⅛” (5.5 cm x 5.5 cm)
- Fourth layer – 1 ⅝” x 1 ⅝” (4.2 x 4.2 cm)
Designer Series Paper
- Cut a 4″x 4″ (10 x 10 cm) piece and die cut a nest of Stylish Shapes Squares.
- Adhere each square frame to corresponding Basic White squares.
Assembly instructions
- Emboss the Mat layer measuring 4 ⅛” x 4 ⅛” (10.5 x 10.5 cm) with an embossing folder.
- Adhere embossed piece to card base which has been folded in half.
- Next adhere largest square straight on
- Adhere the 2nd largest one in a diamond shape.
- Alternate the 3rd largest one straight on
- The last one in a diamond shape
- Stamp and die cut sentiment in the centre of the last square.
Inside card
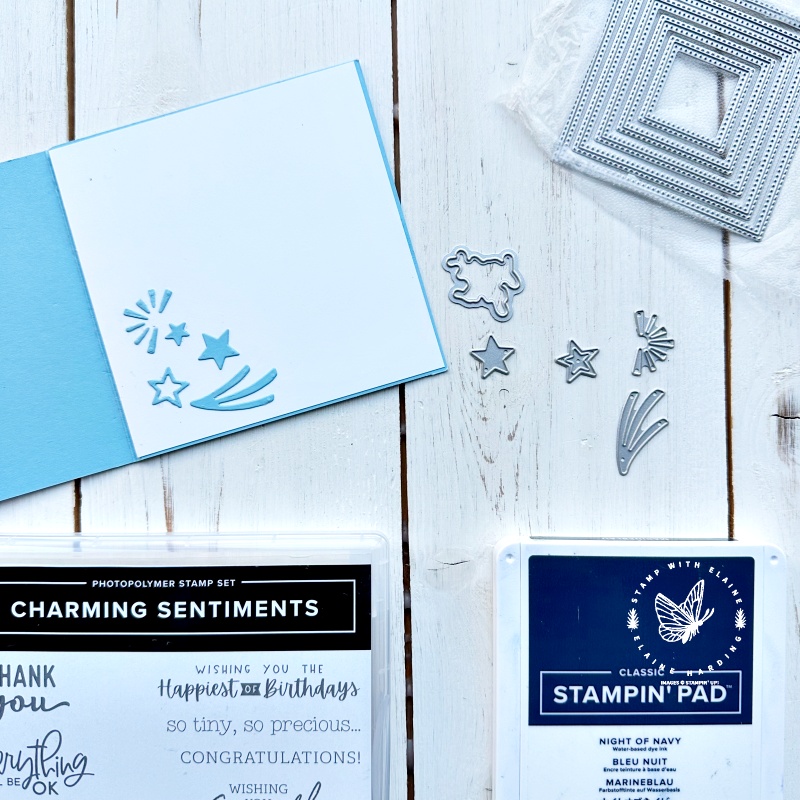
Decorate as you wish. I die cut some decorative elements from the Charming Sentiments dies to embellish mine.

Supply list
Listed below is the supply list. Just click on the picture to take you directly to the item in my online store.
Product ListThanks for visiting. I would love to know what you think of my project and would appreciate it if you could leave a comment. To visit the next person on the list and see their fabulous creations, simply click on the link below or before my name depending who you visited initially. Happy hopping!

- SHOP ONLINE – EARN 10% REWARDS ON ALL PURCHASES OVER £20
- PURCHASE A STARTER KIT : Get £155 worth of products for only £99. Choose from current catalogues and any specials available. Free Shipping. Read more
- Subscribe to my Video Tutorials – click here


Elaine I love your card! You stated that it was clean and easy – well it certainly does not look easy! Very classy! TFS!
I assure you, it is! The secret is to use press n’ seal to keep the nest of Stylish Shapes square dies together when you die cut the DSP. No waste!
Fabulous idea Elaine. I will certainly be using this technique on a project real soon
Thank you Sara.
what a wonderful card and idea Elaine! I love it x
Thank you so much, Heather.
I haven’t used that technique for ages! Thank you for reminding me, it’s a lovely card.
Thanks Carol, I was really strapped for time, and this was quick and easy! You can do all sorts with squares – including a pinwheel!
Great card and great ideas…thank you x
Thank you Barbara, you’re welcome.