
This is the final episode of my Crafting with You Series, number 4 of 4 and I have a fun fold which springs up. It can still fold flat to put in an envelop for posting, but it will spring up if not held down. You’ll see what I mean in the video – it’s a bit hard to explain in words!
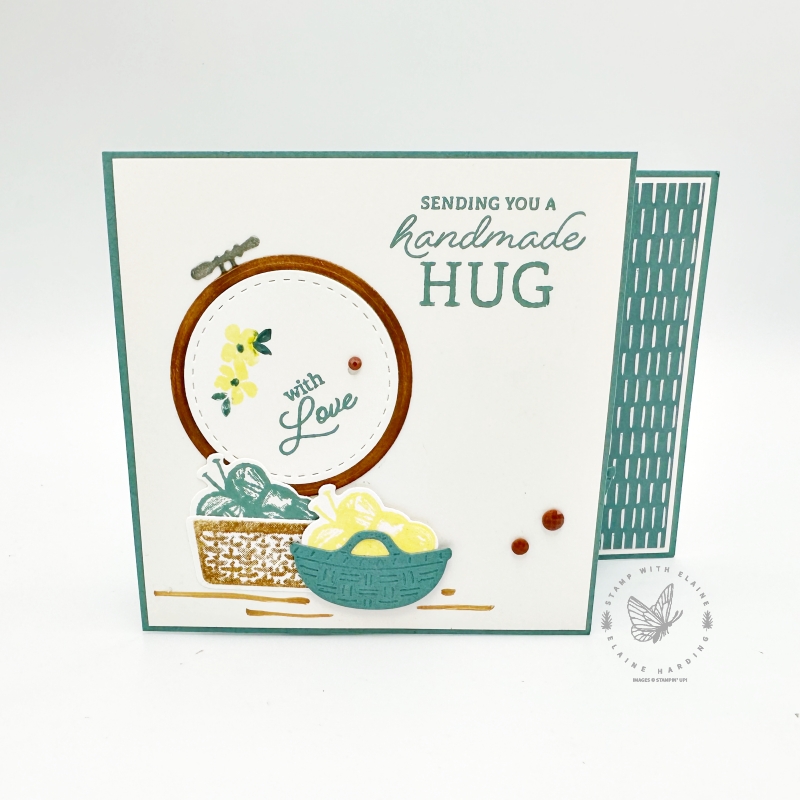
The die that cuts the embroidery hoop also cuts out a stitched circle and separates the hoop from the circle piece. This enables you to add colour to the hoop with a blending brush. By masking the hoop part, you can use a blending brush to add smoky slate on the screw part. Then mask the screw and colour the rest of the hoop in Pecan Pie, one of the new core colours in the Neutrals collection.


In the first photo, the card is lying flat. The middle photo shows you the basket of wool which I adhered to one of the springs inside the card base. A view from the top in the third photo shows you how the springs are made and attached.
Cutting Guide
Imperial measurements
- Card base Lost Lagoon : 2 pieces cut at 5 ½” x 4 ¼”. On one of the pieces with long side on top, score at 2 ¾”, 4 ⅛”. The scored piece is the mechanism to make the front of the card pop out. The piece that has not been scored will be referred to as the back piece.
- Mat layer 1 for card front : 1 piece Lost Lagoon cut 4 ¼” x 4 ¼”.
- Second Mat Layer card front : 1 piece Basic White cut 4 ⅛ ” x 4 ⅛ “.
- Side panels mat layers : 2 pieces Basic White 1 ¼” x 4 ⅛”.
- DSP : 2 pieces 2023 Subtles 6″x 6″ DSP 1 ⅛” x 4”.
- Scraps of Basic White and Lost Lagoon for stamping and die cutting
Metric measurements
- Card base Lost Lagoon : 2 pieces cut at 14 cm x 10.8 cm. On one of the pieces with long side on top, score at 7 cm, 10.5 cm. The scored piece is the mechanism to make the front of the card pop out. The piece that has not been scored will be referred to as the back piece.
- Mat layer 1 for card front : 1 piece Lost Lagoon cut 10.8 x 10.8 cm.
- Second Mat Layer card front : 1 piece Basic White cut 10.5 x 10.5 cm.
- Side panels mat layers : 2 pieces Basic White 3.2 cm x 10.5 cm.
- DSP : 2 pieces 2023 Subtles 6″x 6″ DSP 3 cm x 10.2 cm.
- Scraps of Basic White and Lost Lagoon for stamping and die cutting
To see how to assemble the card watch the video tutorial.
Video Tutorial
Supply list
Listed below is the supply list. Just click on the picture to take you directly to the item in my online store.
Product List")
")


 Designer Series Paper")


That’s it folks! This is the final episode and I hope my projects have given you plenty of inspiration. I’ve really enjoyed playing with this set and I’ve still got plenty in my head going forward. I’m not done with it yet and I’d love to see your creations too so tag me!

- SHOP ONLINE – EARN 10% REWARDS ON ALL PURCHASES OVER £20
- PURCHASE A STARTER KIT : Get £155 worth of products for only £99. Choose from current catalogues and any specials available. Free Shipping. Read more
- Subscribe to my Video Tutorials – click here