
This is part 1 of 2 featuring the Inked and Tiled bundle. It has two different punches to coordinated with the Inked & Tiled stamp set.
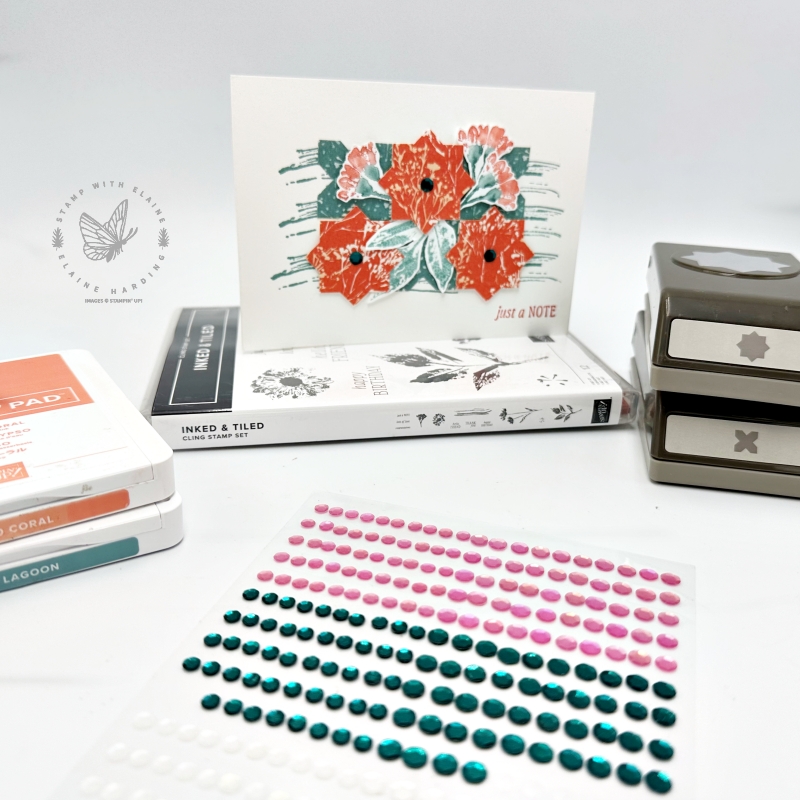
One of the punches has a “star” element and the other is like an “x”. In today’s video tutorial, I show you how you can mix and match and use them a paper tiles to build a pattern. I punched the tiles from the Inked Botanicals 6″x 6″ (15.2 x 15.2 cm) DSP. I added some simply stamped images from the Inked & Tiled stamp set which were stamped and fussy cut to add a bit of interest.
Stampin’ Write marker pens
These are handy for colouring different parts of the stamp. If you wish to have a different colour for the stem, leaves and flowers. The floral part of the stamp is in Calypso Coral, but the stems are in Lost Lagoon. Use the flat side of the brush tip of the marker pen to ink up the stamp. Avoid using the very tip because over time, this may damage it. Breathe or “huff” on the stamp to re-activate the moisture from the ink before stamping on your project.
About the card
- The card base is half an A4 sheet cut length ways so that it measures 4 ⅛” x 11 ¾” (10.5 cm x 29 cm)
- Inked Botanicals 6″x 6″ (15.2 x 15.2 cm) DSP to punch out the tiles
- Stamp the floral image and leaves with Stampin’ Write markers, and the leaves only on Basic White scrap. Fussy cut them.
- Use Calypso Coral and Lost Lagoon ink palette
- Inside card – simply punch extra tiles to adhere to inside of the card.
- Watch video tutorial for card assembly.
Video Tutorial
Supply list
Listed below is the supply list. Just click on the picture to take you directly to the item in my online store.
Product List")
")


 Designer Series Paper")


- SHOP ONLINE – EARN 10% REWARDS ON ALL PURCHASES OVER £20
- PURCHASE A STARTER KIT : Get £155 worth of products for only £99. Choose from current catalogues and any specials available. Free Shipping. Read more
- Subscribe to my Video Tutorials – click here