
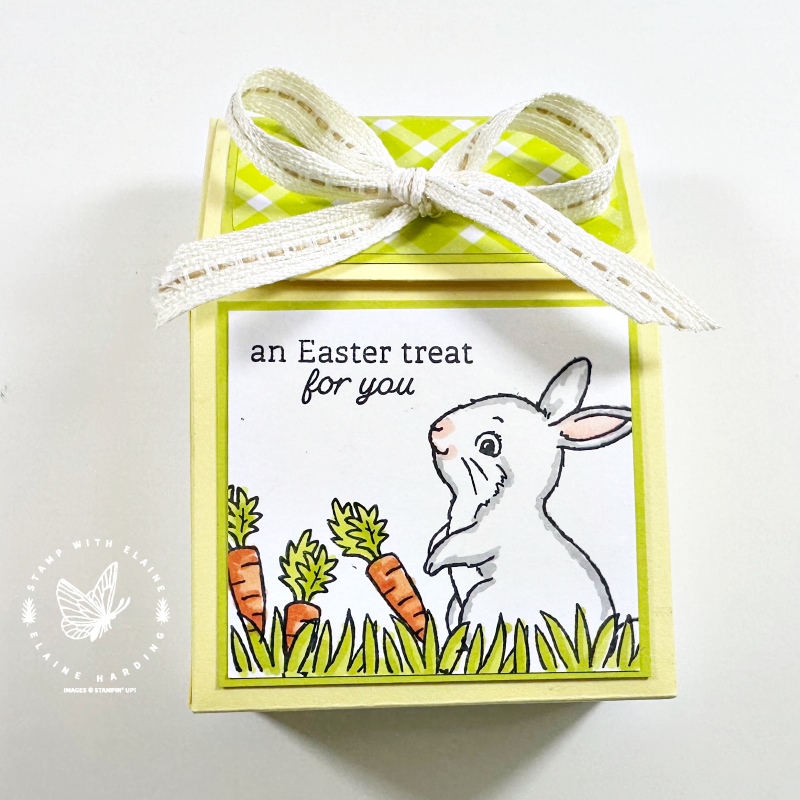
Cute Easter Treat box encasing yummy carrot shaped chocolates for Easter. This stamp set has a carrot image. It was perfect for decorating the front of my box. The carrot chocolates is from our local supermarket and I liked the shape of the box it was packaged in. It took me several attempts through trial and error to duplicate the design which has a pinched top and sloping “roof” effect.
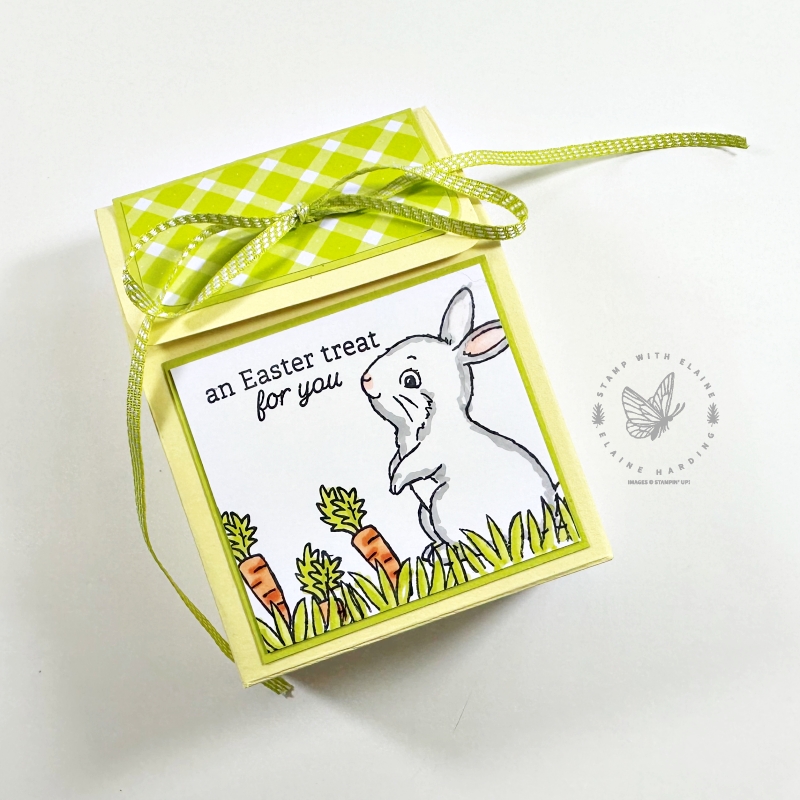
My prototype was tied with the ⅜” Pecan Pie centre stripe ribbon, but I found the ribbon duo combo pack had a narrow Lemon Lime Twist ribbon which matched the DSP perfectly. So for the second one, I switched ribbons. Which do you prefer?
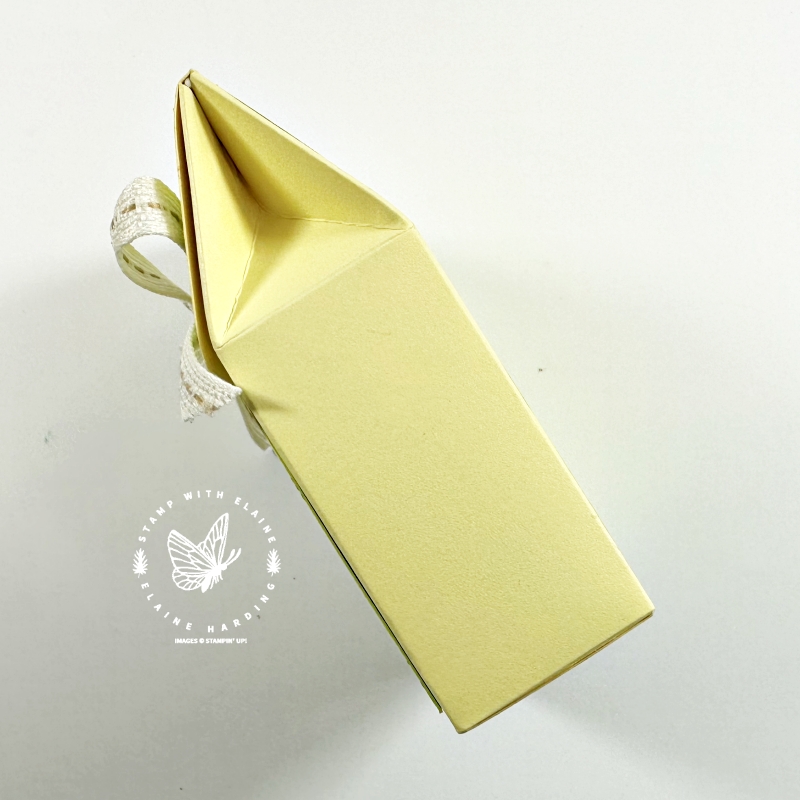
Side of box
This is a view of the side of the box so you can see the pinched top made possible by incorporating additional score lines on the box sides.
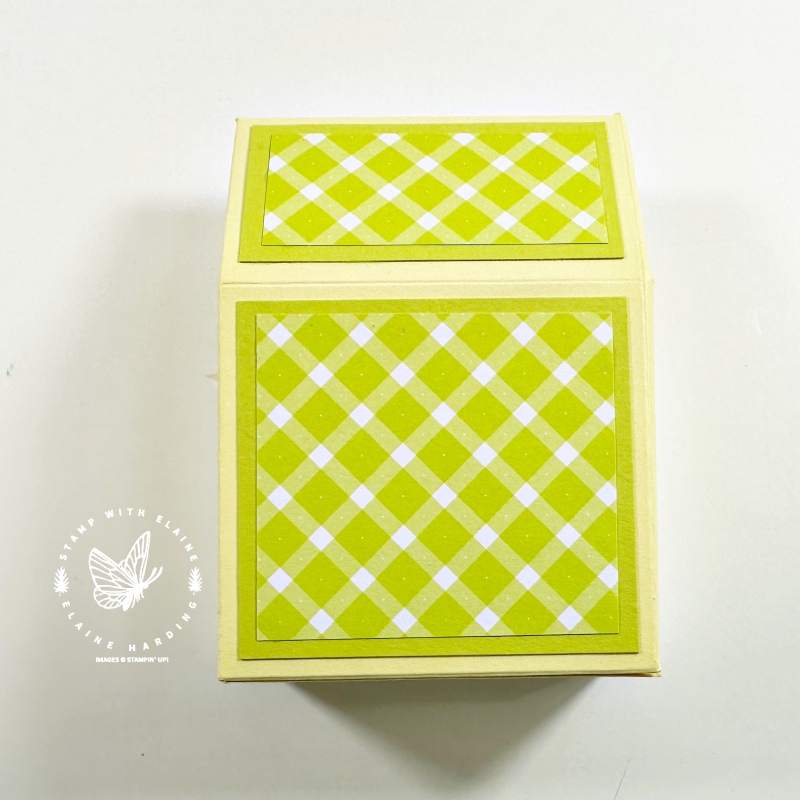
Back of box
I decorated the lid and back of the box with DSP from the Glorious Gingham 6″x 6″ (15.2 x 15.2 cm) DSP pack on a Lemon Lime Twist mat layer.
Cutting guide
This box has been designed so that the original box can slip into it. For assembly instructions please watc video tutorial.
Imperial Measurements
- Box Base Lemon Lolly : 7 ⅝”x 9 ⅜”. Short side is on top and score at 1 ⅜”, 4 ⅛”, 5 ¾”. Long side on top, score at 1 ⅜”. Establish remaining score lines by wrapping it round the box and then reinforce score line with bone folder as shown in video.
- There are two narrow side panels. Find the centre and mark it (for tip to find centre, see video), then measure ¾” down and score from that mark to the left corner on the next score line below it. Score from the same ¾” mark to the right corner of the next scoreline below and it should form a triangle.
- Front lid layer in Lemon Lime Twist cut at 2 ¾” x 1 ½”.
- Bottom front of box Lemon Lime Twist cut at 2 ¾” x 2 ½”.
- DSP (Glorious Gingham 6″x 6″ DSP) front lid Mat layer #2 : 2 ⅝” x 1 ⅜”
- Bottom front Basic White cut at 2 ⅝” x 2 ⅜” (for stamping on)
Back of box mat layers
- Mat layer Lemon Lime Twist lid : 2 ¾” x 1 ⅜”
- Bottom mat layer Lemon Lime Twist : 2 ¾” x 2 ½”
- DSP Mat layer #2 lid : 2 ½” x 1 ⅛”
- Bottom DSP Mat layer #2 : 2 ½” x 2 ¼”
Metric Measurements
Please note that the metric measurements have not been rounded off and has to be a direct conversion otherwise it won’t fit over the original packaging.
- Box Base Lemon Lolly : 19.4 x 23.8 cm. Short side is on top and score at 3.5 cm, 10.5 cm, 14.6 cm. Long side on top, score at 3.5 cm. Establish remaining score lines by wrapping it round the box and then reinforce score line with bone folder as shown in video.
- There are two narrow side panels. Find the centre and mark it at 1.8 cm, then measure 1.9 cm down and score from that mark to the left corner on the next score line below it. Score from the same 1.9 cm mark to the right corner of the next scoreline below and it should form a triangle.
- Front lid layer in Lemon Lime Twist cut at 7 cm x 3.8 cm.
- Bottom front of box Lemon Lime Twist cut at 7 cm x 6.4 cm.
- DSP (Glorious Gingham 15.2 cm x 15.2 cm DSP) front lid Mat layer #2 : 6.6 cm x 3.5 cm.
- Bottom front Basic White cut at 6.6 cm x 6 cm (for stamping on)
Back of box mat layers
- Mat layer Lemon Lime Twist lid : 7 cm x 3.5 cm
- Bottom mat layer Lemon Lime Twist : 7 cm x 6.4 cm
- DSP mat layer #2 lid : 6.4 cm x 2.9 cm
- Bottom DSP mat layer #2 : 6.4 cm x 5.7 cm
Video Tutorial
Supply list
Listed below is the supply list. Just click on the picture to take you directly to the item in my online store.
Product List")
 Designer Series Paper")


- SHOP ONLINE – EARN 10% REWARDS ON ALL PURCHASES OVER £20
- PURCHASE A STARTER KIT : Get £155 worth of products for only £99. Choose from current catalogues and any specials available. Free Shipping. Read more
- Subscribe to my Video Tutorials – click here