
Cards for Kids for Tech 4 Stampers Blog Hop in August. I have three grandsons, one is in his twenties, one a teenager and the other is following hot on his heels. When the Tech 4 Stampers Blog Hop topic “cards for kids” cropped up, I immediately think of the younger age range – don’t know why but it triggered the memory of a card I made several years ago when the middle grandson was a tiny tot!
The card was interactive, and it contained a hidden message. I made this card back in July 2009 and probably a handful of times since. You can see that card HERE. Back in those days I was a novice and my blog posts did not incorporate “how to” instructions. It was also long before I even ventured into the realm of creating video tutorials – that didn’t happen till August 2013!!!
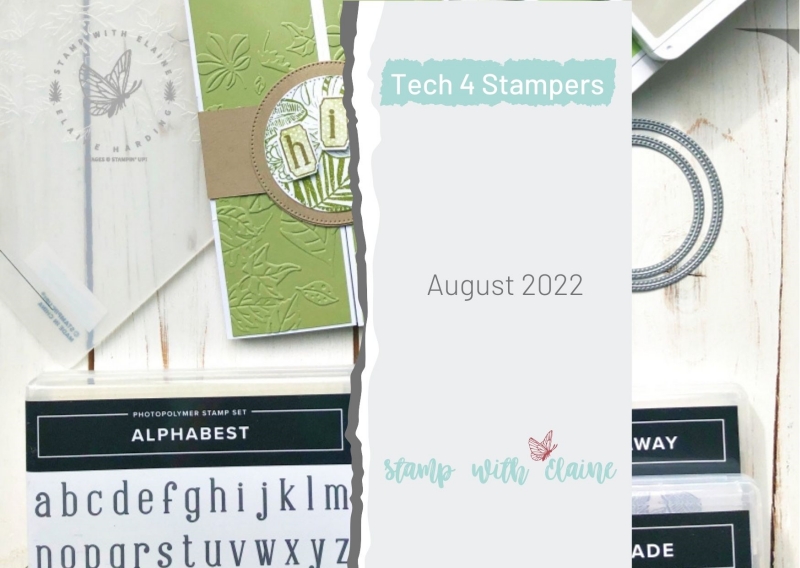
The Build & Bloom Stampers Blog hop (formerly Tech 4 Stampers)is a monthly subscription group run by Louise Sims. She mentors and enables members to understand IT jargon and equips them with a fountain of Technical knowledge to build or manage their own websites. It takes the mystery out of “tech” and I’ve certainly grown in confidence thanks to her expertise, patience and guidance. Not only that, I’ve met and made new friends with my fellow “Techs” and love the camaraderie within the group.
Interactive card with hidden message
Looks can be deceptive. I handed this to hubby (non crafty person) and I kid you not, he had no idea how to open it! The card looks as though it has a belly band doesn’t it, but this is a belly band like no other. I’ll come to that shortly. First you’ll need the mechanics of how to hide that message.
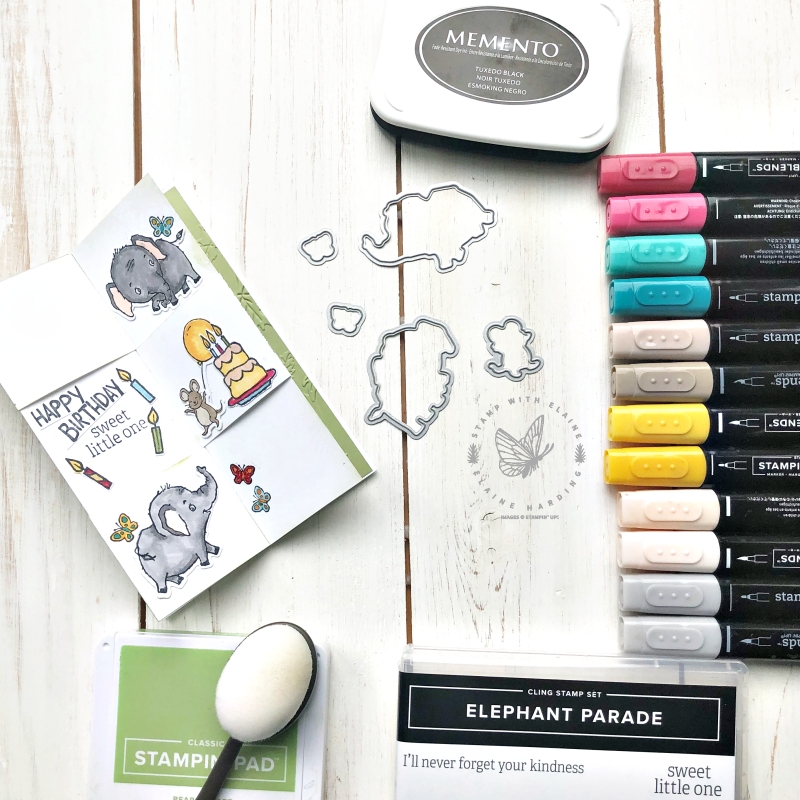
Instructions on how to create a hidden message card
For instructions on how to create this card, please refer to the video tutorial I created for a similar card which you can see HERE. The concept is really simple. However, there is a slight difference between the puffin card and this one. In the puffin card, I used DSP to weave through the apertures which created spaces to add Basic White squares for stamping on.
In today’s card, I used Basic White strips in lieu of patterned paper so that I could stamp all the panels with a background stamp. Scroll down and you can see this in the photo under the heading “Opening card – Message one“.
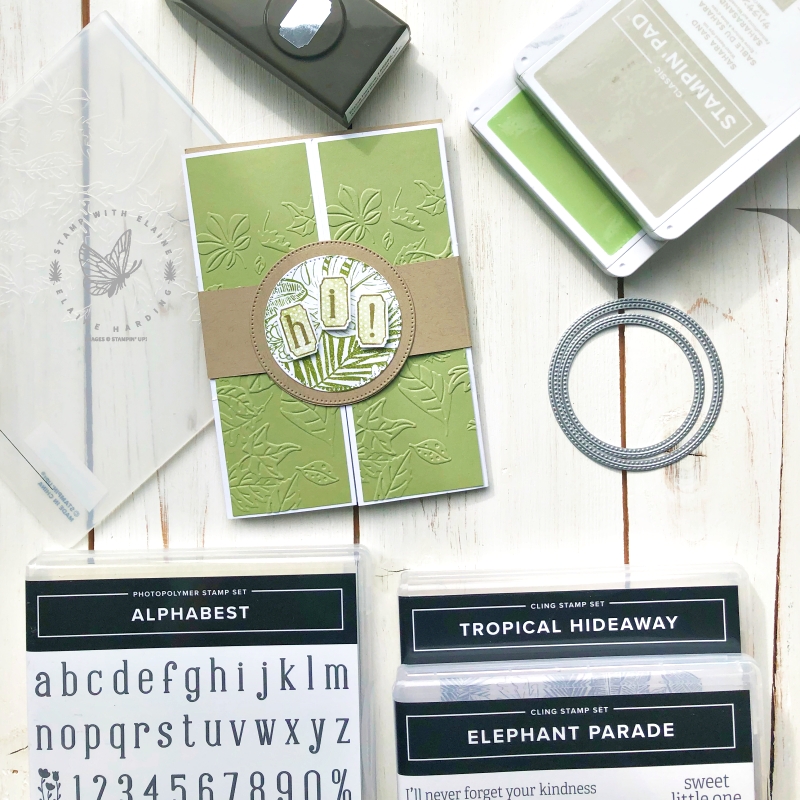
Belly Band
I incorporated a belly band which is a little different from the norm. It does use up an A4 sheet so that it would support the whole card and include the wrap around in one piece. To cover up the “join”, I die cut two large Stylish Shapes circles which sandwiches the band and gives it a neat finish. A smaller circle in Basic White was stamped with Tropical Hideaway and adhered on top.
I then stamped out “Hi!” with the Alphabest stamps and punched the letters with the Best label punch, then adhered the letters with dimensionals to the belly band.
The Basic White piece for the belly band measures 3-7/8″ x 5-½”. I inserted it into the belly band and traced round the front of the belly band to give a reference point to stamp the letters, then erased the pencil marks afterwards. Once stamped, it was adhered to the back of the belly band as a prompt for the recipient to find the hidden message.
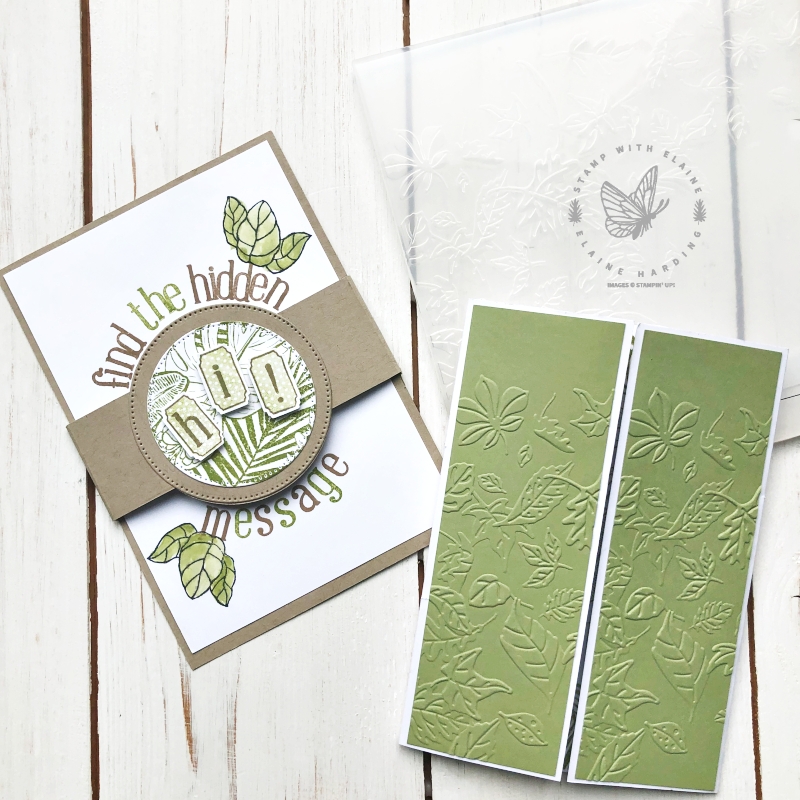
Opening card – Message one
When you open it this is the view you get which contains the first message. Instead of using strips of patterned paper, I cut two strips in basic white to weave into the apertures. Then I masked the two outer panels (the embossed Pear Pizzazz ones) and stamped the centre with Tropical Hideaway. It’s best to use the Stamparatus for this, so if you need to stamp it again, you can. I used a Pear Pizzazz Stampin’ write marker to join up the images between each section so that the pattern would merge seamlessly.
The “Woo Hoo” and “Hey you” were clear embossed on vellum so that the stamped image underneath would still be visible. This is from Sale-a-bration’s Amazing Phrasing stamp set which is free with a £90 purchase until 31 August when the promotion ends.
The little sitting elephant holding a flower in its trunk and the die cut ground-nuts was a pre-cursor to finding the hidden message. The side panels in Pear Pizzazz were embossed with the Leaf Fall 3D embossing folder.

Finding the hidden message
In order to find the hidden message, you push the sides together so that it forms a concertina and resembles a “W”. From the middle section, gently pull it apart to reveal the hidden message. Then to return to the beginning, simply grab the Pear Pizzazz side panels and pull and it will pop back to the first message.
It’s just the sort of interactive card which will appeal to a child. I deliberately omitted embellishments and sparkly bits as a safety precaution for very young children.
Colouring
In this photo of the hidden message, the woven Basic White strips can be seen more clearly. The die cuts were coloured with a variety of Stampin’ Blends. As you know, alcohol markers tend to bleed, so by colouring them on die cut pieces, you won’t have that problem. The bleeding will occur on the die cuts themselves but the woven pieces of Basic White card stock will not be affected.
Supply list
Listed below is the supply list. Just click on the picture to take you directly to the item in my online store.
Product List
")
")


Thanks for visiting. I would love to know what you think of my project and would appreciate it if you could leave a comment. To visit the next person on the list and see their fabulous creations, simply click on the link below or before my name depending who you visited initially. Happy hopping!

- SHOP ONLINE – EARN 10% REWARDS ON ALL PURCHASES OVER £20
- PURCHASE A STARTER KIT : Get £155 worth of products for only £99. Choose from current catalogues and any specials available. Free Shipping. Read more
- Subscribe to my Video Tutorials – click here
What a totally adorable card, love it.
Thank you, Sue.
Fabulous card Elaine. X
Thanks Leighsa, it was fun.
This is a wonderful card Elaine, I will definitely have a go with this technique.
Thanks Carol, the kids love it!
What a fun card Elaine
Thanks Sara, it amuses the kids and adults too!
What a fabulous card. So cute and fun.
Thanks Louise, yes, it’s always a hit! My grandsons love it!