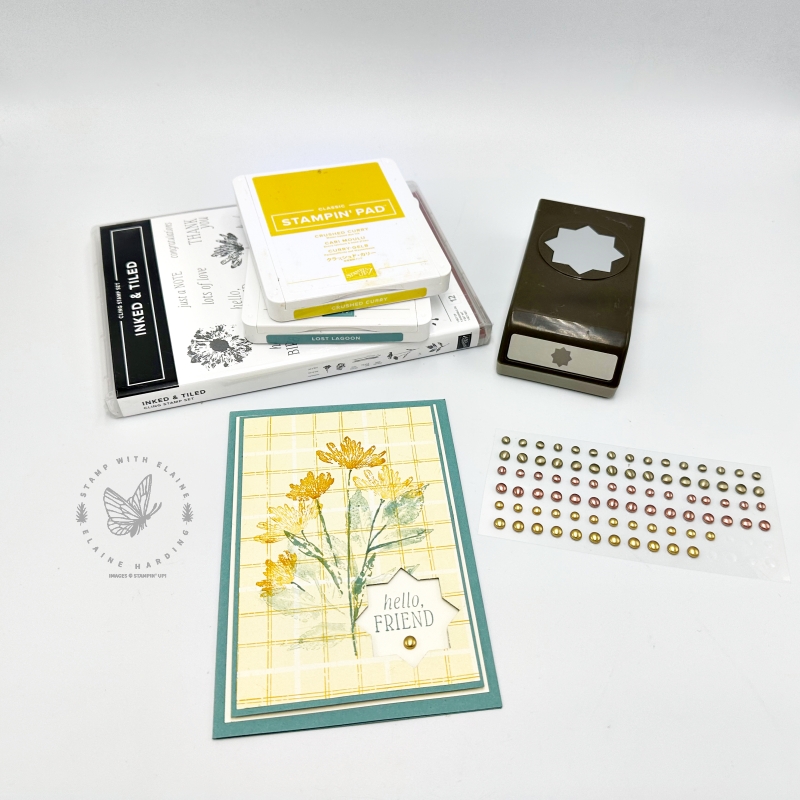
Today I’m using a layering technique for Part 2 of 2 of Inked & Tiled bundle. Cards made to showcase the Inked & Tiled bundle all began with having to create a card for a blog hop which you can see HERE and once I started “playing” I simply couldn’t stop!!!
On this card, I wanted to punch an aperture through which you could see the greeting. Layering is a great way to achieve this.

Cutting guide
- Card base is half A4 sheet in Lost Lagoon. In Europe and IE this measures 5 ⅞” x 8 ¼” (14.5 cm x 21 cm)
- Front of card mat layer 1 Very Vanilla : 3 ⅞” x 5 ⅝” (9.8 cm x 14.3 cm)
- Mat layer 2 Lost Lagoon : 3 ¾” x 5 ½” (9.5 cm x 14 cm)
- DSP Inked Botanicals : 3 ⅝” x 5 ⅜” (9 cm x 13.5 cm)
- Inside mat layer Very Vanilla : 3 ¾” x 5 ½” (9.5 cm x 14 cm)
Assembly instructions
- Adhere Very Vanilla Mat layer 1 to Lost Lagoon card base leaving an even border on all 4 sides.
- Stamp on Inked Botanicals DSP layer as desired.
- Adhere stamped Inked Botanicals layer to Mat layer 2 Lost Lagoon card stock.
- Punch out aperture with “star” shaped Inked & Tiled punch.
- Place this over Very Vanilla layer leaving an even border on all 4 sides and use a pencil to lightly trace where punched aperture is.
- Centre and stamp greeting within traced pencil line. Once stamped, erase pencil lines.
- Apply dimensionals to back of punched layers and adhere to Very Vanilla mat layer leaving even border on all 4 sides.
- Stamp on inside Very Vanilla mat layer and adhere inside card base.
- Embellish with a brushed metallic dot as shown.
Video Tutorial
Here’s a visual aid on how the card came together.
Supply list
Listed below is the supply list. Just click on the picture to take you directly to the item in my online store.
Product List
- SHOP ONLINE – EARN 10% REWARDS ON ALL PURCHASES OVER £20
- PURCHASE A STARTER KIT : Get £155 worth of products for only £99. Choose from current catalogues and any specials available. Free Shipping. Read more
- Subscribe to my Video Tutorials – click here


