
In week 6 of 12 we have a “date” with jolly Saint Nicholas and the Traditions of St Nick. I made three cards from this Saint Nicholas bundle because of the three Santa images in the Traditions of St Nick DSP.
The stamp set also has Santa images which are identical to some of the Santas on the patterned paper which you can colour. It was such a joy to find that there were papers to coordinate with this stamp set. One of the sheets had the same Santas already coloured in! If you’re making lots of Christmas cards, die cutting these would save me having to colour the stamped images all in tradiitonal colours.
Are you a traditionalist, or do you like to ramp Christmas up with non-traditional colours? Remember last year’s bright pink gift packaging HERE or would you rather stick to reds and greens.
Online exclusive
Let’s talk about the pack of Traditions of St Nick 12″ x 12″ (30.5 x 30.5 cm) DSP which is an Online Exclusive which coordinates with The Saint Nicholas Dies. Two of the Santa dies will die cut the Santas on one of the sheets of DSP. On this sheet, there are five Santas in Real Red holding the presents, and five in Mossy Meadow holding a tree and toy sack. The remaining three Santas holding the wreath had to be fussy cut as there wasn’t a die for it.
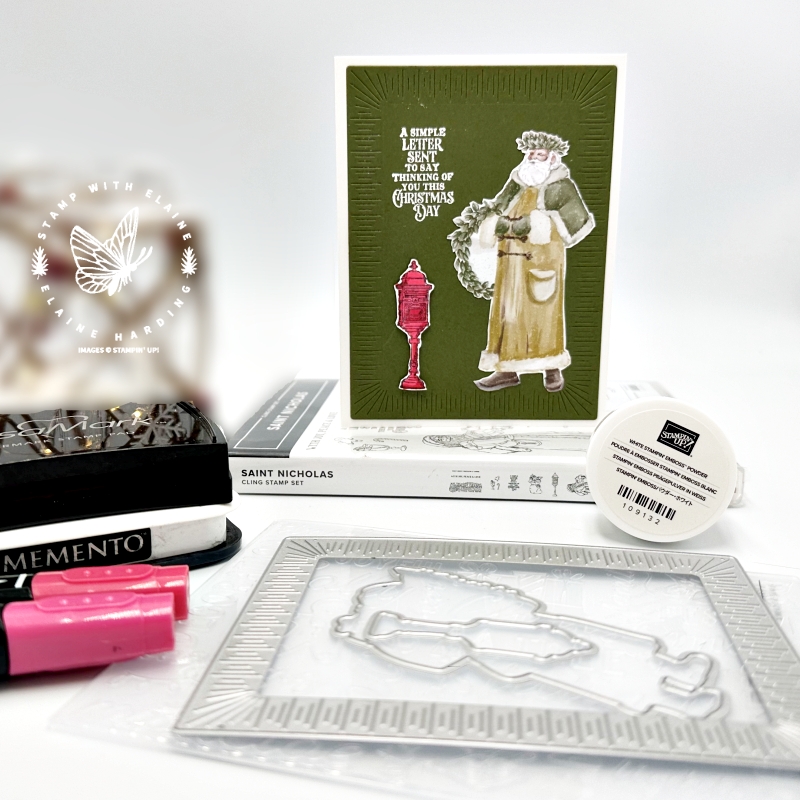
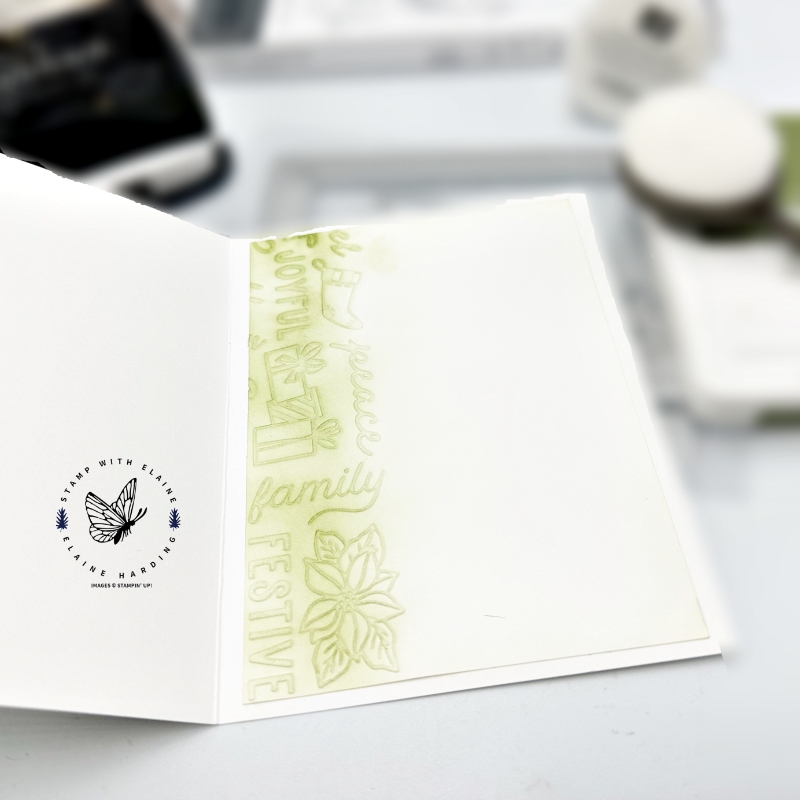
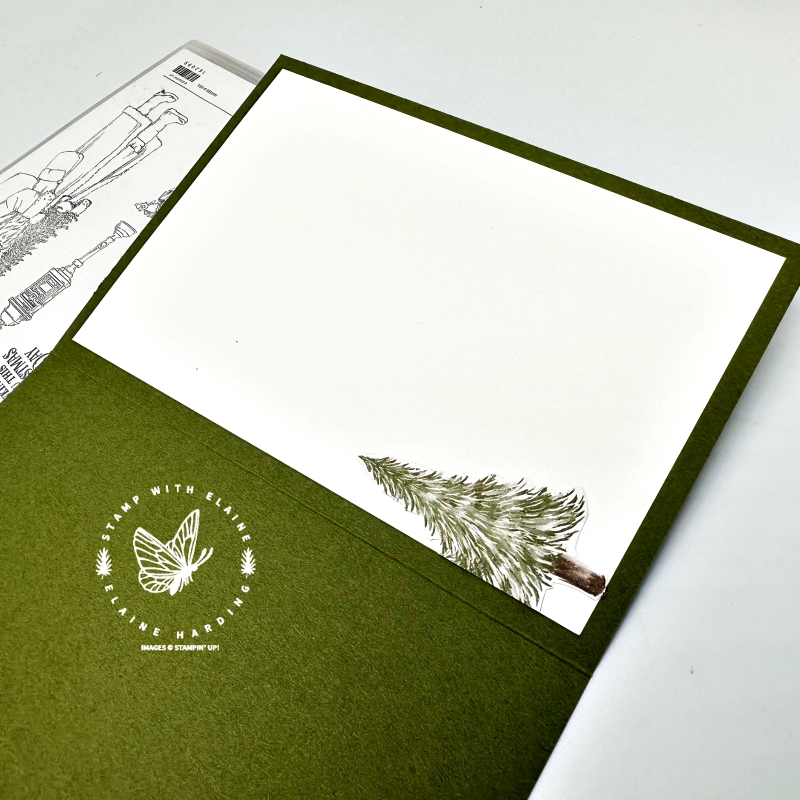
For the inside of this card, I used the Christmas Tidings embossing folder (this one is a standard one which only requires two standard platform 3s and the platform 1). To make the embossing “pop” I added some Mossy Meadow ink with a blending brush.
Cutting guide for the Basic White card
- Card Base : Basic White Thick 5 ½” x 8 ¼” (14 cm x 21 cm)
- ¼ Sheet of A4 Mossy Meadow to die cut largest Radiating Stitches Dies
- DSP die cut Real Red Santa
- Basic White scrap – stamp old fashioned letter box
- Inside card layer Basic White 5 ¼” x 3 ¾” (13.3 cm x 9.5 cm)
Card 2 idea
- Mossy Meadow card base 5 ¾” x 8 ¼” (14.5 x 21 cm)
- Card front Mat layer #1 : Basic White 3 ¾” x 5 ½” (9.5 x 14 cm) embossed with Christmas Tidings embossing folder and blended with a light touch of Mossy Meadow ink.
- Vellum card stock layer #2 : 3″ x 5″ (7.6 cm x 12.7 cm)
- Mossy Meadow frame die cut with the small and medium Radiating Stitches die – reserve inside for third card.
- Die cut the second Santa holding the tree and attach to right of frame.
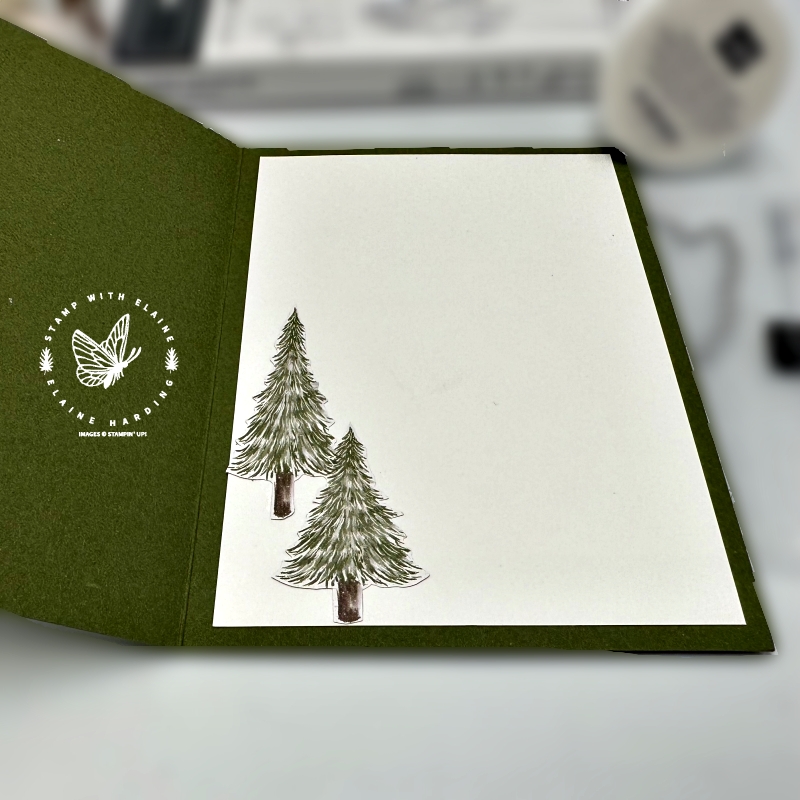
- Inside layer Basic White : 3 ¾” x 5 ½” (9.5 x 14. cm)
- Adhere fussy cut trees from the same sheet of DSP that the Santa sheet.

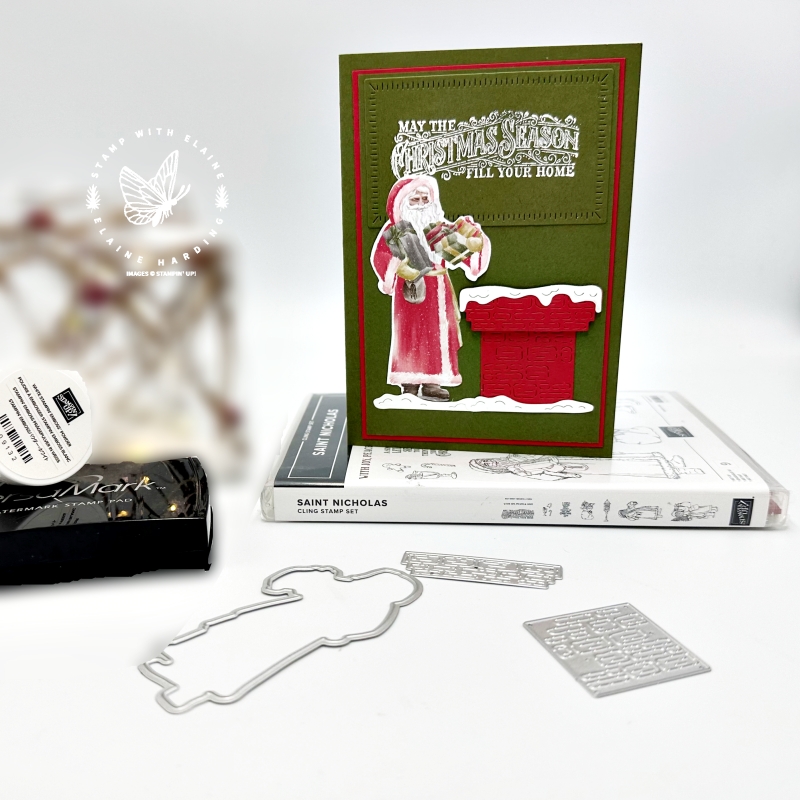
Card 3 idea
- Mossy Meadow Card base : 5 ¾” x 8 ¼” (14.5 x 21 cm)
- Real Red layer #1 : ⅛ “ larger than the largest Radiating Stitches die cut layer.
- Mossy Meadow layer #2 die cut with largest Radiating Stitched die.
- Stamp “May the Christmas Season fill your Home” with Versamark ink and White emboss the Mossy Meadow inside remnant from cutting the Mossy Meadow frame for Card 2.
- Die cut the red Santa holding the presents from DSP
- Real Red scrap : die cut chimney elements
- Basic White scrap : die cut the snow pieces
- Inside card : Basic White 3 ¾” x 5 ½” (9.5 x 14 cm)
- Adhere fussy cut trees to inside as illustrated for the inside of Card 2.
Video Tutorial
Please note, this tutorial demonstrates how to create the first card only. Cards 2 and 3 were just ideas on how you could use the other die-cut Santa figures to create other cards.
Supply list
Listed below is the supply list. Just click on the picture to take you directly to the item in my online store.
Product List")


 Designer Series Paper")


Thanks for visiting, if you liked this, do like and share. It would be much appreciated.

- SHOP ONLINE – EARN 10% REWARDS ON ALL PURCHASES OVER £20
- PURCHASE A STARTER KIT : Get £155 worth of products for only £99. Choose from current catalogues and any specials available. Free Shipping. Read more
- Subscribe to my Video Tutorials – click here